
This sweet potato and sausage frittata is a hearty meal packed full of protein and veggies. It’s filled with roasted sweet potatoes, ground sausage, and spinach and is incredibly easy to make.

I’ve said it before, and I’ll say it again: eggs are a highly underrated ingredient. Not only are they incredibly nutritious, containing vitamin D, A, and E, choline, iron, and folate, but they are versatile and work for any meal of the day.
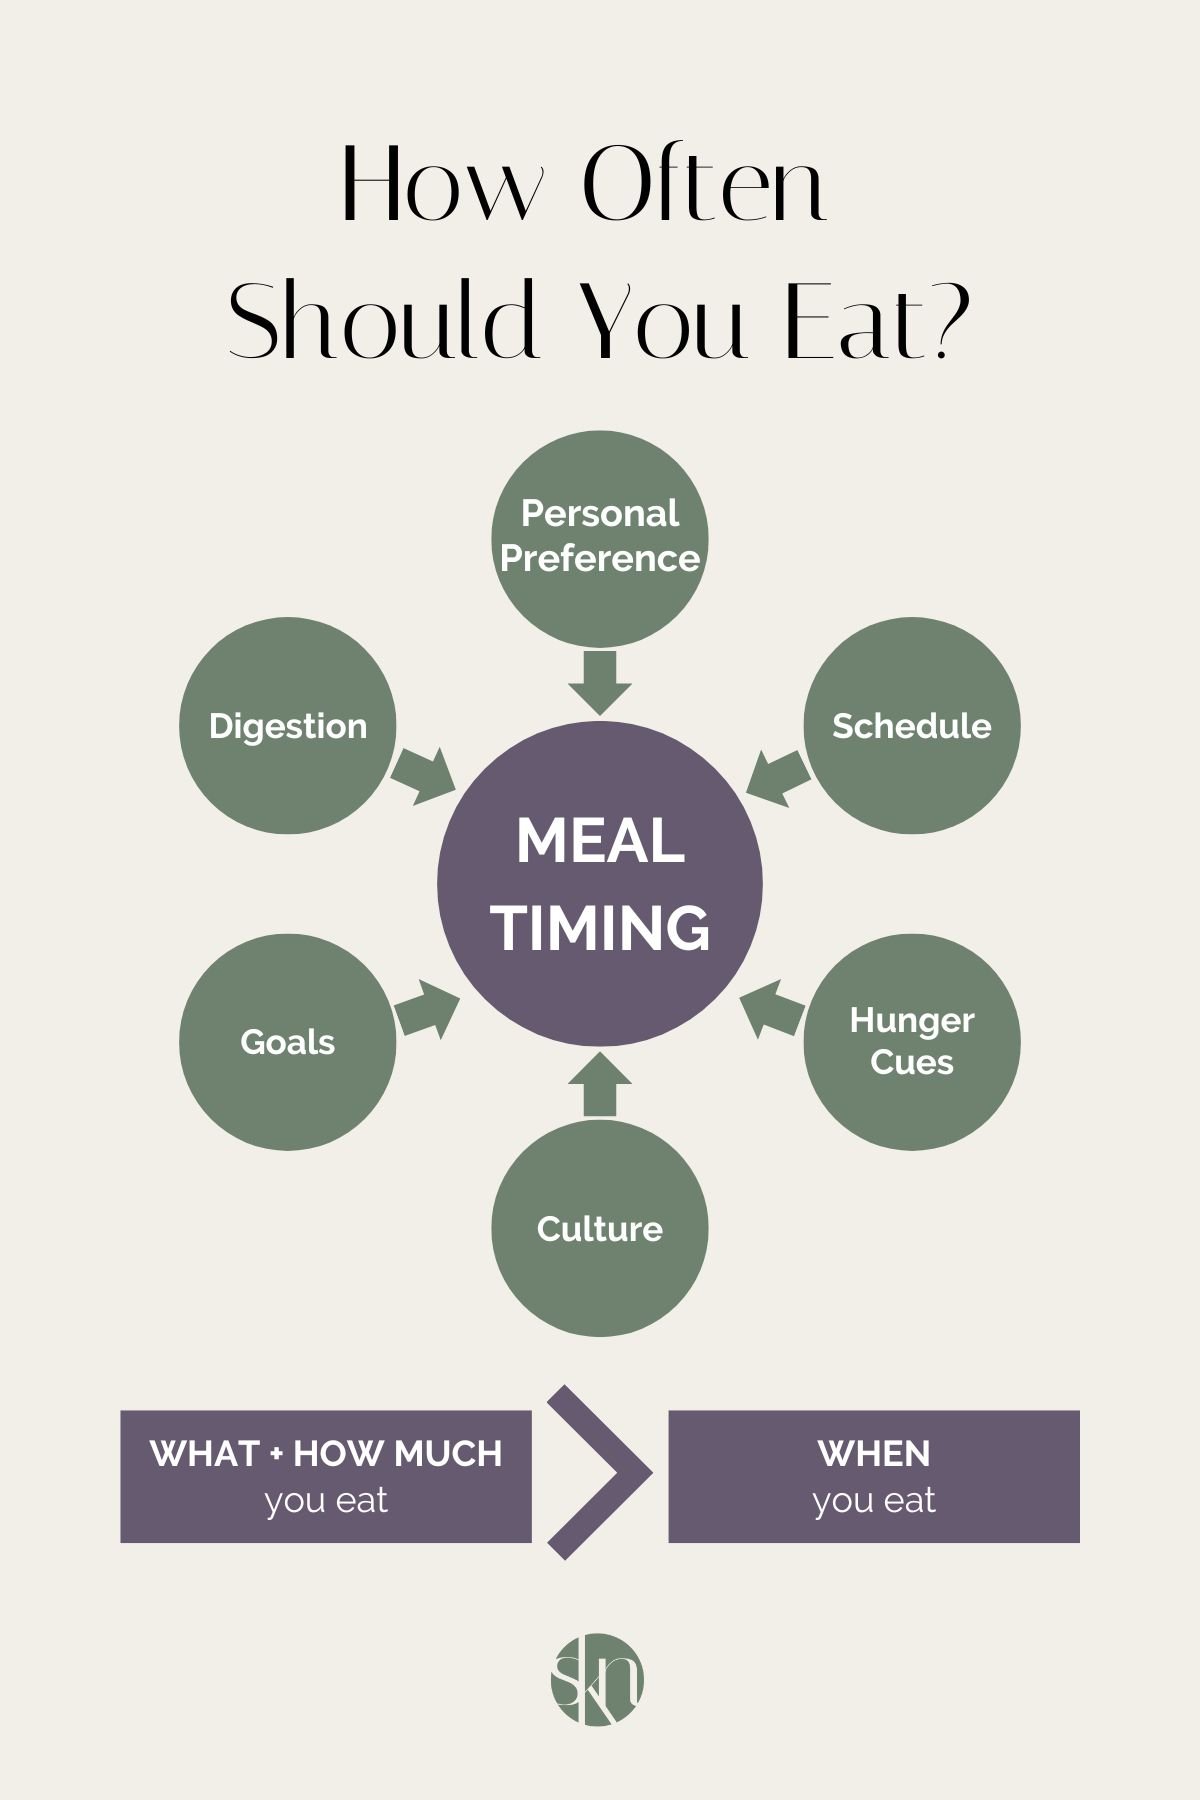
While they are commonly thought of as a “breakfast food” in North America, the truth is there is no such thing as breakfast food. Food is food, and there are no rules about when you can eat it. So, whether you need a new make-ahead breakfast or an easy dinner idea, this sweet potato and sausage frittata recipe is absolutely delicious and a little something to take your egg recipes to the next level.

Why You’ll Love It
- High in Protein – The combination of eggs and sausage gives this frittata over 20 grams of protein per serving.
- Keeps Well – This sausage and sweet potato frittata is a great meal prep idea as it keeps in the fridge for days.
- Versatile – This recipe works well for breakfast, brunch, lunch, or dinner.

Ingredients + Substitutions
- Sausage – To add some animal protein. I used pork breakfast sausage, but you can use Italian sausage or chicken sausage if preferred.
- Sweet Potatoes – To add some complex carbohydrates. The recipe calls for sweet potatoes, but white potatoes will also work.
- Spinach – To add some veggies and fiber. The recipe calls for fresh spinach, but you can use frozen spinach if needed; see the notes section of the recipe card for details.
- Onion – To add some flavor. The recipe calls for a whole onion, but you can use onion powder if needed; see the notes section of the recipe card for details.
- Eggs – To add some more protein and healthy fats. I opted to use whole eggs, but you can use egg whites if preferred; see the notes section of the recipe card for details.
- Milk – To make the egg mixture and add some protein.
- Salt and Pepper – To season.
Dietary Adaptions
To Make it Gluten-Free: Use certified gluten-free sausages.
To Make it Dairy-Free: Swap the milk for unsweetened almond milk.

Red’s Nutrition Tip
While I opted to use sweet potatoes in this frittata, you can certainly use white potatoes if preferred. In fact, sweet potatoes and white potatoes are much more nutritionally similar than people think, and white potatoes are one of the most filling foods.
Serving Suggestions
This sausage and sweet potato frittata is a good source of protein and fat. To make it a more balanced meal, I recommended serving it with a source of carbohydrates, such as bread. Moreover, you can adapt the recipe to meet your personal calorie or macro needs. For example:
- To make it higher in protein, add an additional 1/2 pound of sausage to the recipe.
- To add some carbohydrates, serve it with a side of crusty bread or breakfast potatoes.
- To add fiber, add some veggies, such as zucchini and mushrooms, along with the spinach.
- To make it lower in fat, swap the pork sausage for chicken sausage.
- To add fat, add some shredded cheese to the egg mixture.
- To add flavor, add a dash of hot sauce to the egg mixture.

Storage + Reheating
To Refrigerate: Allow the frittata to cool completely, cover the dish with aluminum foil or plastic wrap, or transfer the leftover pieces to an airtight container and store them in the refrigerator for up to 4 days.
To Freeze: Allow the sausage sweet potato frittata to cool completely, then transfer slices to an airtight container and store them in the freezer for up to 3 months.
To Reheat: To reheat whole, allow the sweet potato and sausage frittata to thaw completely or reheat directly from the fridge, uncovered, by baking in the oven at 350°F for 15-20 minutes or until heated through. Individual pieces can be reheated in an oven-proof dish in the oven at 350°F for 5-10 minutes or in a microwave-safe container in the microwave for 1-2 minutes.

More Frittata Recipes:
Print
Sweet Potato and Sausage Frittata
Packed with over 20 grams of protein per slice, this sausage and sweet potato frittata is a healthy meal idea that works for breakfast, lunch, or dinner.
-
 Prep Time: 10 minutes
 -
Cook Time: 40 minutes
-
Total Time: 50 minutes
-
Yield: 6 slices 1x
-
Category: Breakfast
-
Method: Baked
Ingredients
- 2 tablespoon olive oil
- 2 small sweet potatoes, peeled and diced (about 2 cups)
- 1 pound pork sausage, casings removed
- 1 onion, diced
- 2 cups spinach, roughly chopped
- 8 large eggs
- 1/3 cup milk
- 1/4 teaspoon salt
- 1/4 teaspoon black pepper
Instructions
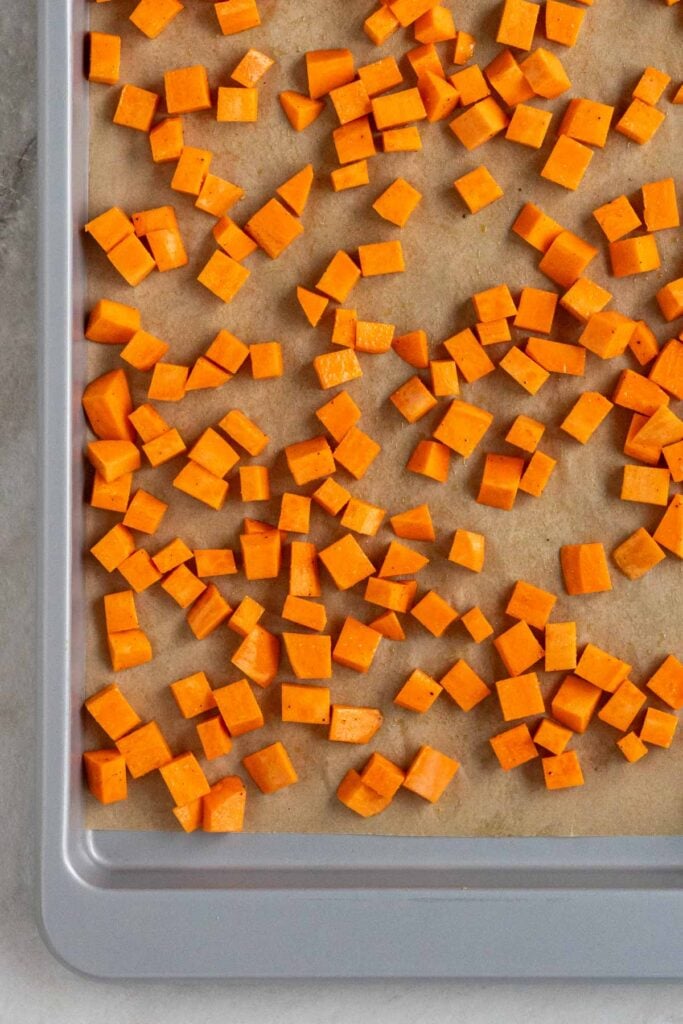
- Preheat the oven to 400°F.
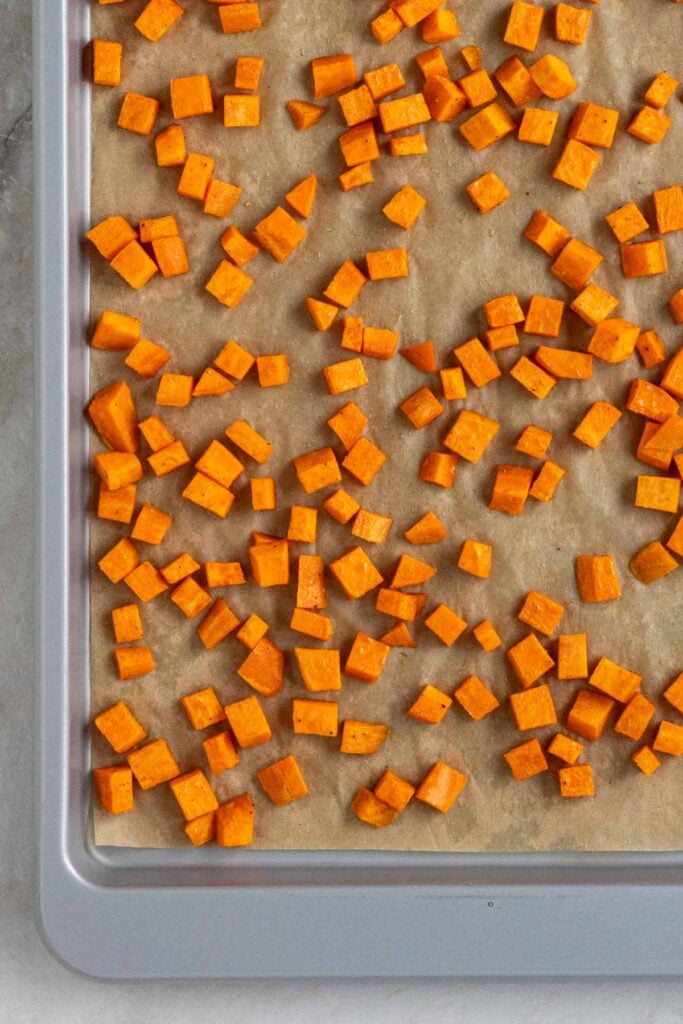
- Line a large baking sheet with parchment paper, add diced sweet potato, drizzle with 1 tablespoon of olive oil, and toss to coat. Transfer the baking sheet to the oven and bake for 15 minutes until the sweet potatoes are just tender enough to be pierced with a fork. Once cooked, remove from the oven and set aside
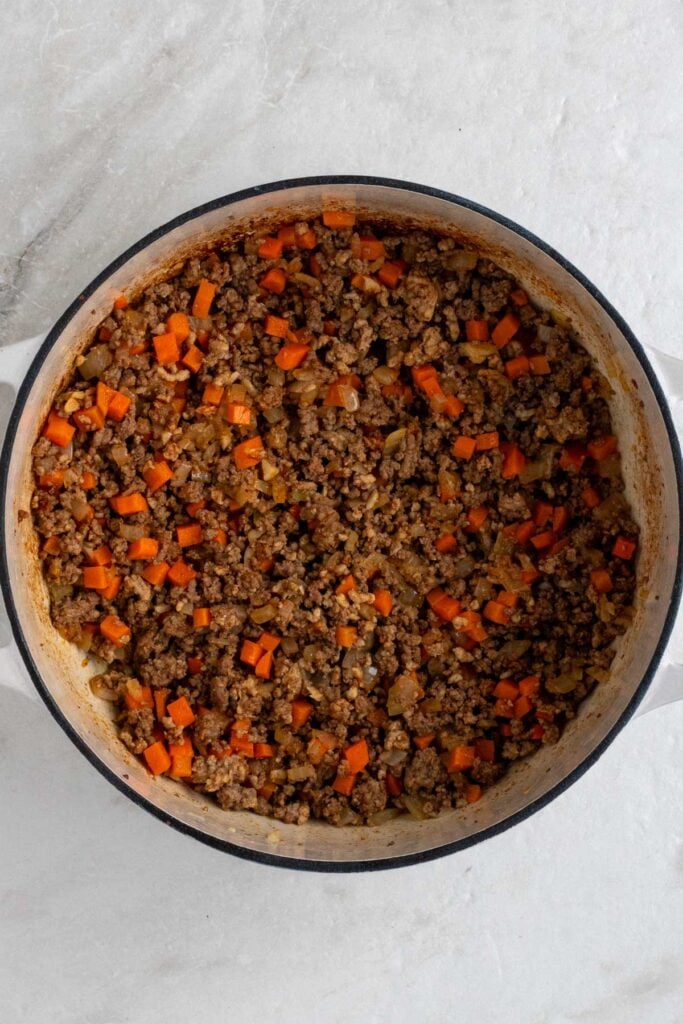
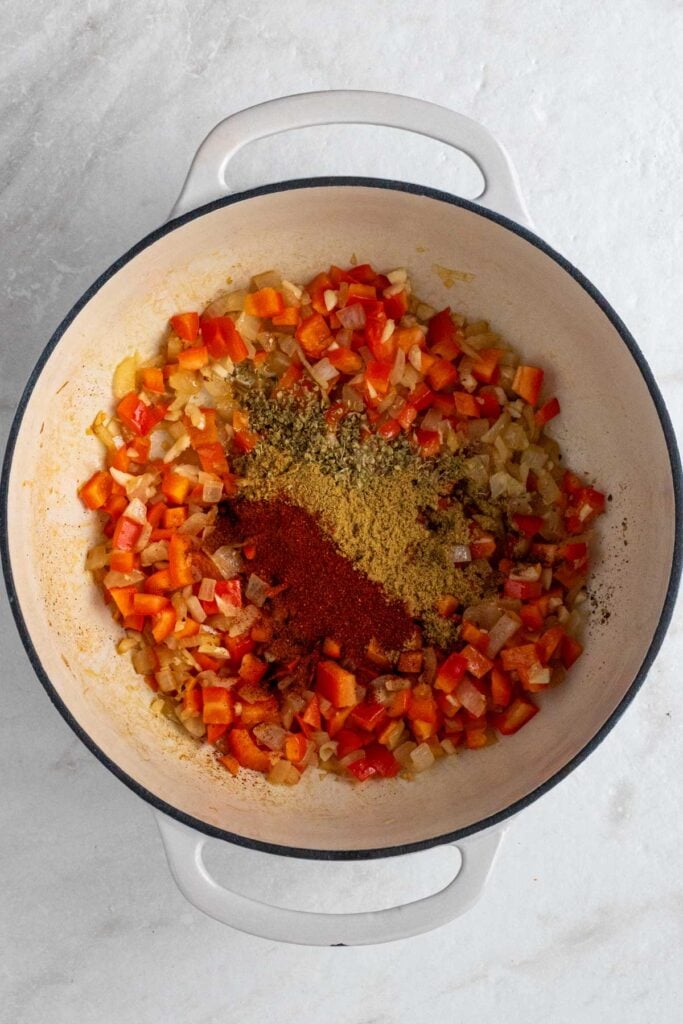
- In a 10-inch cast iron skillet or oven-proof pan on medium heat, warm the remaining olive oil, add the diced onion, and cook for 3-4 minutes until tender, stirring occasionally.
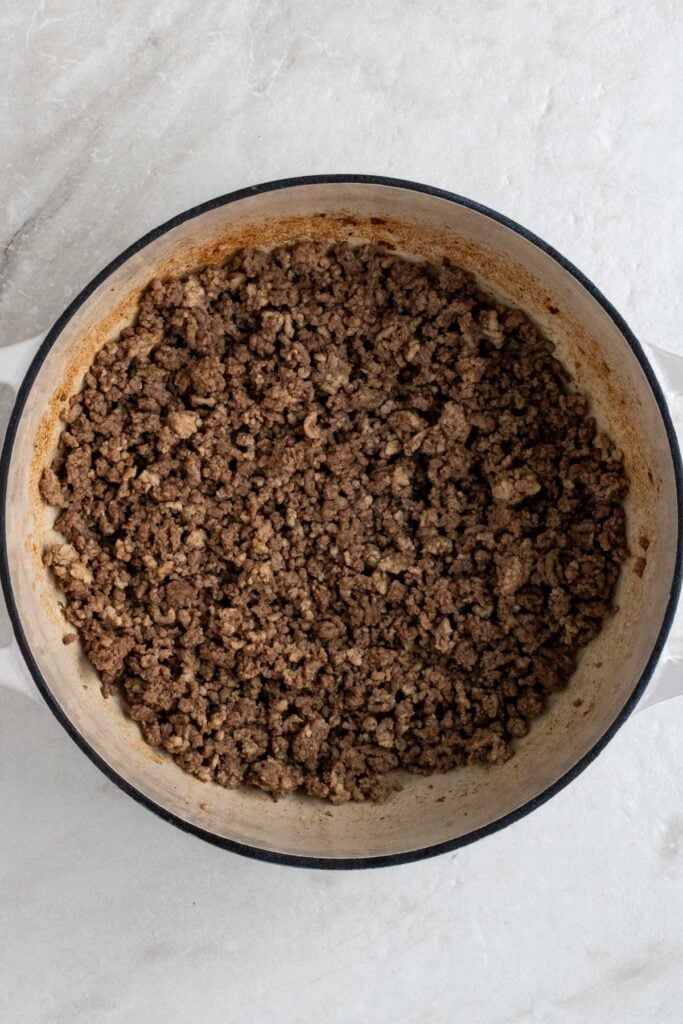
- Increase the temperature to medium-high heat, add the ground pork, and cook for an additional 4-5 minutes, breaking it apart with a wooden spoon or spatula, until no longer pink, cooked through, and lightly browned.
- While the pork is cooking, in a medium bowl, crack the eggs, add the milk, salt, and pepper, and whisk until well combined, then set aside.
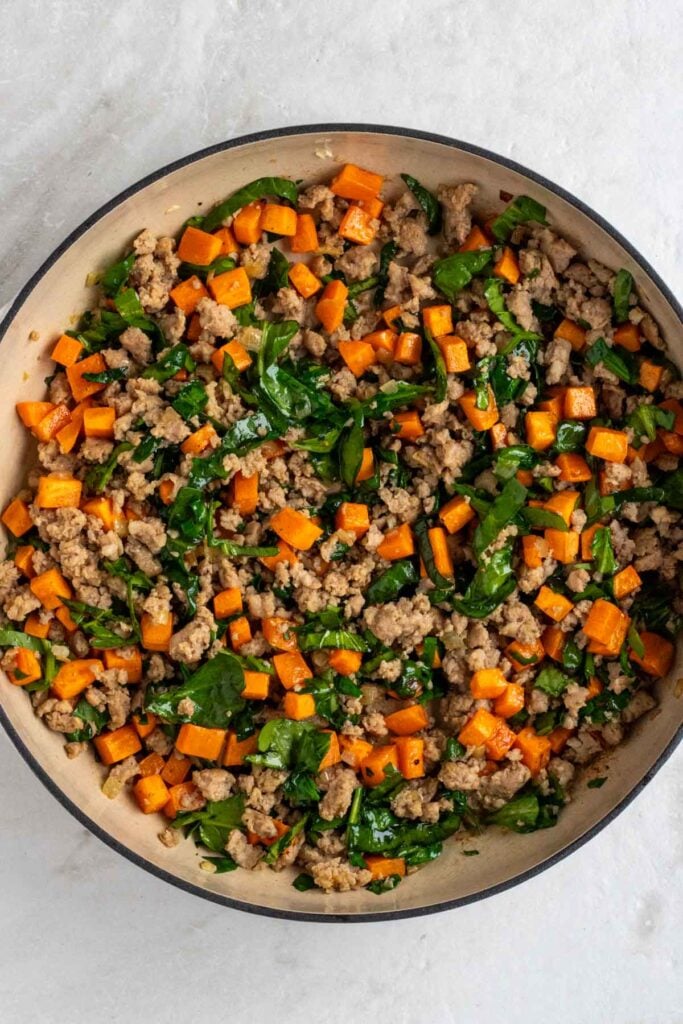
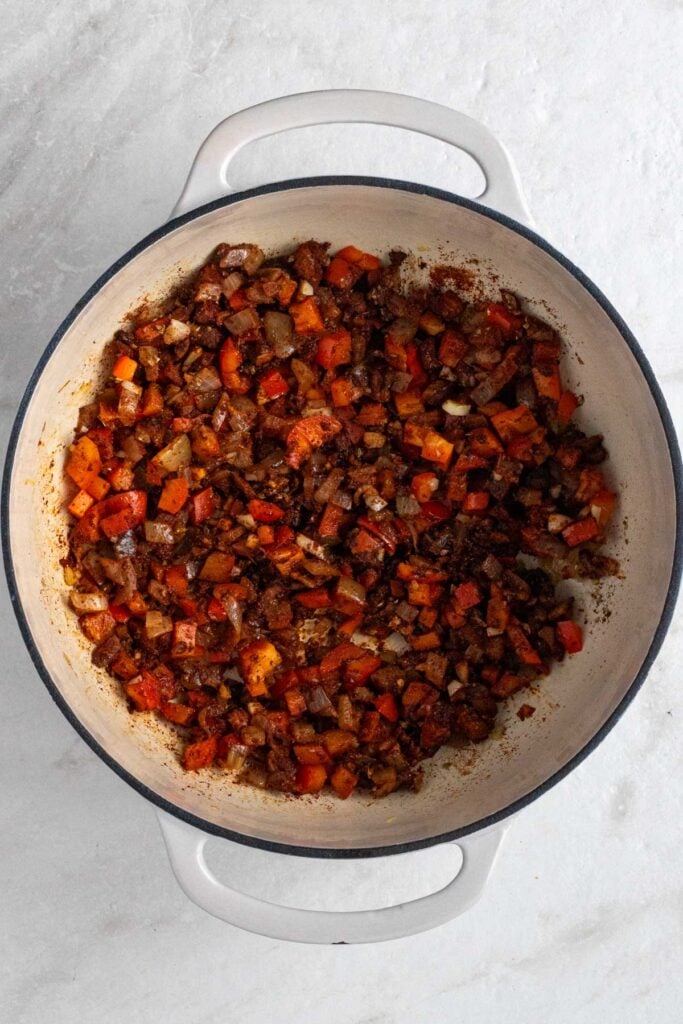
- Add the roasted sweet potatoes and spinach, stirring to incorporate them with the pork mixture, and cook for an additional minute until the spinach is wilted.
- Pour egg mixture into the pan, spreading it out evenly to cover the sweet potato and sausage mixture.
- Keep the pan on the heat and continue cooking, without stirring, until the egg set on the side of the pan, about 3 minutes.
- Then transfer the cast iron skillet to the oven to bake for 10-15 minutes until the eggs are set and the frittata is cooked through.
- Once cooked, the frittata can be served immediately or cooled, and any leftovers can be stored in an airtight container in the fridge for up to 4 days or in the freezer for up to 3 months.
Notes
To Use Onion Powder: Swap the onion for 1 teaspoon onion powder, skip step #3, and add in step #6.
To Use Frozen Spinach: Swap the fresh spinach for 1/4 cup frozen spinach. Thaw the spinach completely, then press it to remove any excess water, and add it in step #6.
To Use Egg Whites: Swap the whole eggs for 2 cups of liquid egg whites.
To Make it in a Pie Dish: Prepare the sweet potatoes, sausage, onions, and spinach in a pan as per steps #1 to #6, then transfer it to a greased pie dish, pour egg mixture over top, and transfer it to the oven to make for 20-25 minutes or until set.
Nutrition
- Serving Size: 1 slice
- Calories: 451 calories
- Sugar: 4 grams
- Fat: 35 grams
- Carbohydrates: 13 grams
- Fiber: 2 grams
- Protein: 21 grams


