This rich and creamy carrot and parsnip soup is loaded with vegetables and incredibly easy to make. It’s a perfect dish for a cold weather day and pairs well with crusty bread or a sandwich.

Nothing says winter like root vegetables. Whether you’re roasting them, steaming them, or cooking them into your favorite soup or stew, these fiber-loaded veggies are a nutritious and delicious addition to any meal.
Not to mention, they are super economical and last for weeks in the ridge. So, if you’re looking at those straggler carrots in the back of the fridge and you’re not sure what to do with them, this easy carrot parsnip soup recipe is for you.

Why You’ll Love It
- Quick and Easy – This creamy soup is fast and simple to prepare.
- Inexpensive – Made with root vegetables, this recipe is very cheap to make.
- Rich and Creamy – The combination of carrots, parsnips, and heavy cream ensures this soup is velvety smooth.
- Great for Meal Prep – This soup keeps well in the fridge and freezes making it a great make-ahead meal.
Ingredients + Substitutions
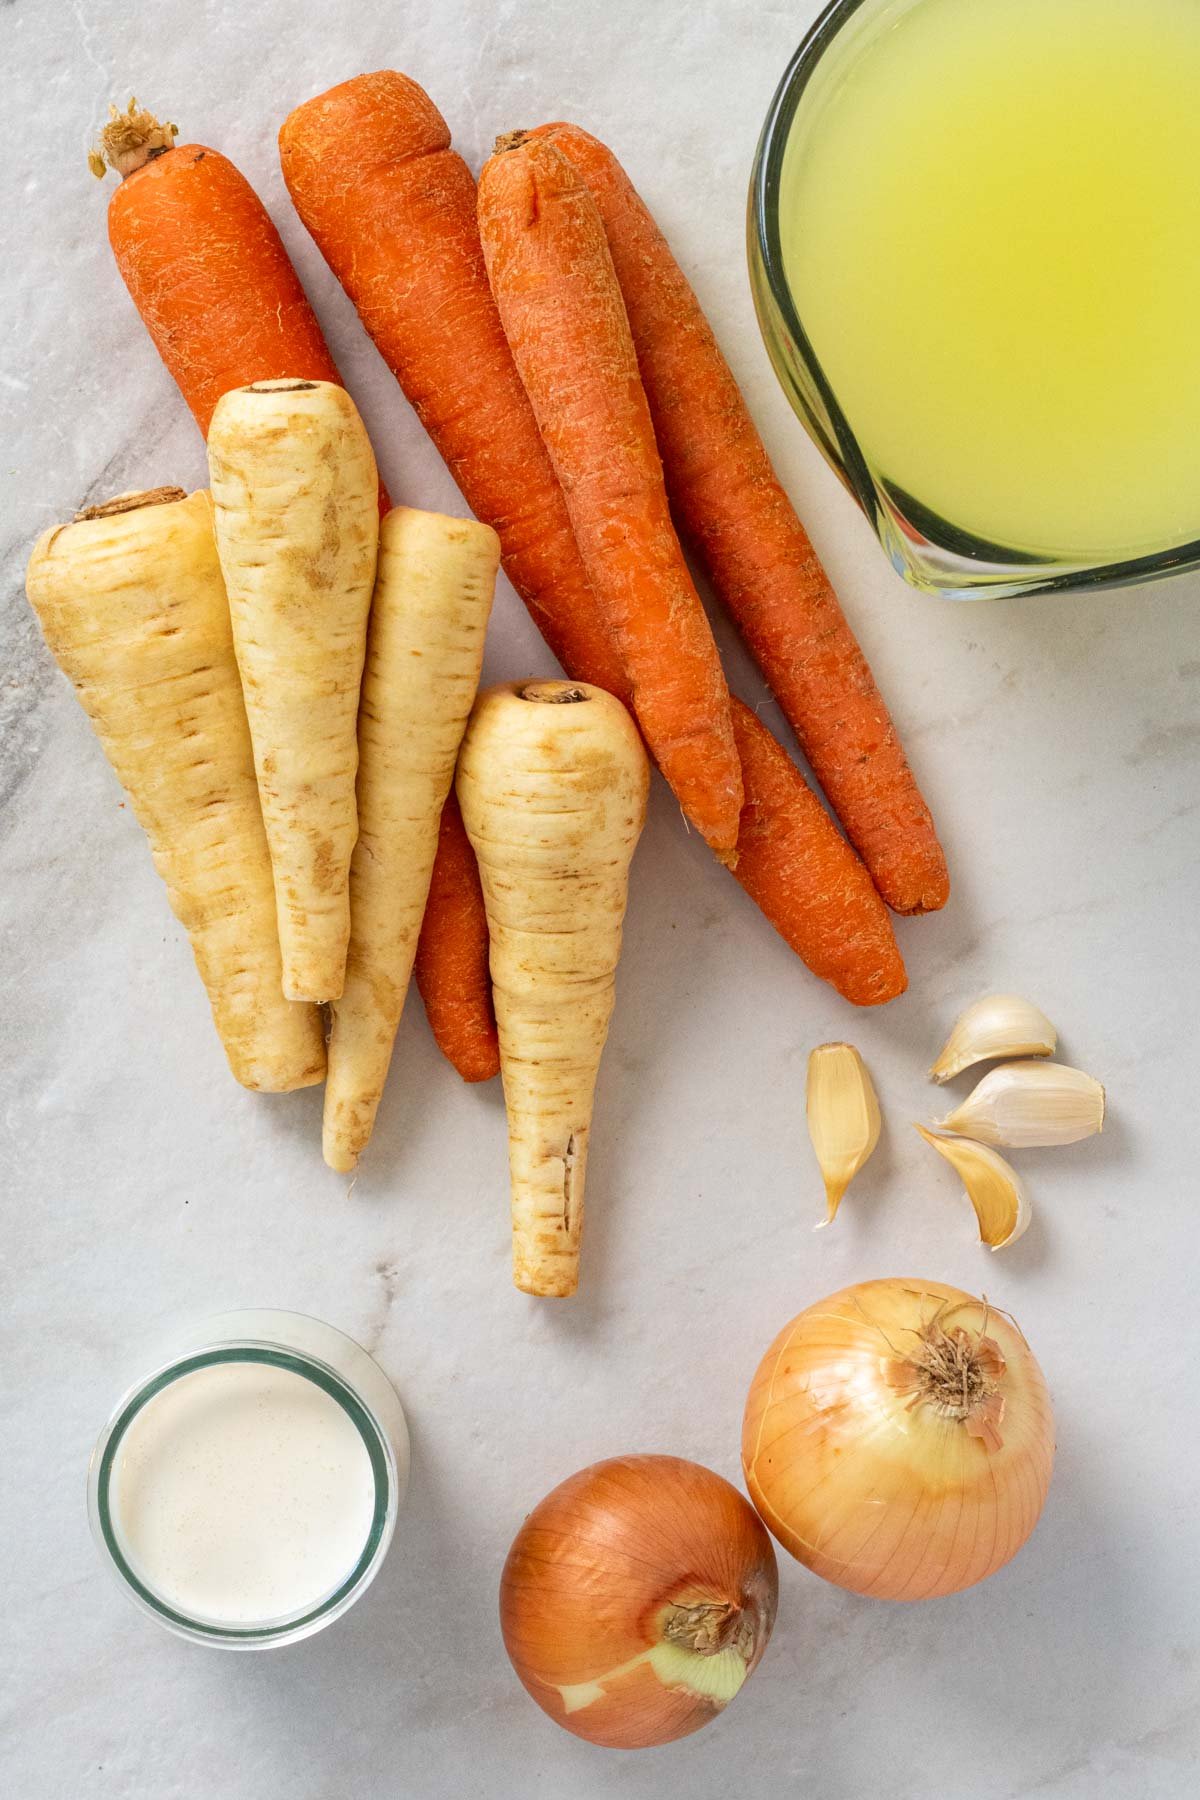
- Carrots and Parsnips – A combination of root vegetables to ensure this soup is rich in fiber and micronutrients. The recipe calls for fresh carrots but you can use frozen carrots and parsnips if desired.
- Onion and Garlic – To ensure the soup has a deep flavor. The recipe calls for garlic cloves, but you can use garlic powder if preferred, see the notes section of the recipe card for details.
- Broth – To build more flavor. The recipe calls for vegetable broth, but chicken broth, chicken stock, and water will also work.
- Cream – Although optional, a flash of heavy cream ensures the soup has a rich taste and texture. If preferred, half-and-half, whole milk, and coconut milk will also work.
- Salt and Pepper – To season.
- Parsley – A bit of freshly chopped parsley to serve. Other fresh herbs, such as fresh chives, would also work well.
While I opted to keep the recipe simple to highlight the seasonal flavors of carrots and parsnips, you can take the flavor up a notch by adding some dried herbs and/or spices such as dried thyme, curry powder, smoked paprika, or cayenne pepper if you want to make it spicy.
Dietary Adaptions
To Make it Dairy-Free: Swap the cream for canned coconut milk or omit it completely.
To Make it Gluten-Free: Use certified gluten-free broth or water instead.

Red’s Nutrition Tip
If you’re concerned about the sugar content in this soup, there is no need. Although this soup contains 10 grams of sugar per serving, it comes from the natural sugar present in the carrots, parsnips, and onions, which are healthy whole foods and great sources of micronutrients. Moreover, it is balanced with the fiber content of the vegetables, 7 grams per serving, which helps to mitigate potential spikes in blood sugar.
Can you make it in an Instant Pot?
Yes! Simply turn the Instant Pot to sauté mode, warm the olive oil, add the onions, and sauté for 5-6 minutes or until tender. Then add the chopped carrots, parsnips, and garlic and cook for an additional minute. Cover with broth and water, add salt and pepper, and stir to combine. Cook at high pressure for 6 minutes, then natural pressure release for 5-10 minutes, and then quick release. Use a blender to puree the soup, add the cream, stir to combine, and adjust the seasoning with salt and pepper as needed.

Serving Suggestions
This carrot parsnip soup is a great source of vegetables, fiber, and healthy fats. To ensure it’s a more balanced meal, I would suggest serving it with a source of protein and some additional complex carbohydrates, such as:
- Grilled Cheese
- Turkey Sandwich
- Boiled Eggs and Crusty Bread
- Hummus and Pita
- Cheese and Crackers
- Spinach and Mushroom Quiche

Storage + Reheating
To Refrigerate: Allow the carrot parsnip soup to cool completely, then transfer to airtight containers and store in the refrigerator for up to 5 days.
To Freeze: Transfer the cooled soup to airtight containers and store it in the freezer for up to 3 months.
To Reheat: The soup can be reheated in a pot on the stovetop on medium heat for 5 minutes or until warm, or in the microwave for 1-2 minutes. If using frozen leftovers, allow the soup to thaw completely before reheating.
More Carrot Soup Recipes:
Print
Carrot and Parsnip Soup
Made in one pot, this carrot parsnip soup is a quick, easy, rich, and creamy soup that is perfect for a comforting meal on a cold day.
-
 Prep Time: 10 minutes
 -
Cook Time: 30 minutes
-
Total Time: 40 minutes
-
Yield: 6 servings 1x
-
Category: Soup
-
Method: Stovetop
Ingredients
- 2 tablespoons olive oil
- 2 yellow onions, diced
- 4 cloves garlic, minced
- 1 pound carrots, peeled and chopped (about 4 cups)
- 1 pound parsnips, peeled and chopped (about 4 cups)
- 4 cups vegetable broth, or water
- 1/2 cup heavy cream
- 1/2 teaspoon salt
- 1/8 teaspoon black pepper
- Parsley, freshly chopped, to serve
Instructions
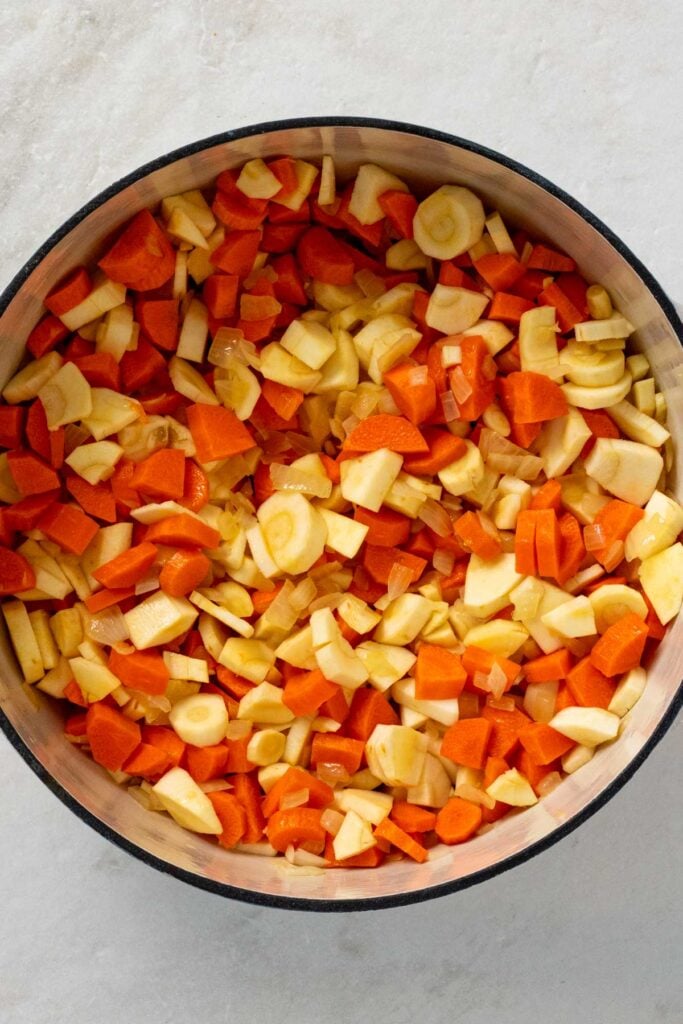
- In a large pot or Dutch oven, warm the olive oil on medium heat, then add diced onions and cook for 5-6 minutes until tender.
- Add the minced garlic, chopped carrots, and chopped parsnip to the pot, stir to combine with the onion mixture, and cook for an additional minute until the garlic is fragrant.
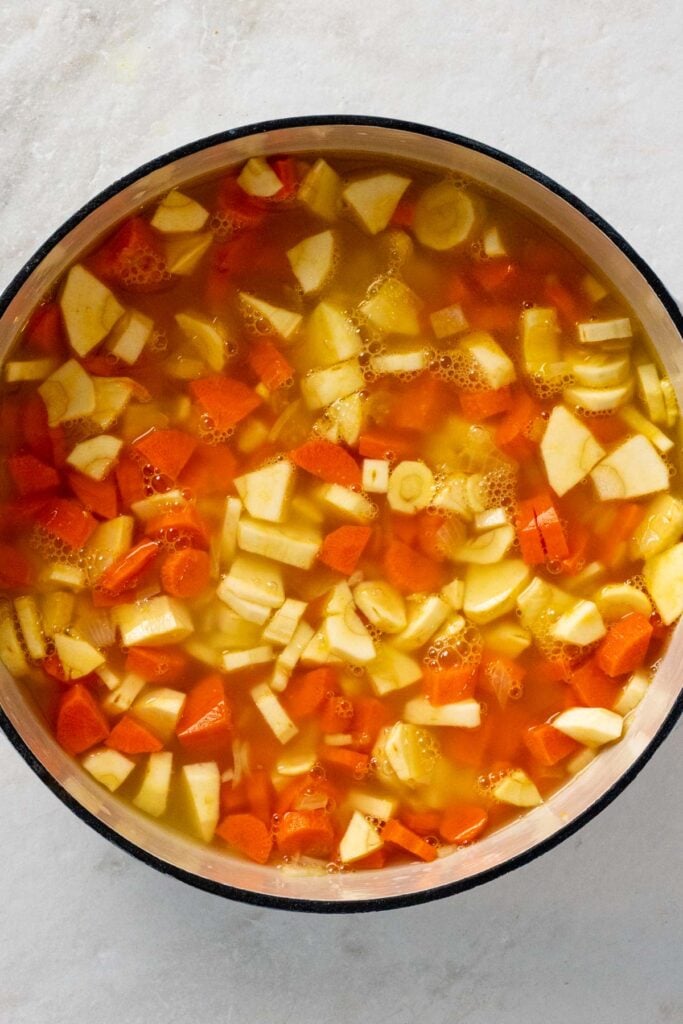
- Add the vegetable broth, salt, and pepper to the pot, stir to combine with the vegetables, and bring to a boil, then reduce to a simmer, cover, and cook for 15-20 minutes, stirring occasionally, until the carrots and parsnips are tender and can easily be pierced with a fork.
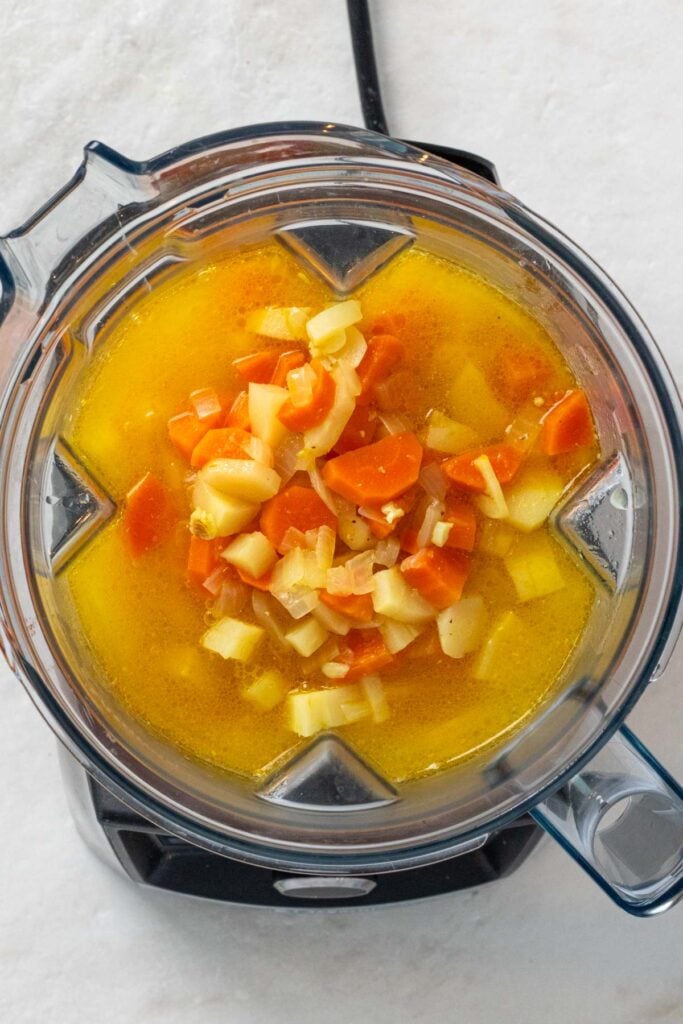
- Once cooked, remove the lid and, using an immersion blender, blender, or food processor, purée the soup until smooth. Then add the heavy cream, stir to combine, taste, and adjust seasoning with additional salt and pepper as needed.
- The soup can be served immediately with chopped parsley and crusty bread, or cooled and stored in the fridge for up to 5 days or in the freezer for up to 3 months.
Notes
To Use Garlic Powder: Swap the garlic cloves for 2 teaspoons of garlic powder and add it in step #2.
Nutrition
- Serving Size: 1 serving
- Calories: 187 calories
- Sugar: 10 grams
- Fat: 9 grams
- Carbohydrates: 27 grams
- Fiber: 7 grams
- Protein: 2 grams