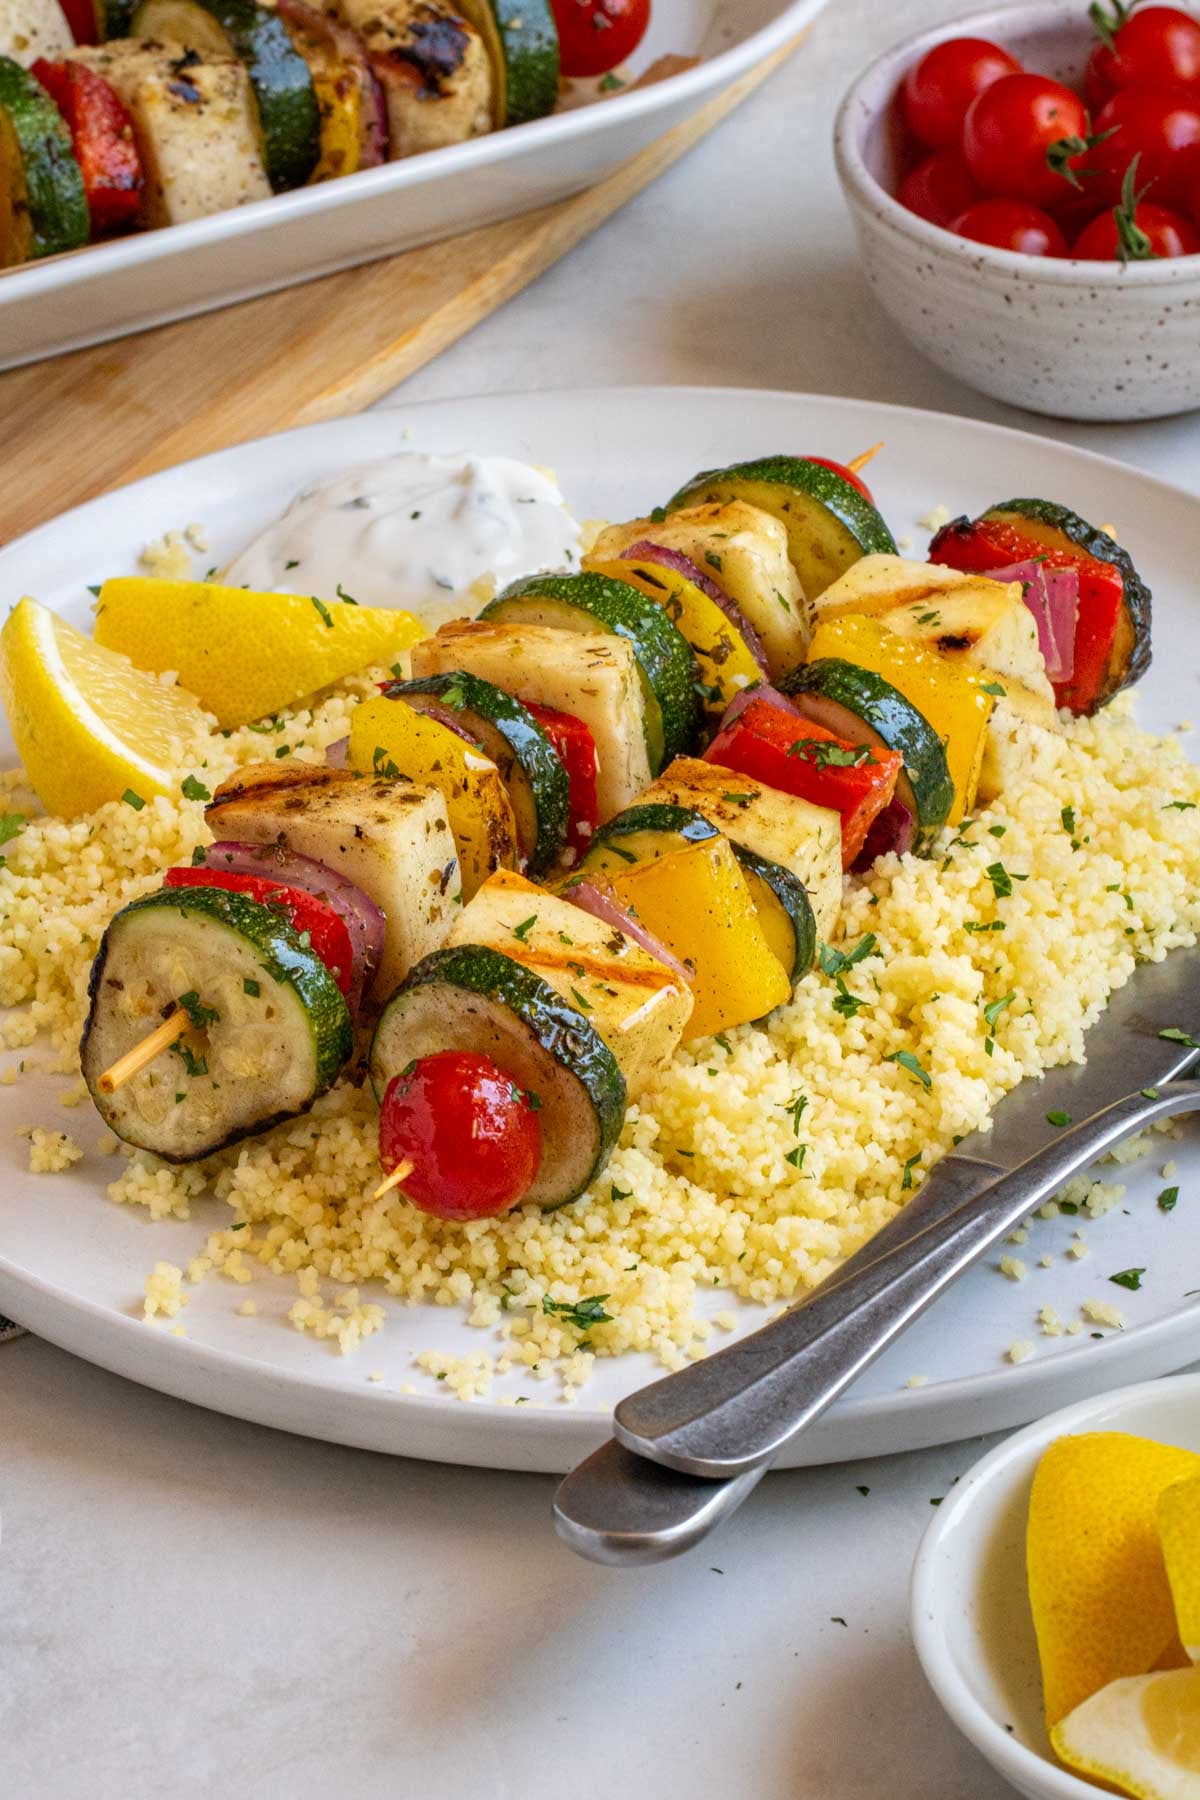
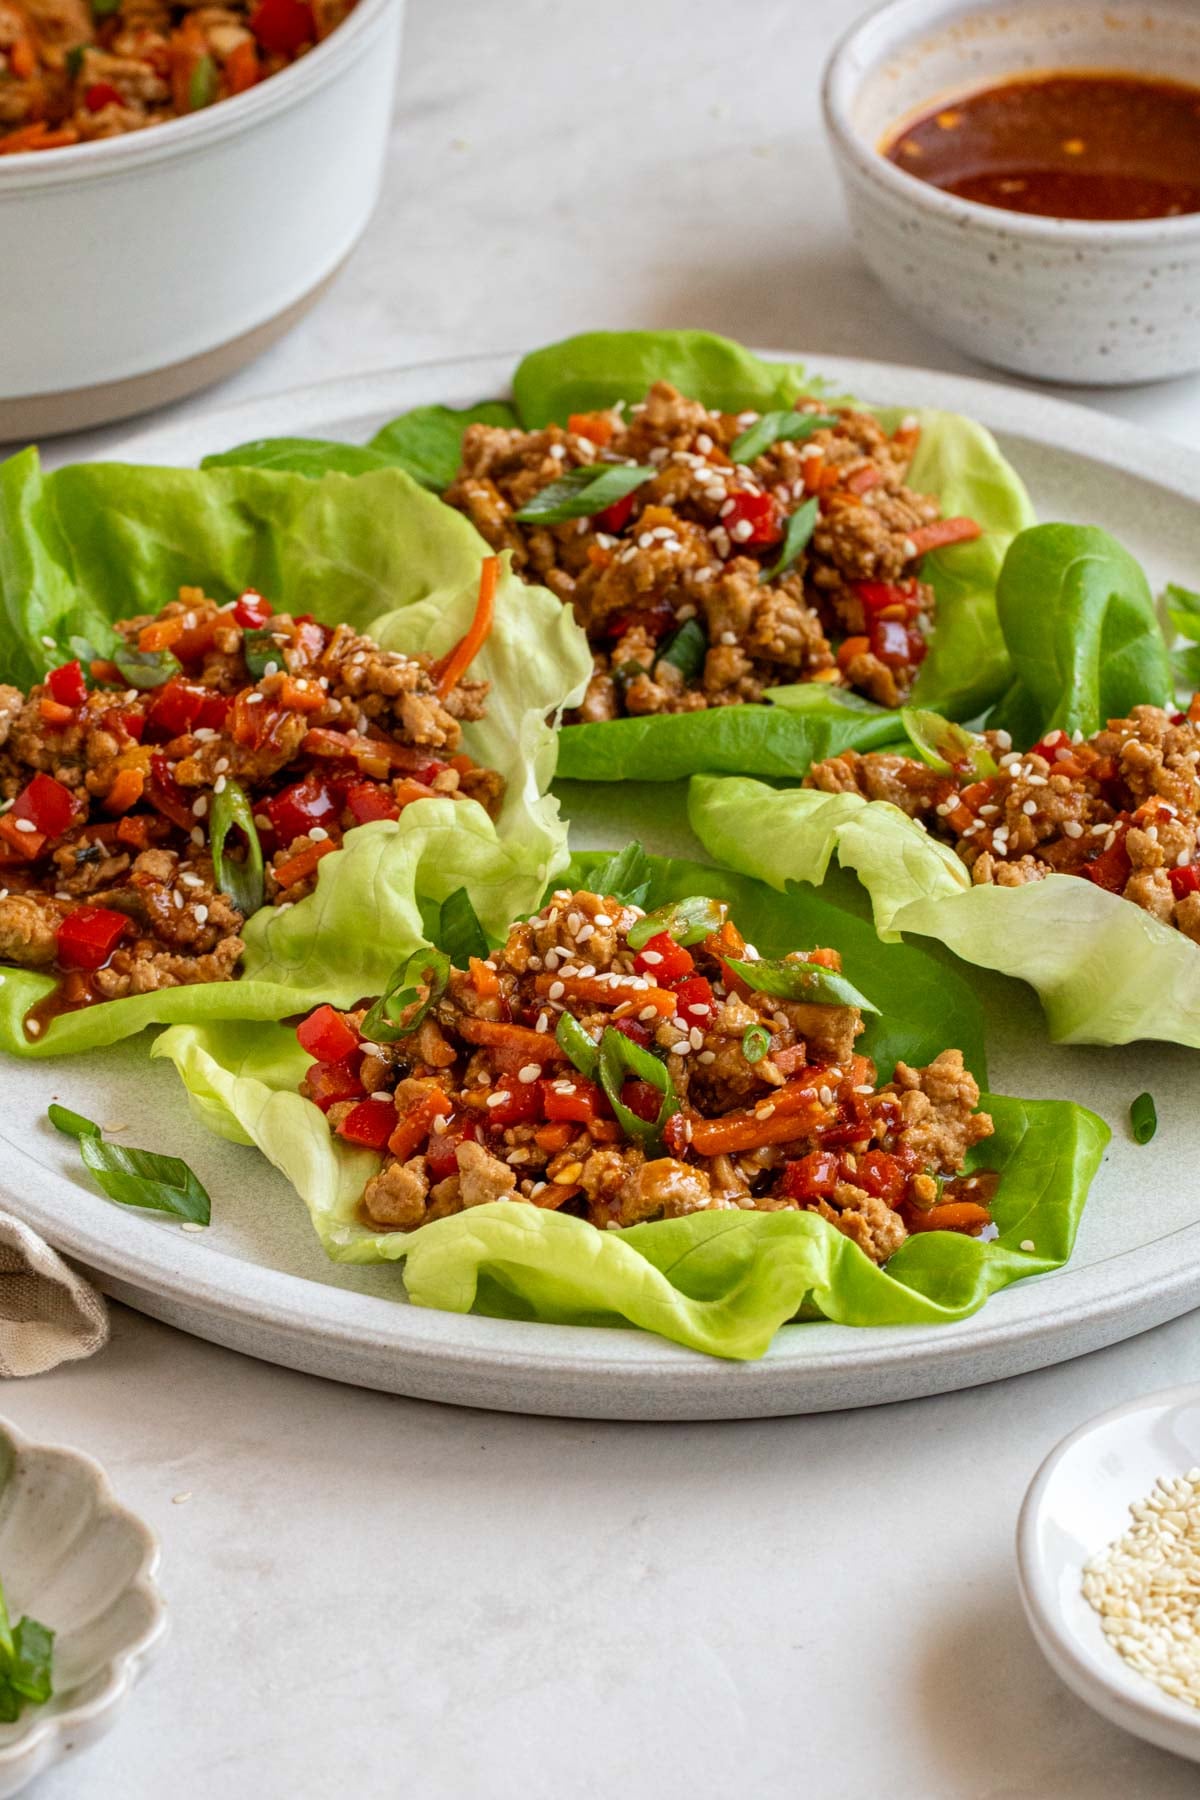
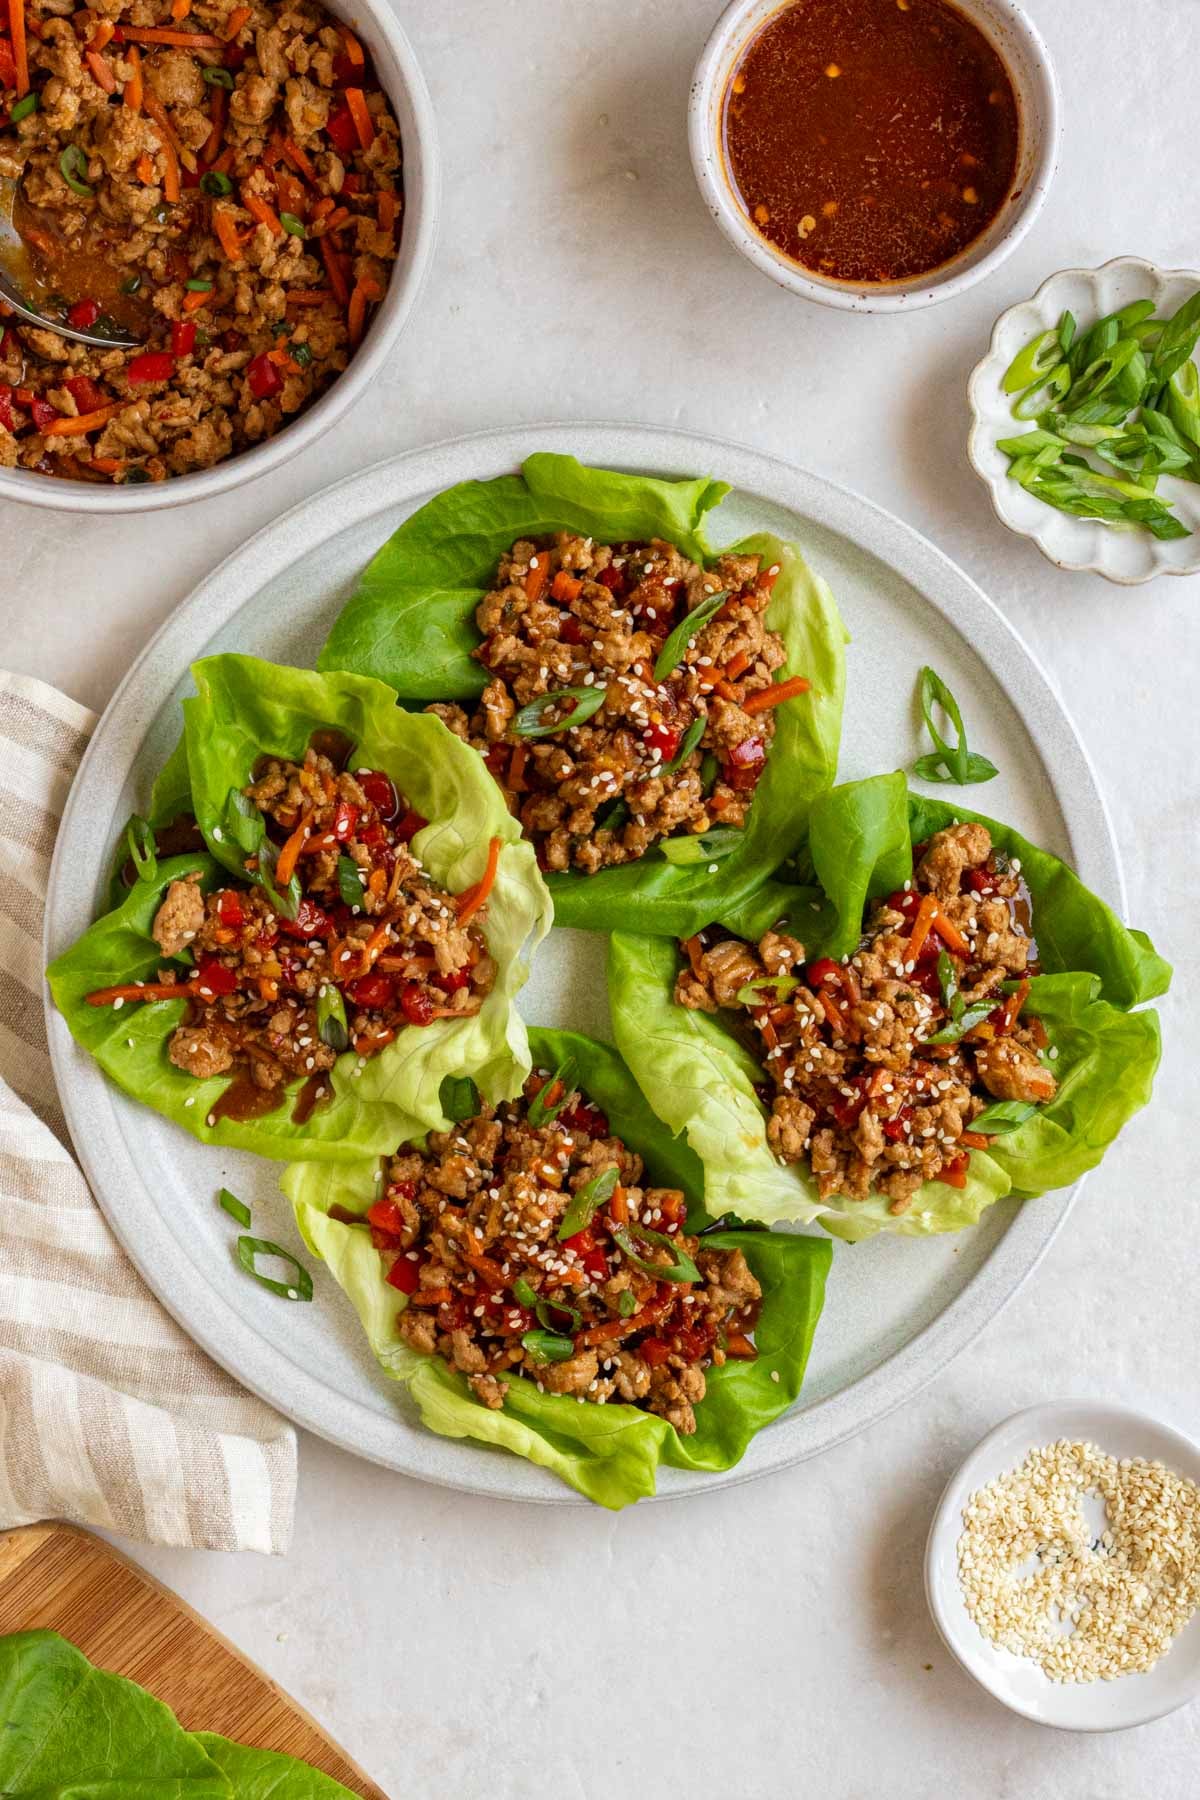
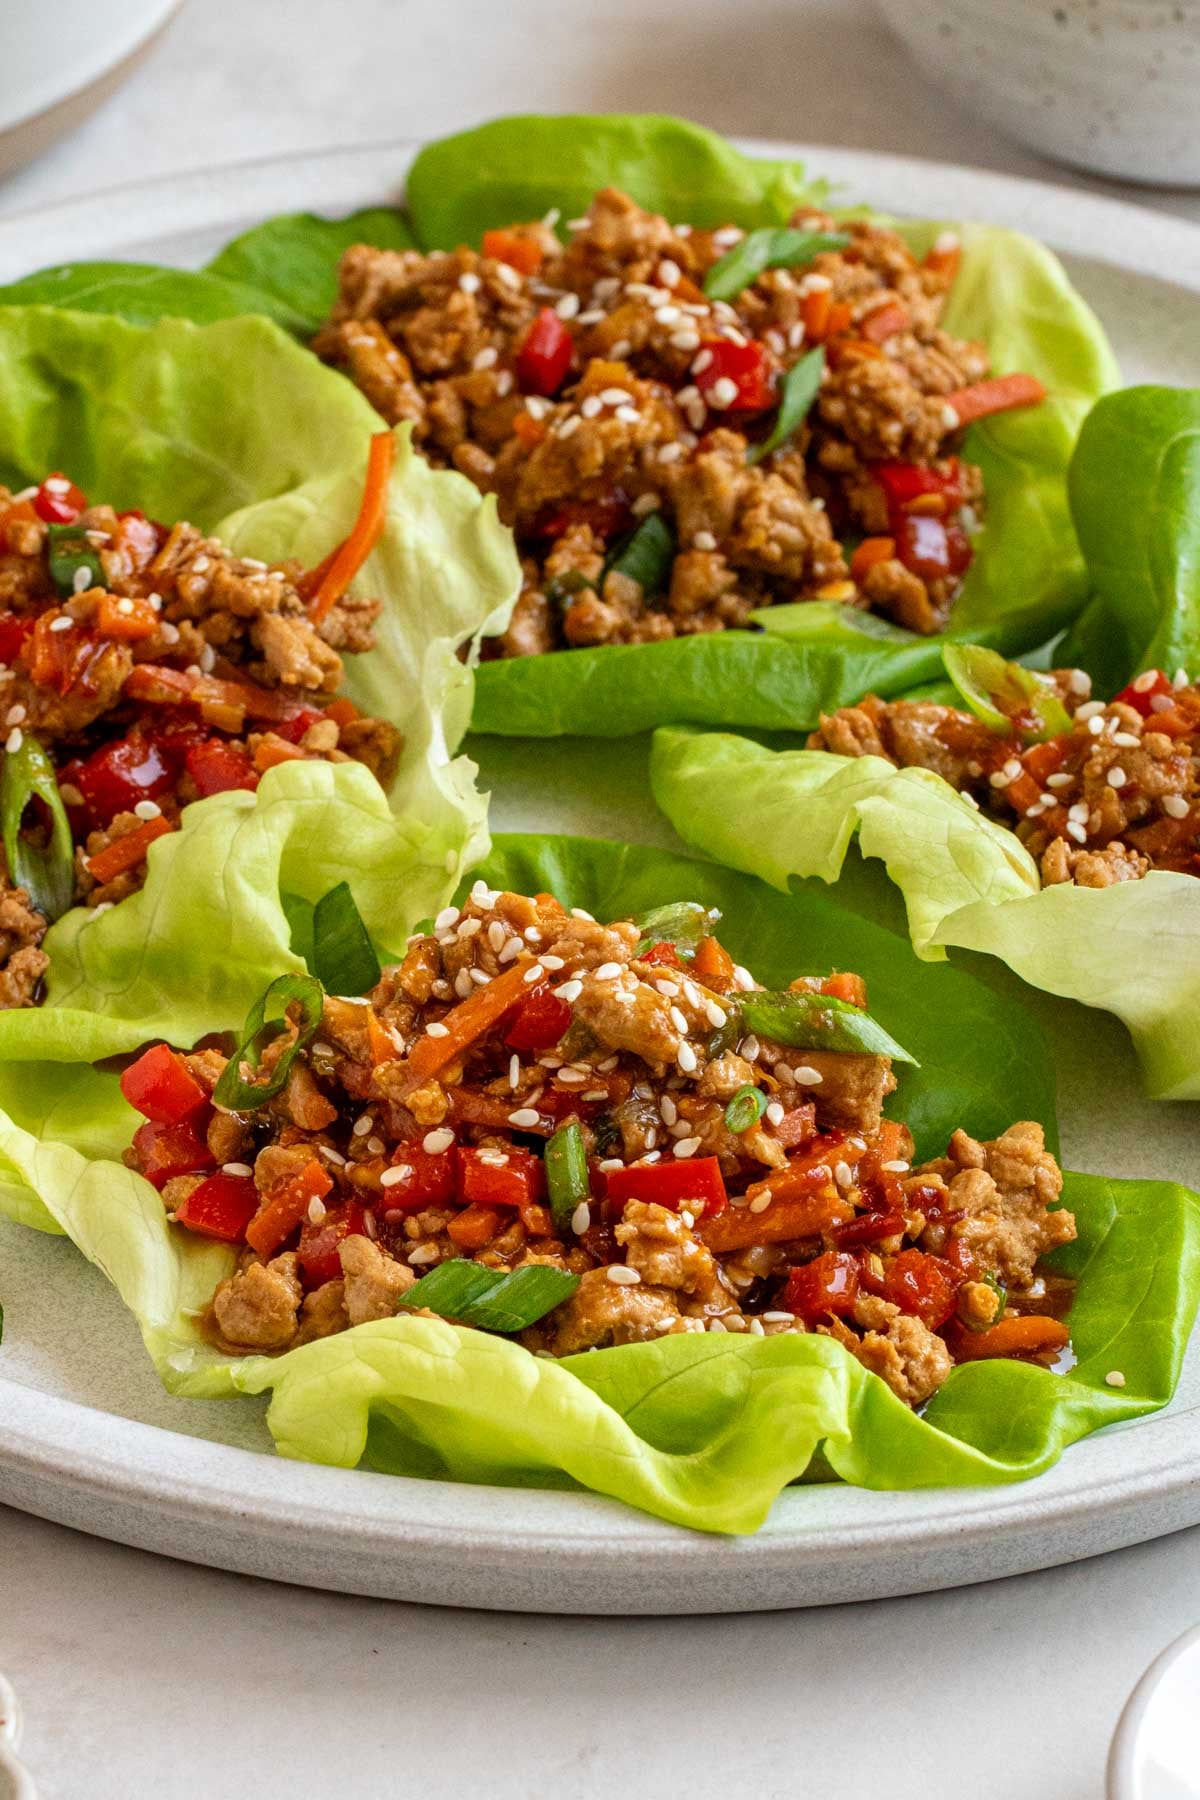
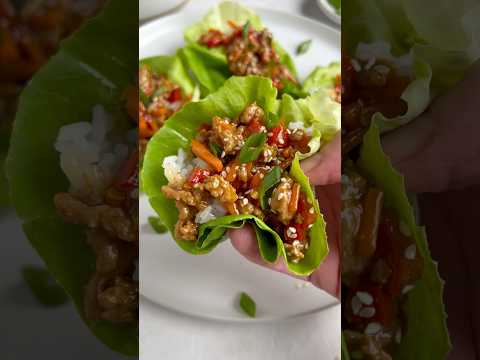
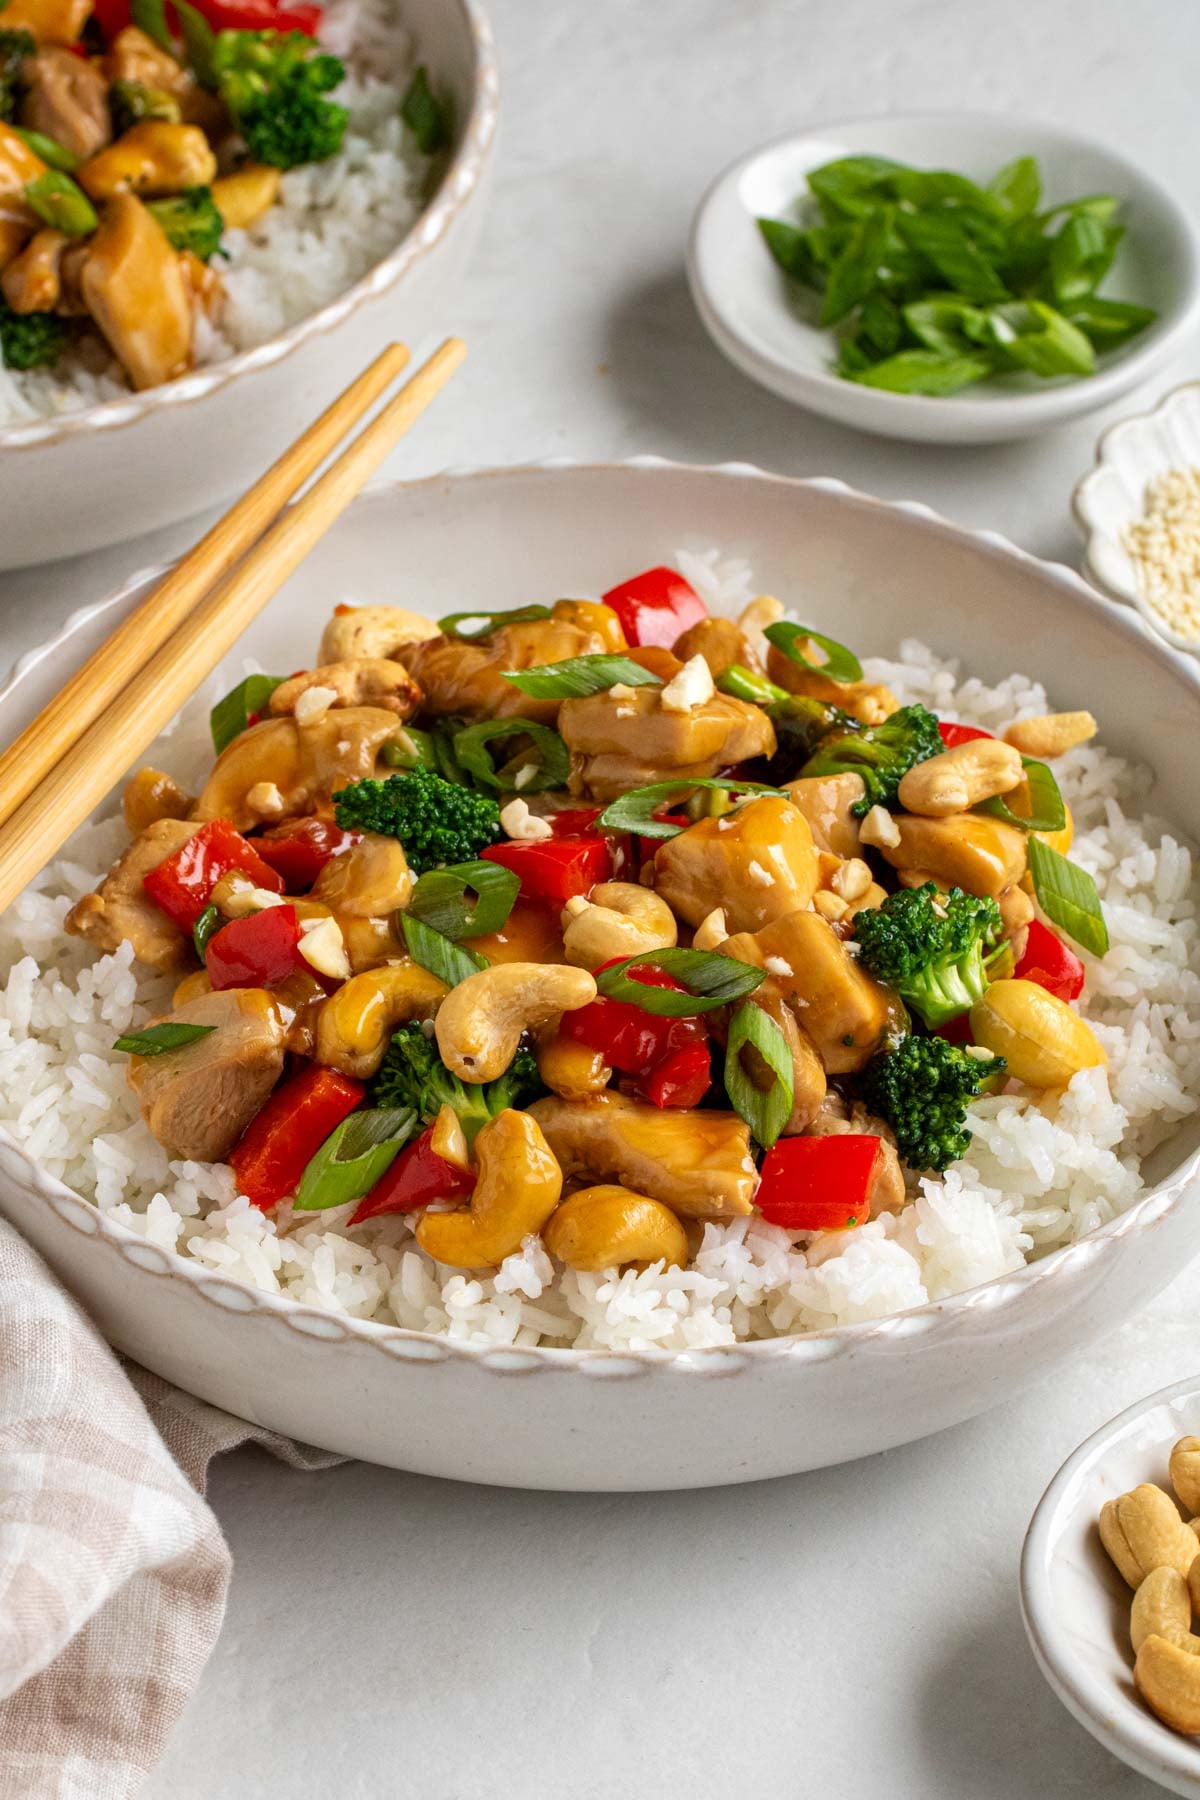
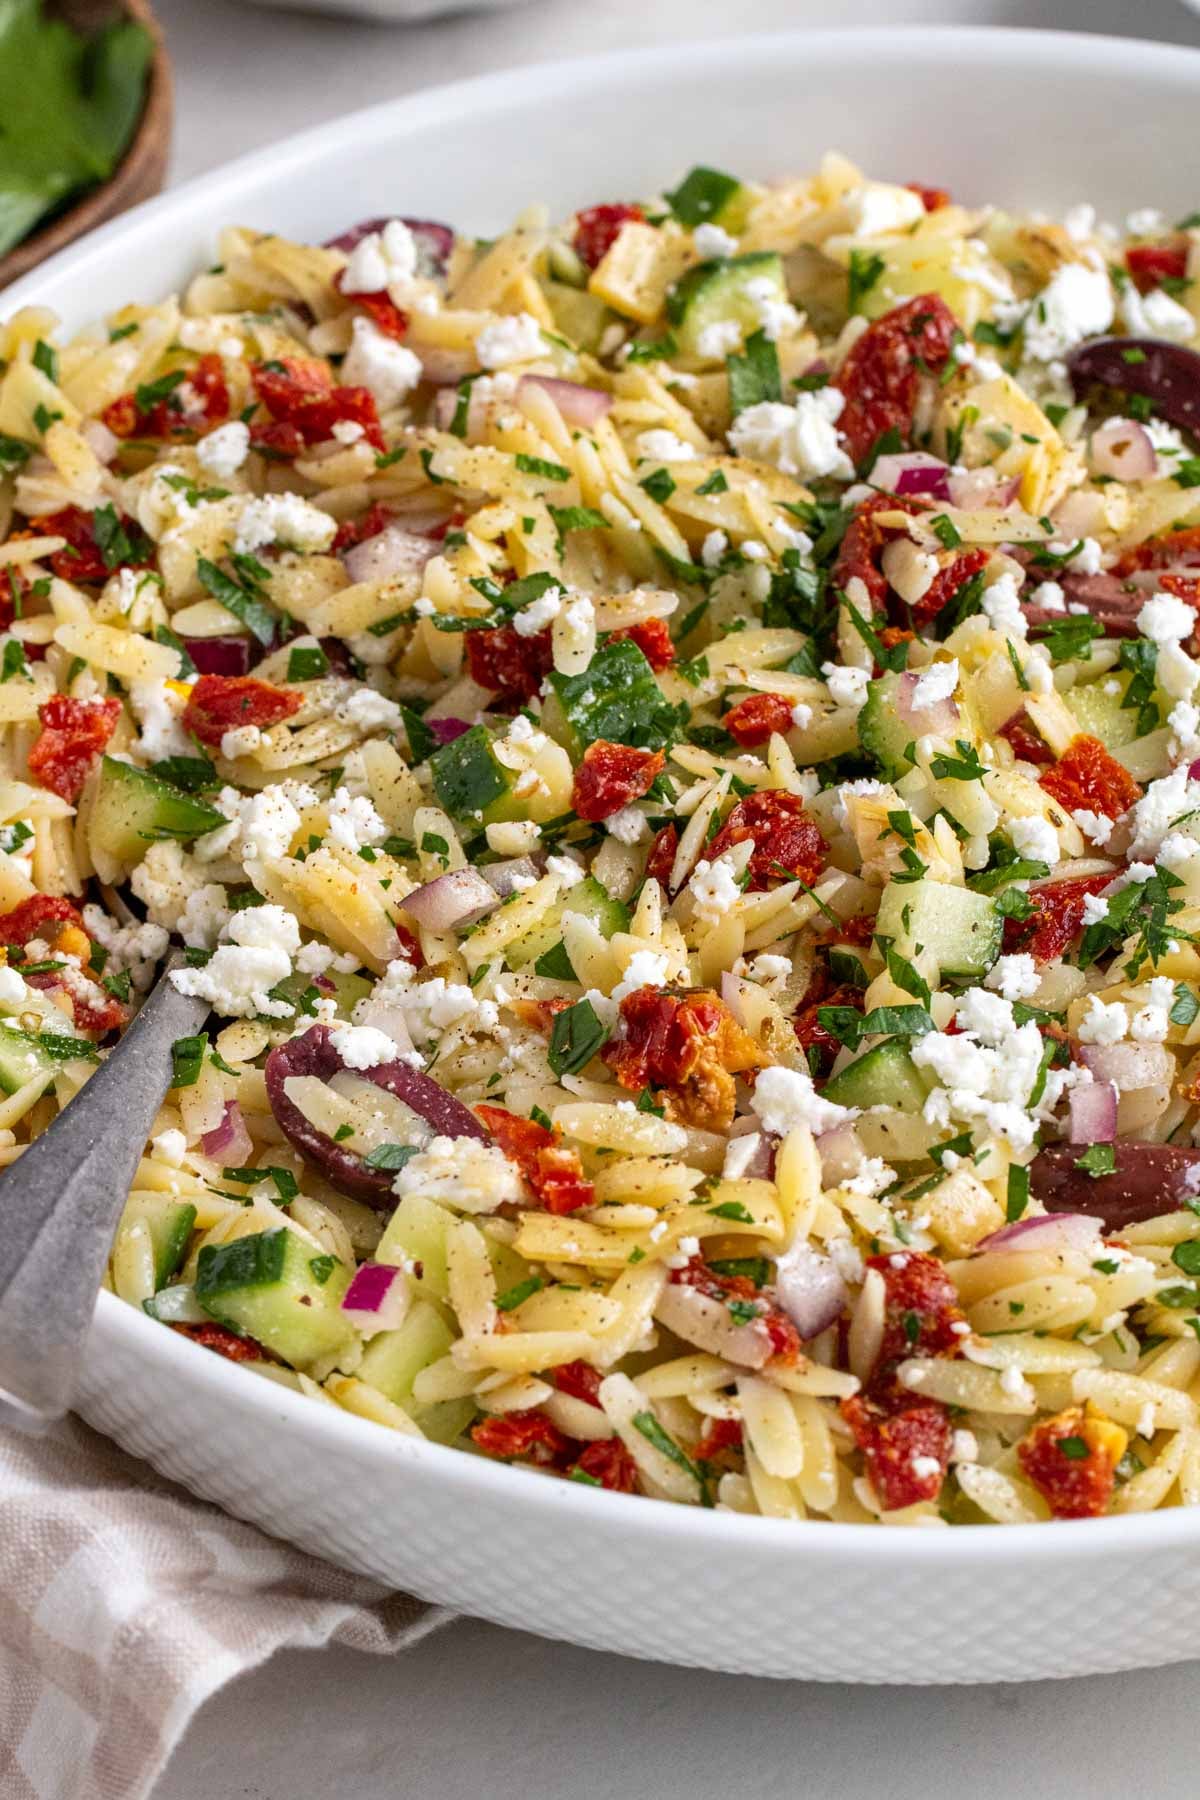
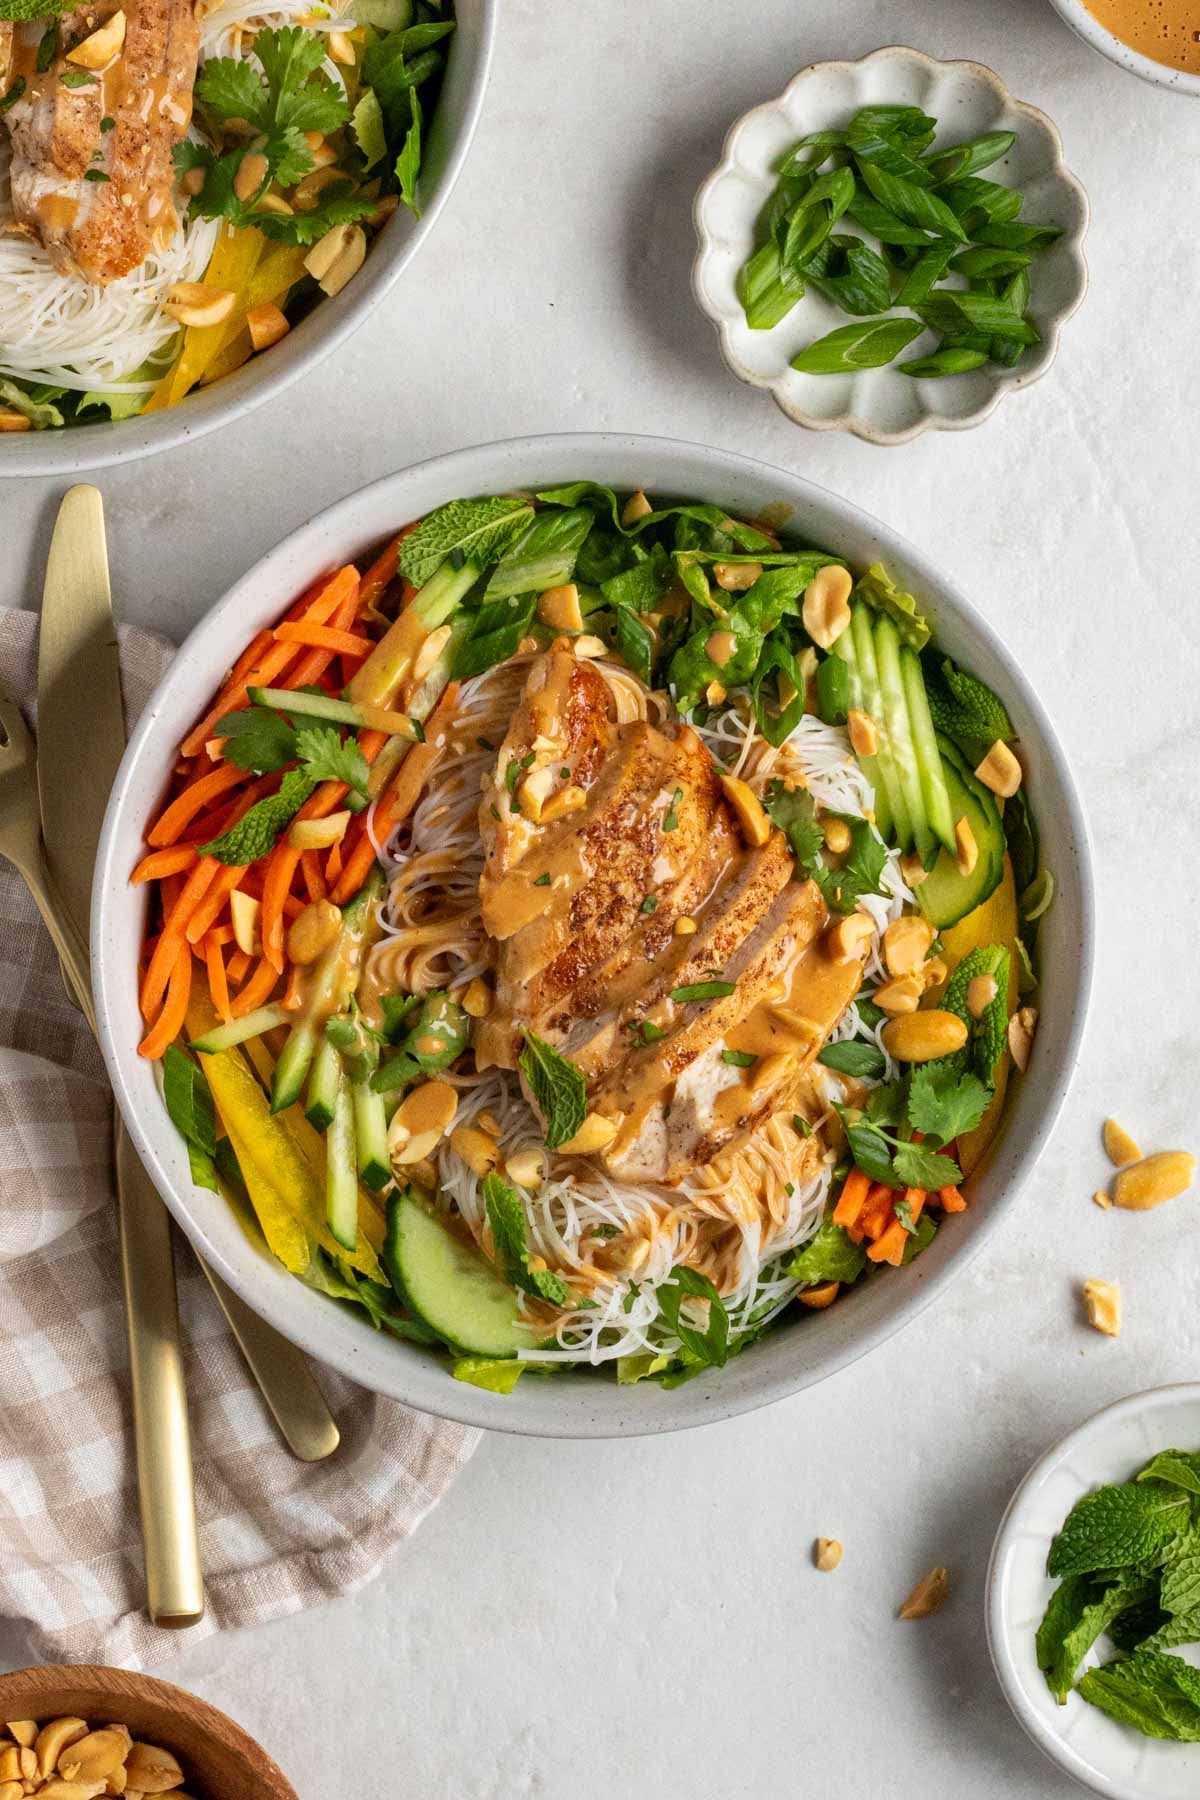
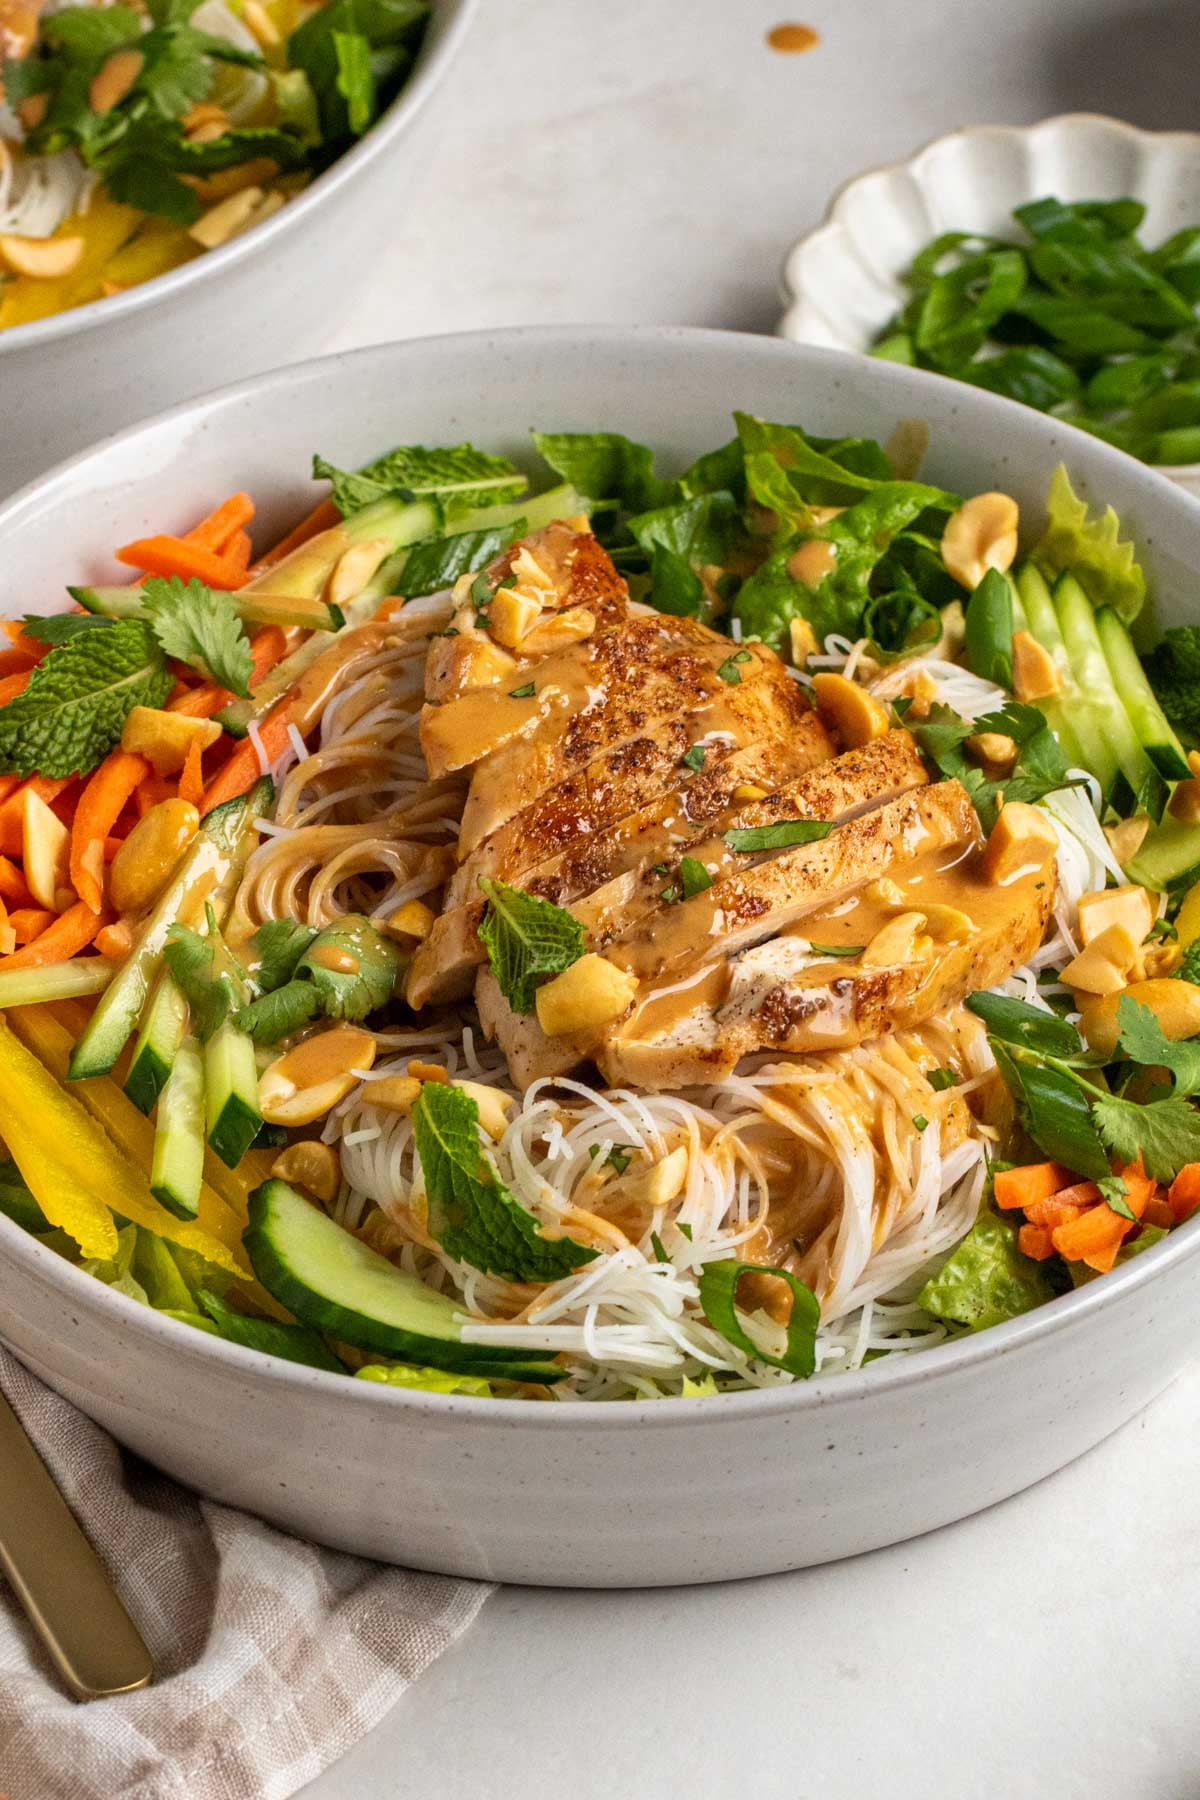
These chicken spring roll bowls with peanut sauce are everything you love about fresh spring rolls turned inside out. They are easy to make, high in protein, and absolutely delicious!
I don’t know about you, but I love spring rolls. They are fresh, filling, and the creamy peanut sauce makes them oh-so-delicious! Unfortunately, the wrapping can make them a bit tedious to make, but fortunately, you can make this simpler deconstructed version that is, arguably, just as delicious.
This chicken spring roll bowl recipe is perfect for a quick summer meal and something the whole family can enjoy. You can serve them as designed or create a little build-your-own-bowl buffet so everyone can make their own bowl just the way they want it.
Why You’ll Love Them
- Quick and Easy – Ready in 30 minutes, these spring roll bowls are perfect for a quick and healthy weeknight dinner.
- High in Protein – The combination of chicken and peanuts ensures each bowl contains nearly 40 grams of protein per serving.
- Full of Flavor – The homemade peanut sauce fills the bowls with flavor in every bite.
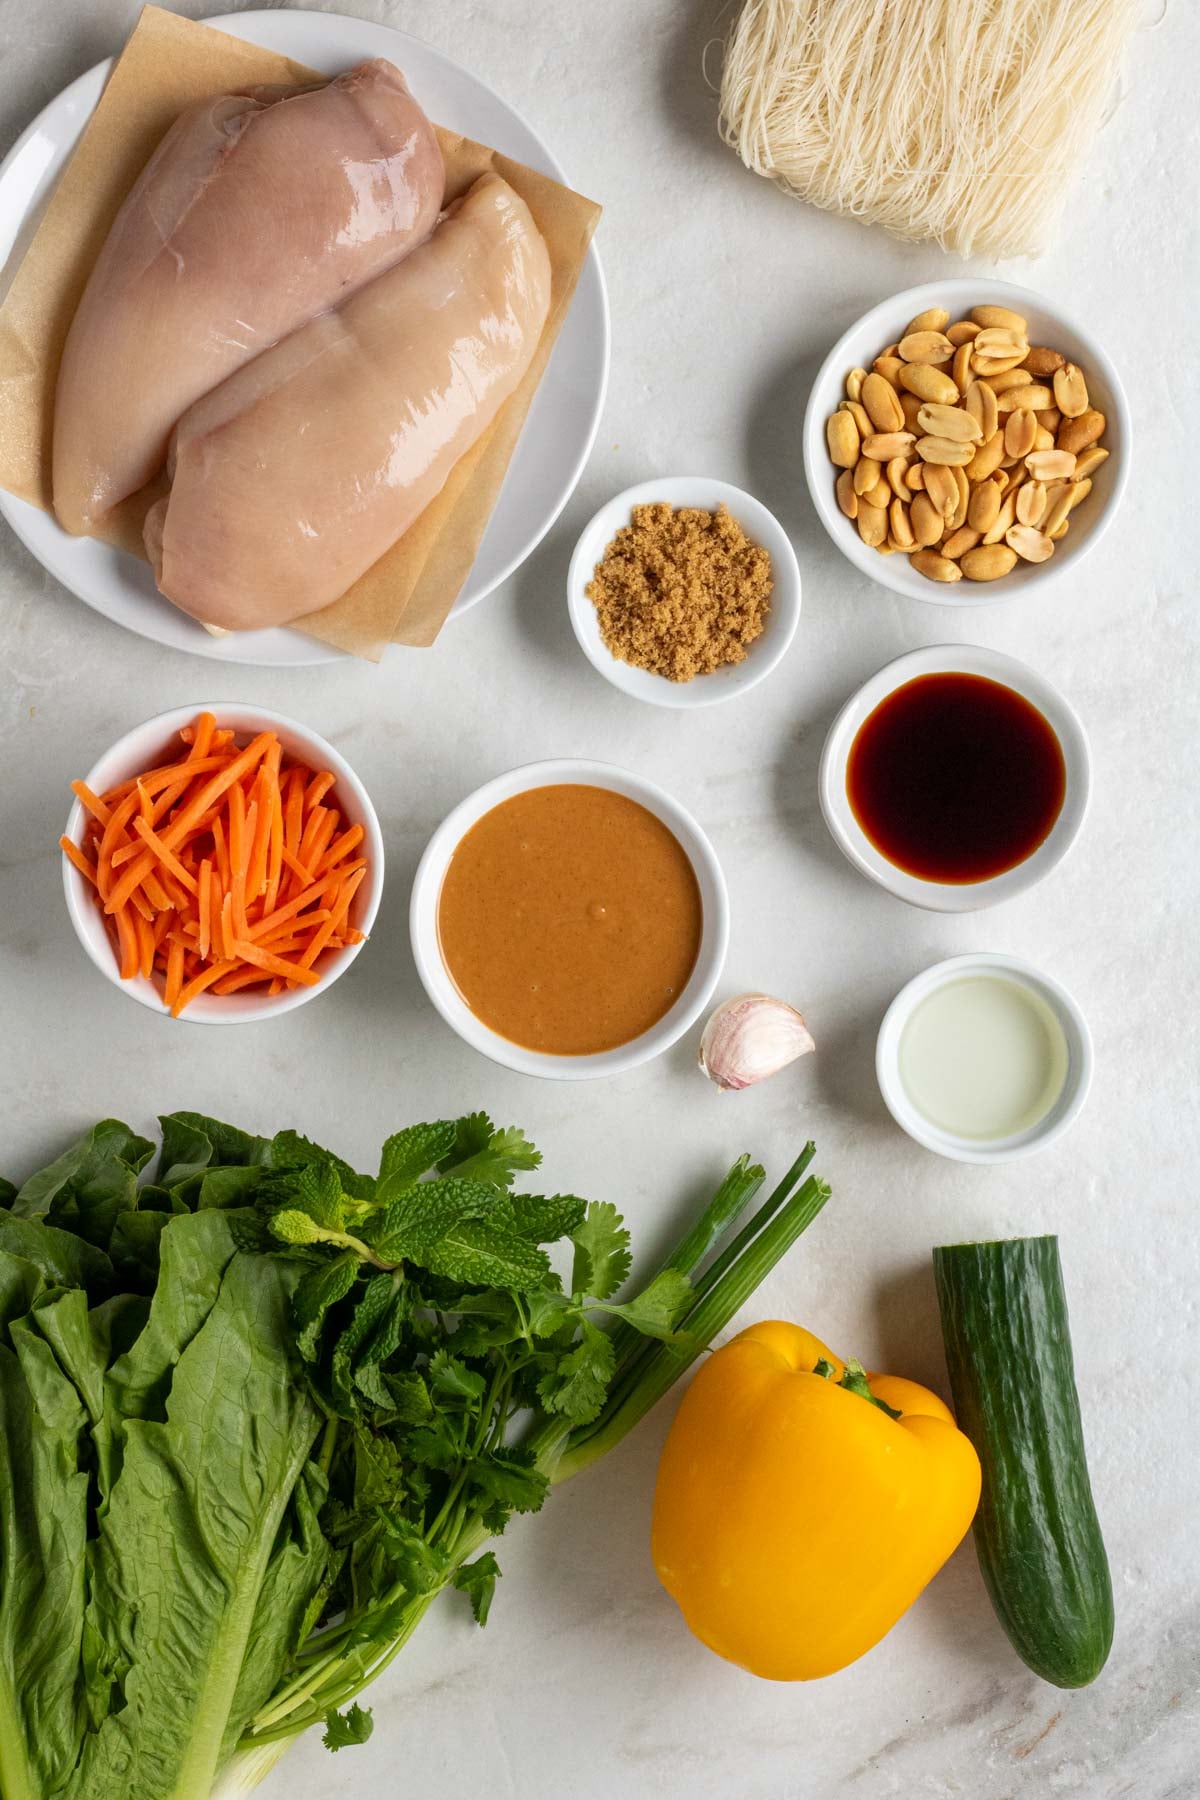
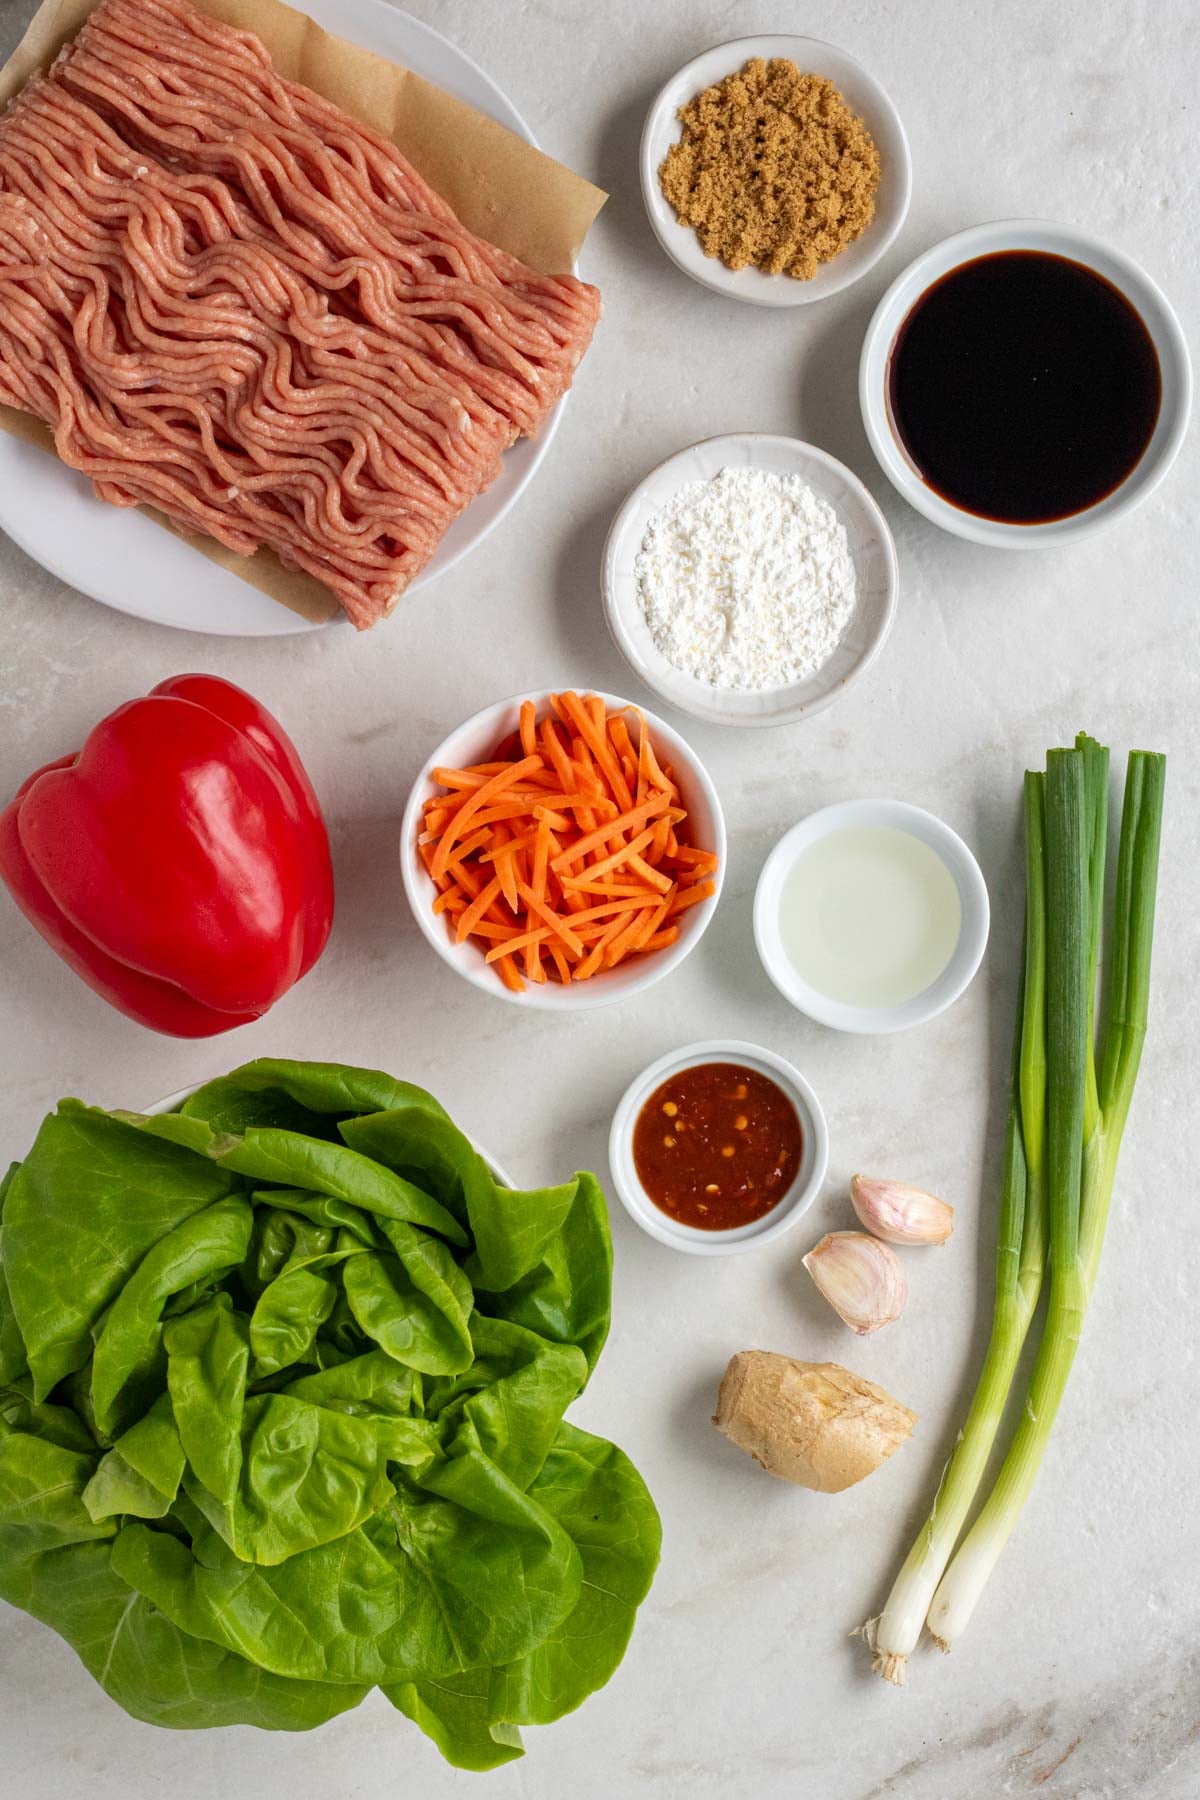
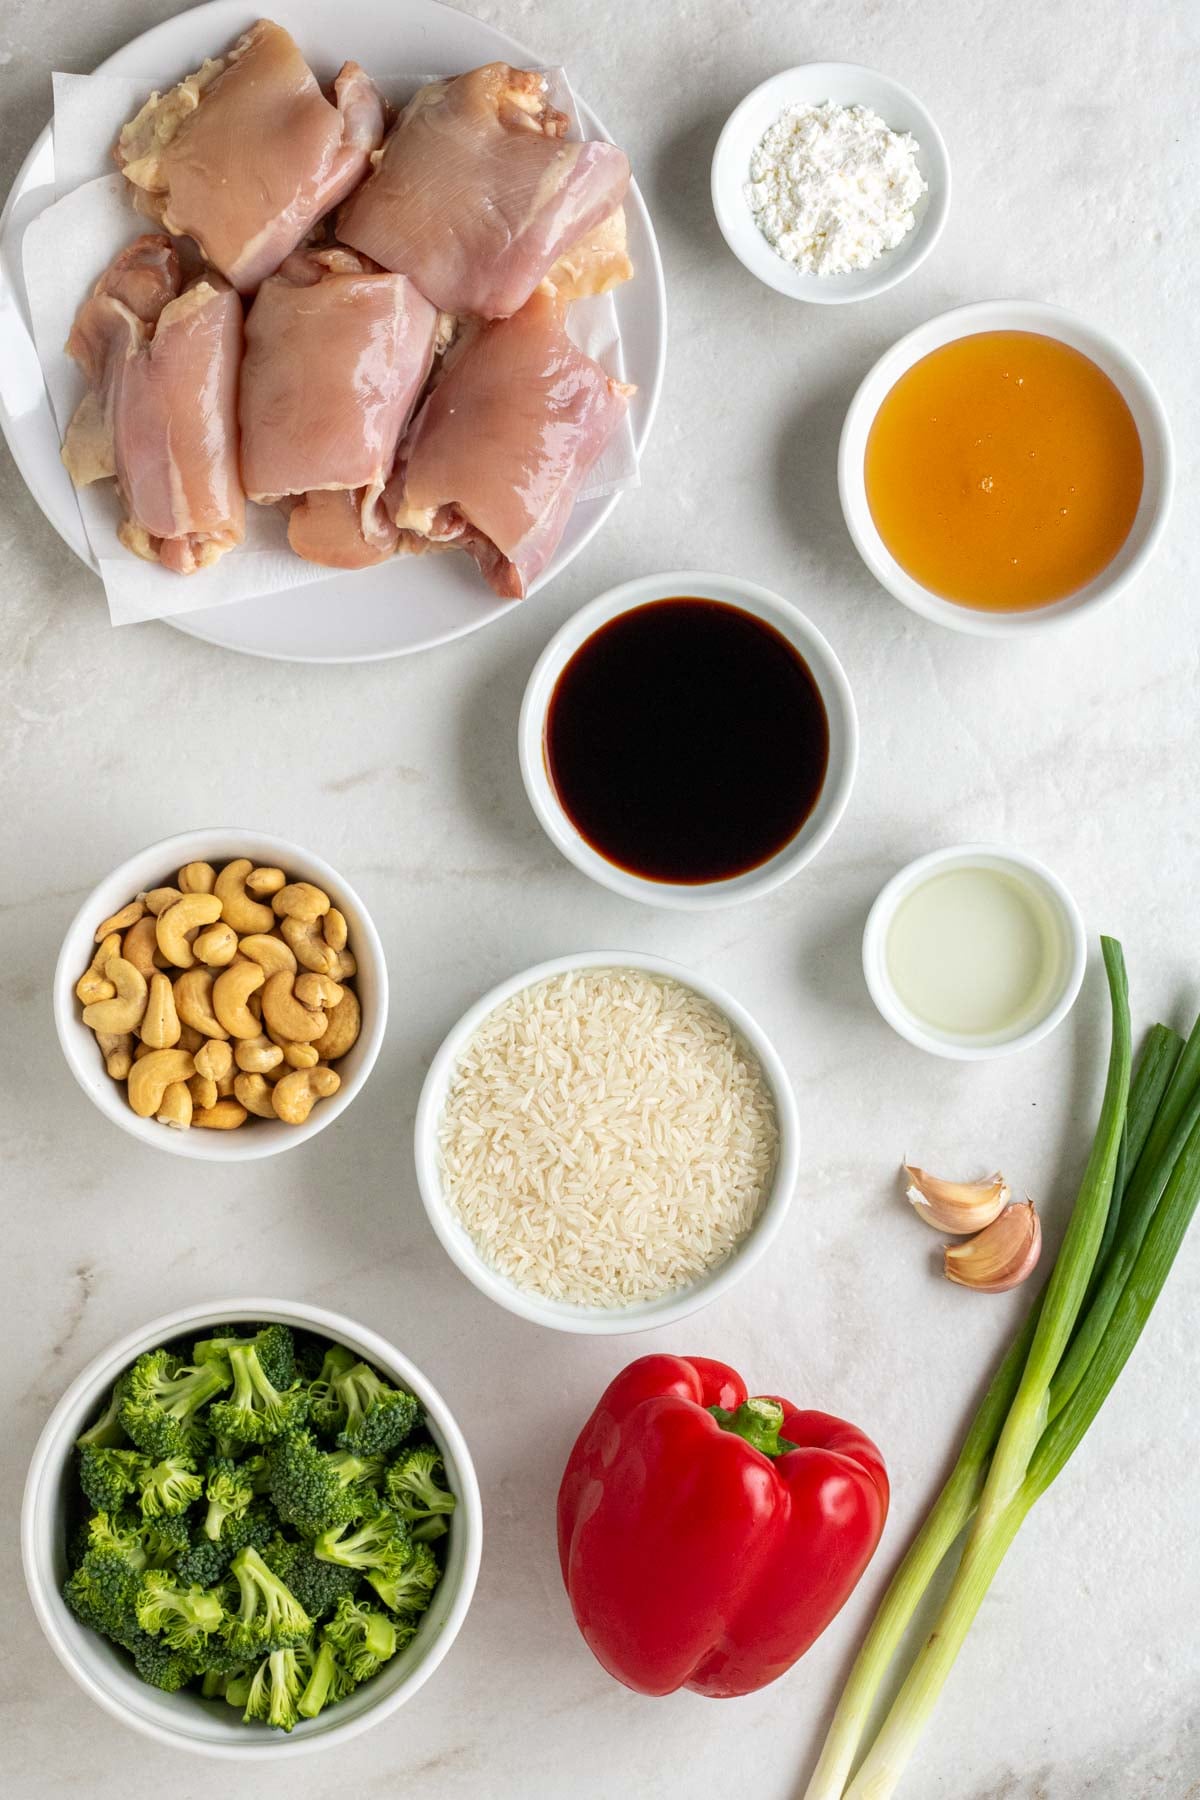
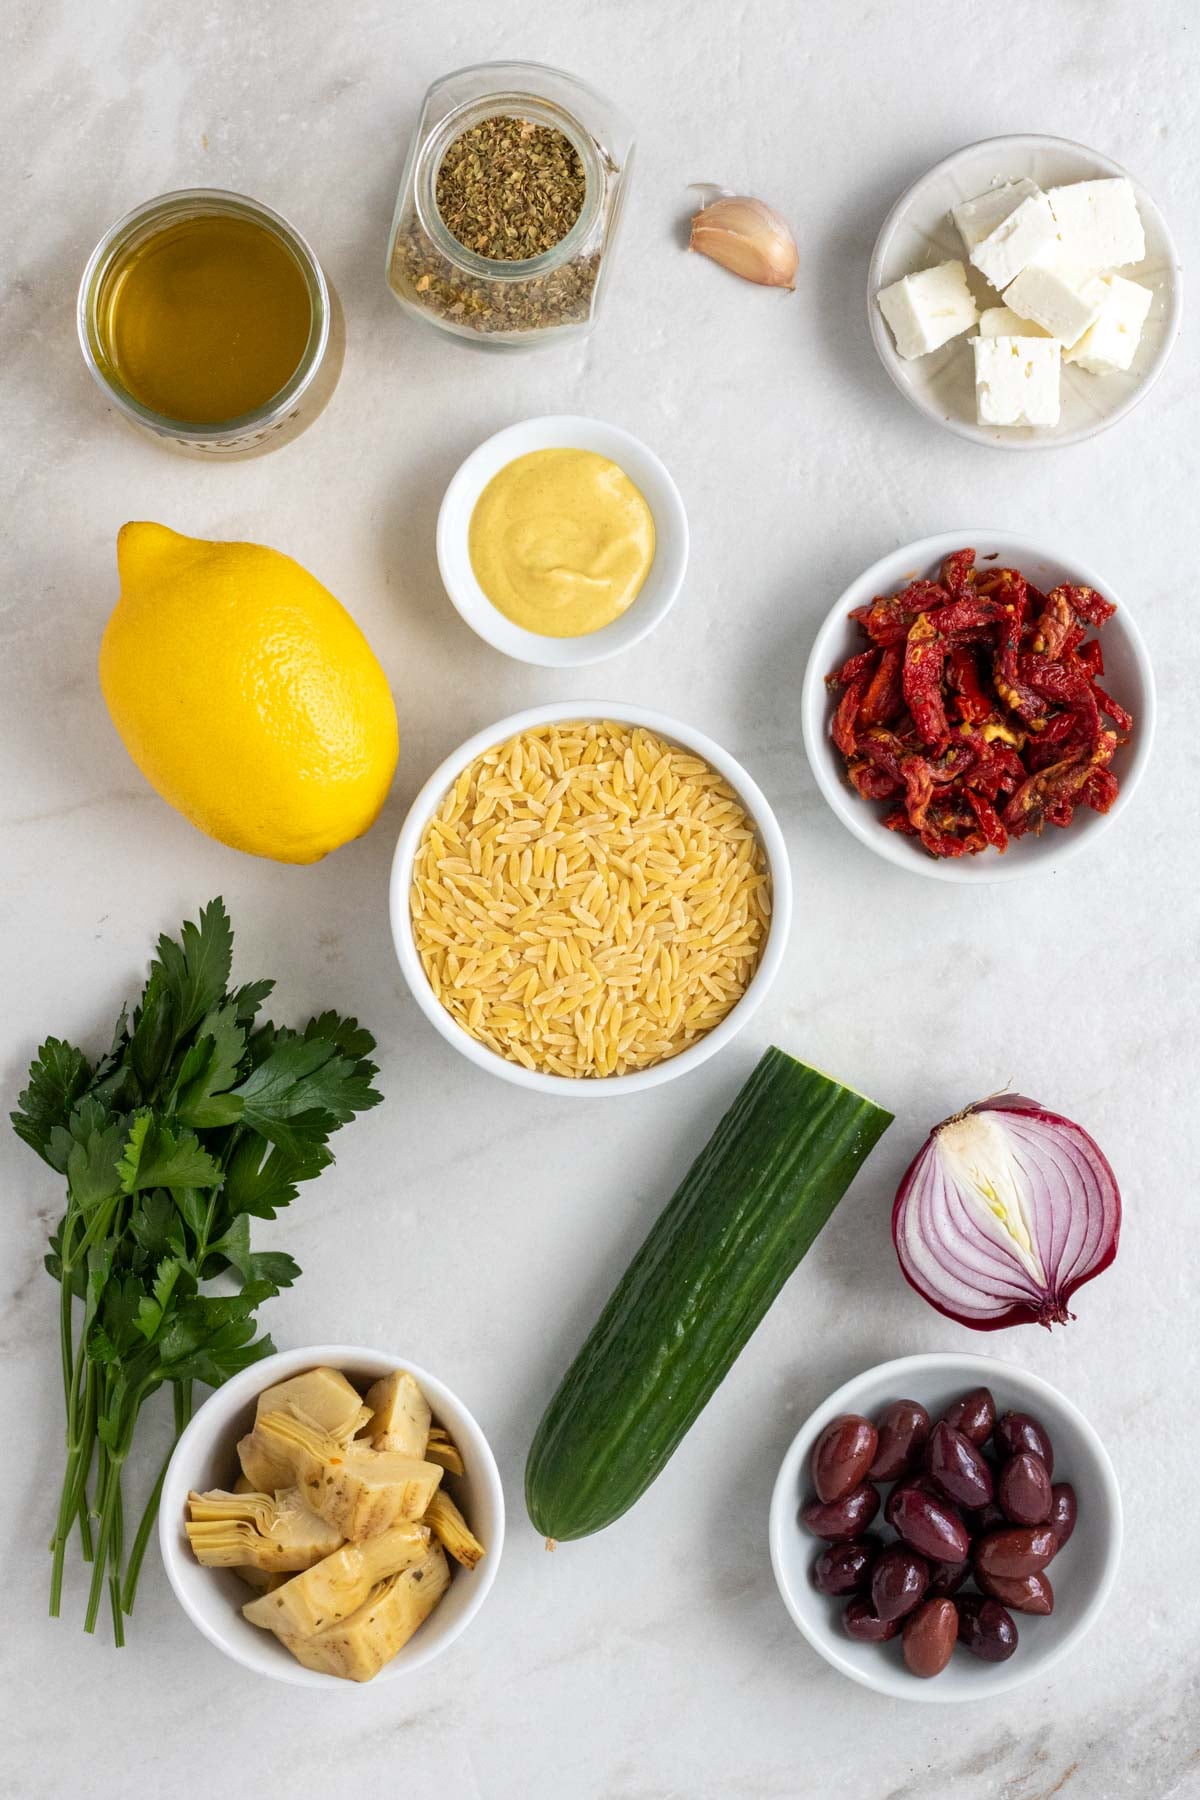
Ingredients + Substitutions
- Chicken – To add some protein to the bowls. The recipe calls for boneless, skinless chicken breasts, but you can use boneless, skinless chicken thighs if preferred. You can also use rotisserie chicken or leftover shredded chicken if desired. See the notes section of the recipe card for details.
- Rice Noodles – To add some complex carbohydrates. The recipe calls for vermicelli noodles, as they are most commonly used in spring rolls, but you can use any rice noodles you like.
- Veggies – To add some color, crunch, and micronutrients. The recipe calls for a combination of romaine lettuce, carrots, bell pepper, cucumber, and green onions, but red or green cabbage would also work well.
- Peanut Butter – To make the peanut sauce and add some more protein and healthy fats.
- Soy Sauce – To flavor the peanut sauce. You can use regular or low-sodium soy sauce.
- Sesame Oil – To add some flavor and healthy fats. I used regular sesame oil, but you can use toasted sesame oil if preferred.
- Brown Sugar – To add a hint of sweetness to the sauce, honey or maple syrup will also work.
- Rice Vinegar – To add some acidity to the peanut sauce, lime juice will also work well. See the notes section of the recipe card for details.
- Garlic – To flavor the recipe. The recipe calls for garlic cloves, but garlic powder will also work well. See the notes section of the recipe card for details.
- Red Pepper Flakes – To add a bit of heat, although optional. Chili paste and hot sauce would also work well.
- Fresh Herbs – To serve, although optional.
- Peanuts – To serve, although optional.

Dietary Adaptions
To Make them Gluten-Free: Swap the regular soy sauce for certified gluten-free soy sauce, tamari, or coconut aminos.
To Make them Dairy-Free: No adaptations are needed; this recipe is dairy-free.

Red’s Nutrition Tip
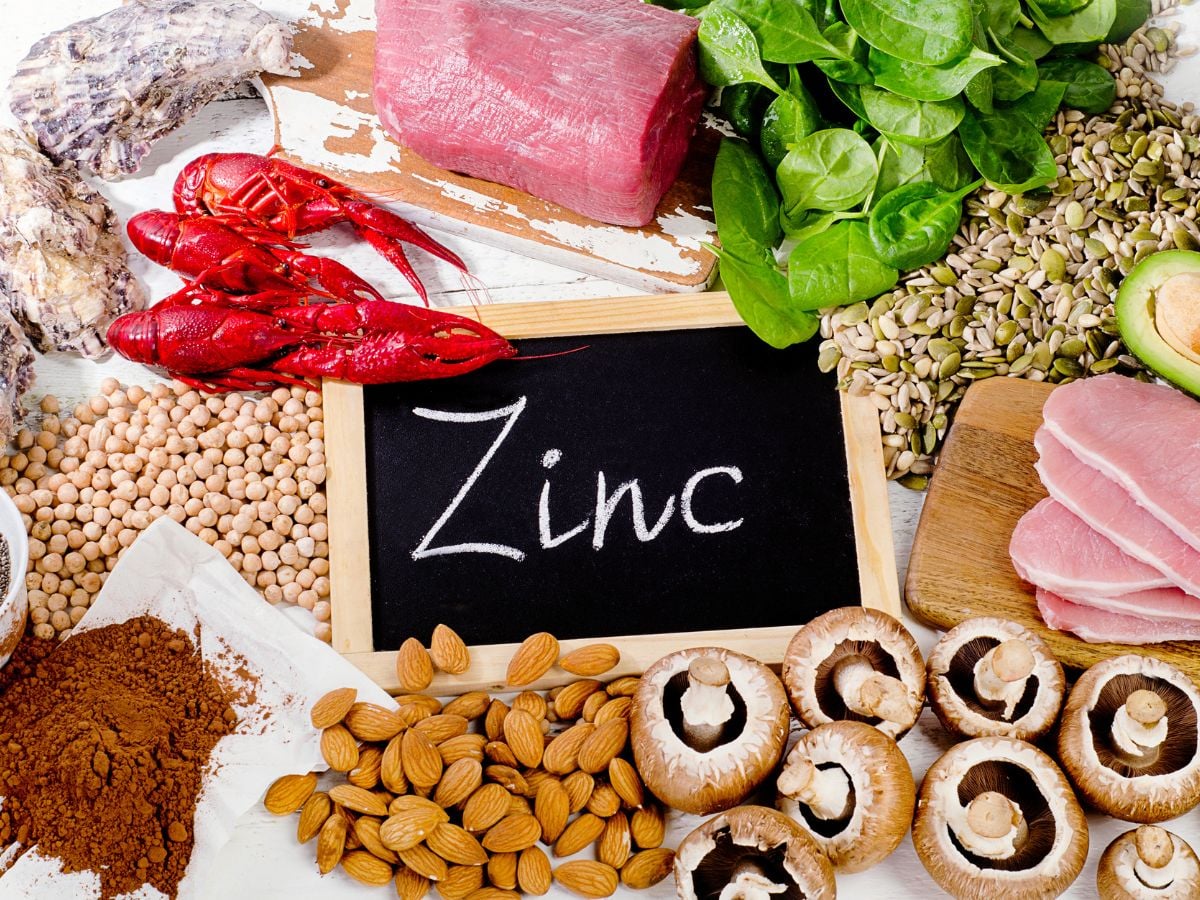
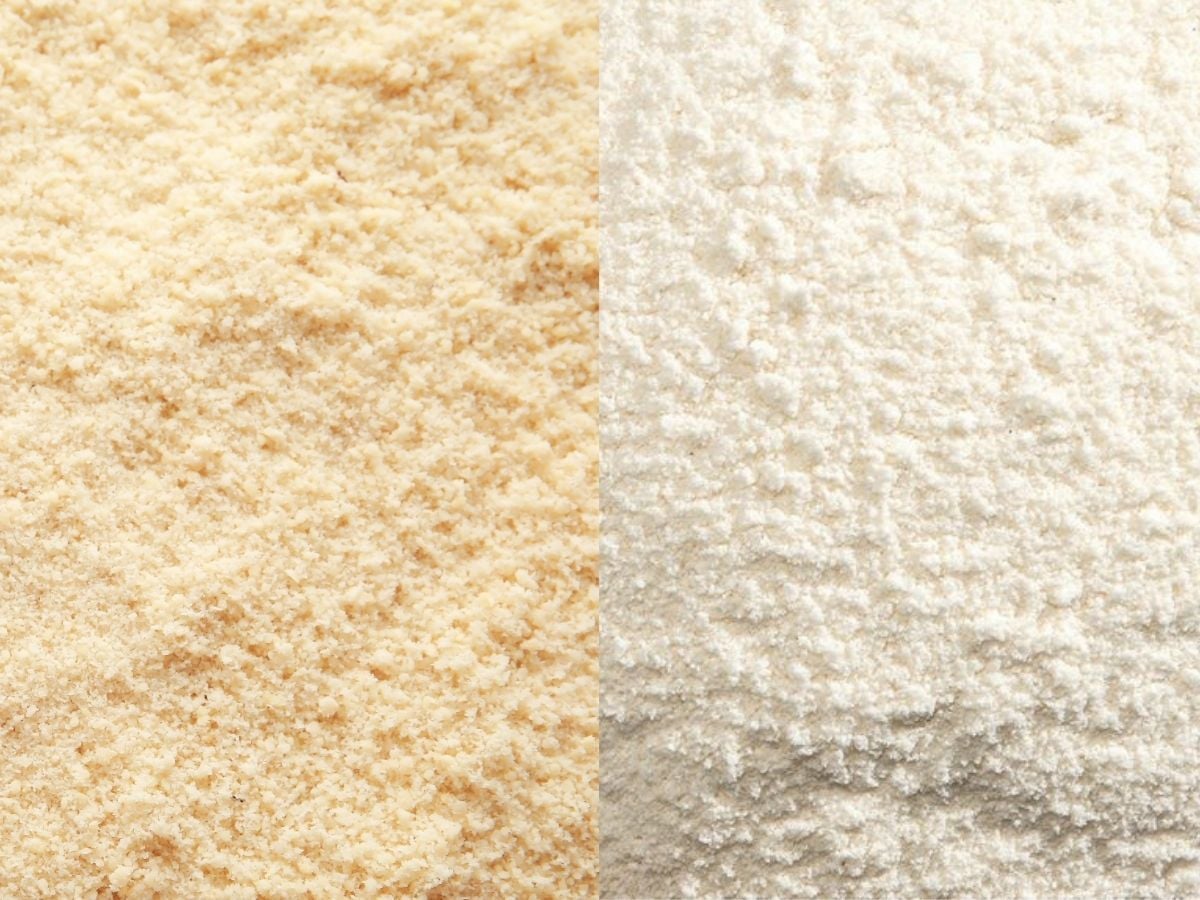
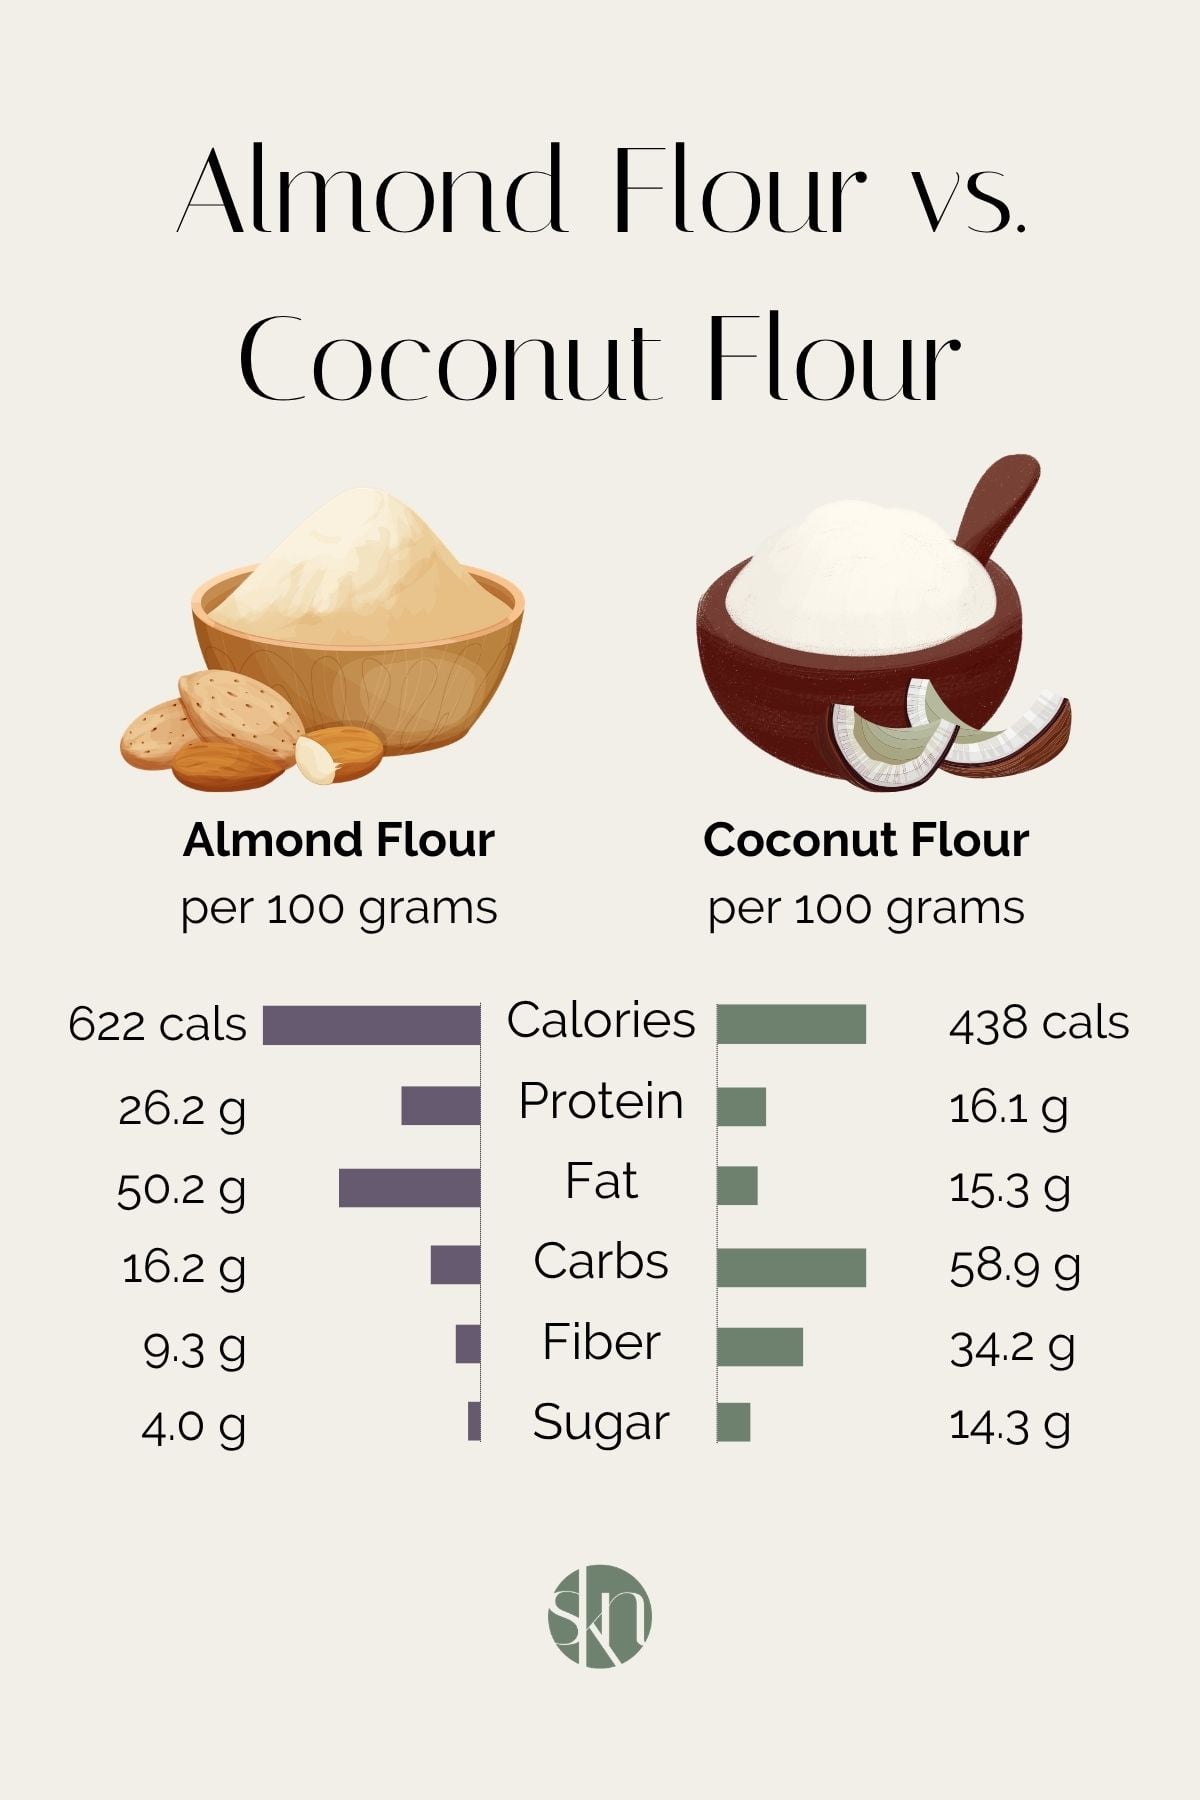
If you want to make this recipe peanut-free, you can swap the peanut butter for almond butter. While peanut butter is slightly higher in protein and fiber, almond butter contains less sugar and more micronutrients per serving.
Serving Suggestions
These bowls are a balanced meal with protein, carbohydrates, fiber, and fat. They can be enjoyed as is or adapted to suit your personal calorie or macro needs. For example:
- To make them higher in protein, add an additional 1/2 pound of chicken breasts ot the recipe and/or add some edamame to the bowls.
- To make them lower in carbohydrates, swap the rice noodles for zucchini noodles.
- To make them higher in fiber, add more carrots and/or additional high-fiber vegetables such as snap peas, green peas, or broccoli.
- To make them lower in fat, use low-fat peanut butter.
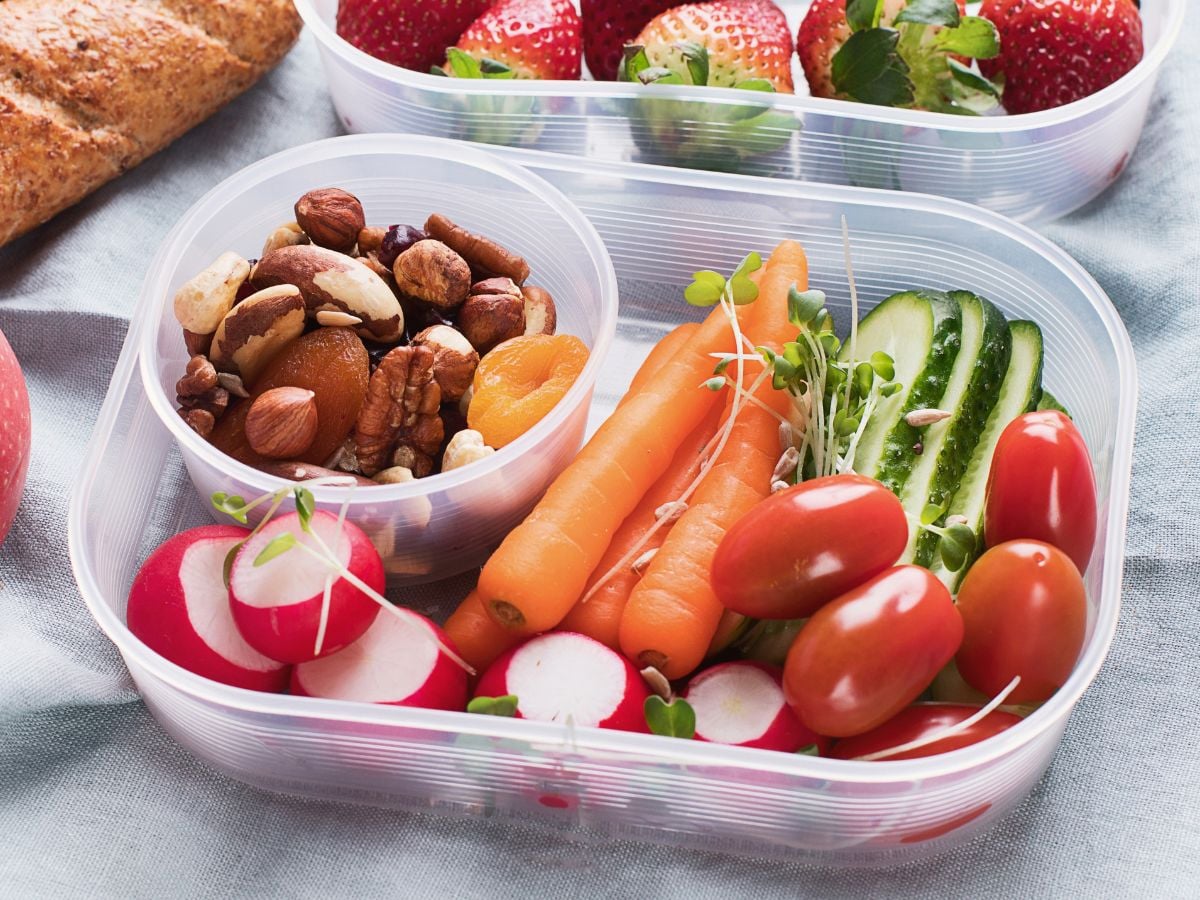
Storage + Reheating
To Refrigerate: Once cooled, the chicken, rice noodles, and vegetables can be stored together or in separate airtight containers in the fridge for up to 4 days. The peanut sauce can be stored in a separate container or jar for up to 1 week.
To Freeze: Once cooled, the cooked chicken, rice noodles, and peanut sauce can be stored in separate airtight containers in the freezer for up to 3 months. The vegetables cannot be frozen.
To Reheat: Once thawed, the grilled chicken and noodles can be reheated in the microwave for 1-2 minutes before adding them to the bowls. The bowls can also be enjoyed cold.
More Chicken Bowls:
Print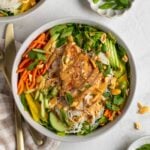
Chicken Spring Roll Bowls
These chicken spring roll bowls are ready in 30 minutes, high in protein, and full of flavor. Enjoy them as a quick dinner or meal prep idea for a healthy lunch.
-
 Prep Time: 15 minutes
 -
Cook Time: 15 minutes
-
Total Time: 30 minutes
-
Yield: 4 bowls 1x
-
Category: Dinner
-
Method: Stovetop
Ingredients
Bowls:
- 1 tablespoon olive oil
- 1 pound chicken breast, boneless, skinless
- 8 ounces vermicelli noodles, or rice noodles of choice
- 1 head romaine lettuce, thinly sliced
- 1 large carrot, julienned
- 1 yellow bell pepper, julienned
- 1/2 English cucumber, thinly sliced
- 2 green onions, thinly sliced
- 1/4 cup peanuts, roughly chopped (optional)
- 1/2 cup cilantro, mint, and/or Thai basil, roughly chopped
Peanut Sauce:
- 1/2 cup peanut butter
- 2 tablespoons soy sauce
- 1 tablespoon brown sugar
- 1 tablespoon rice vinegar
- 1 teaspoon sesame oil
- 1 clove garlic, minced or grated
- 2 tablespoons hot water, plus more as needed
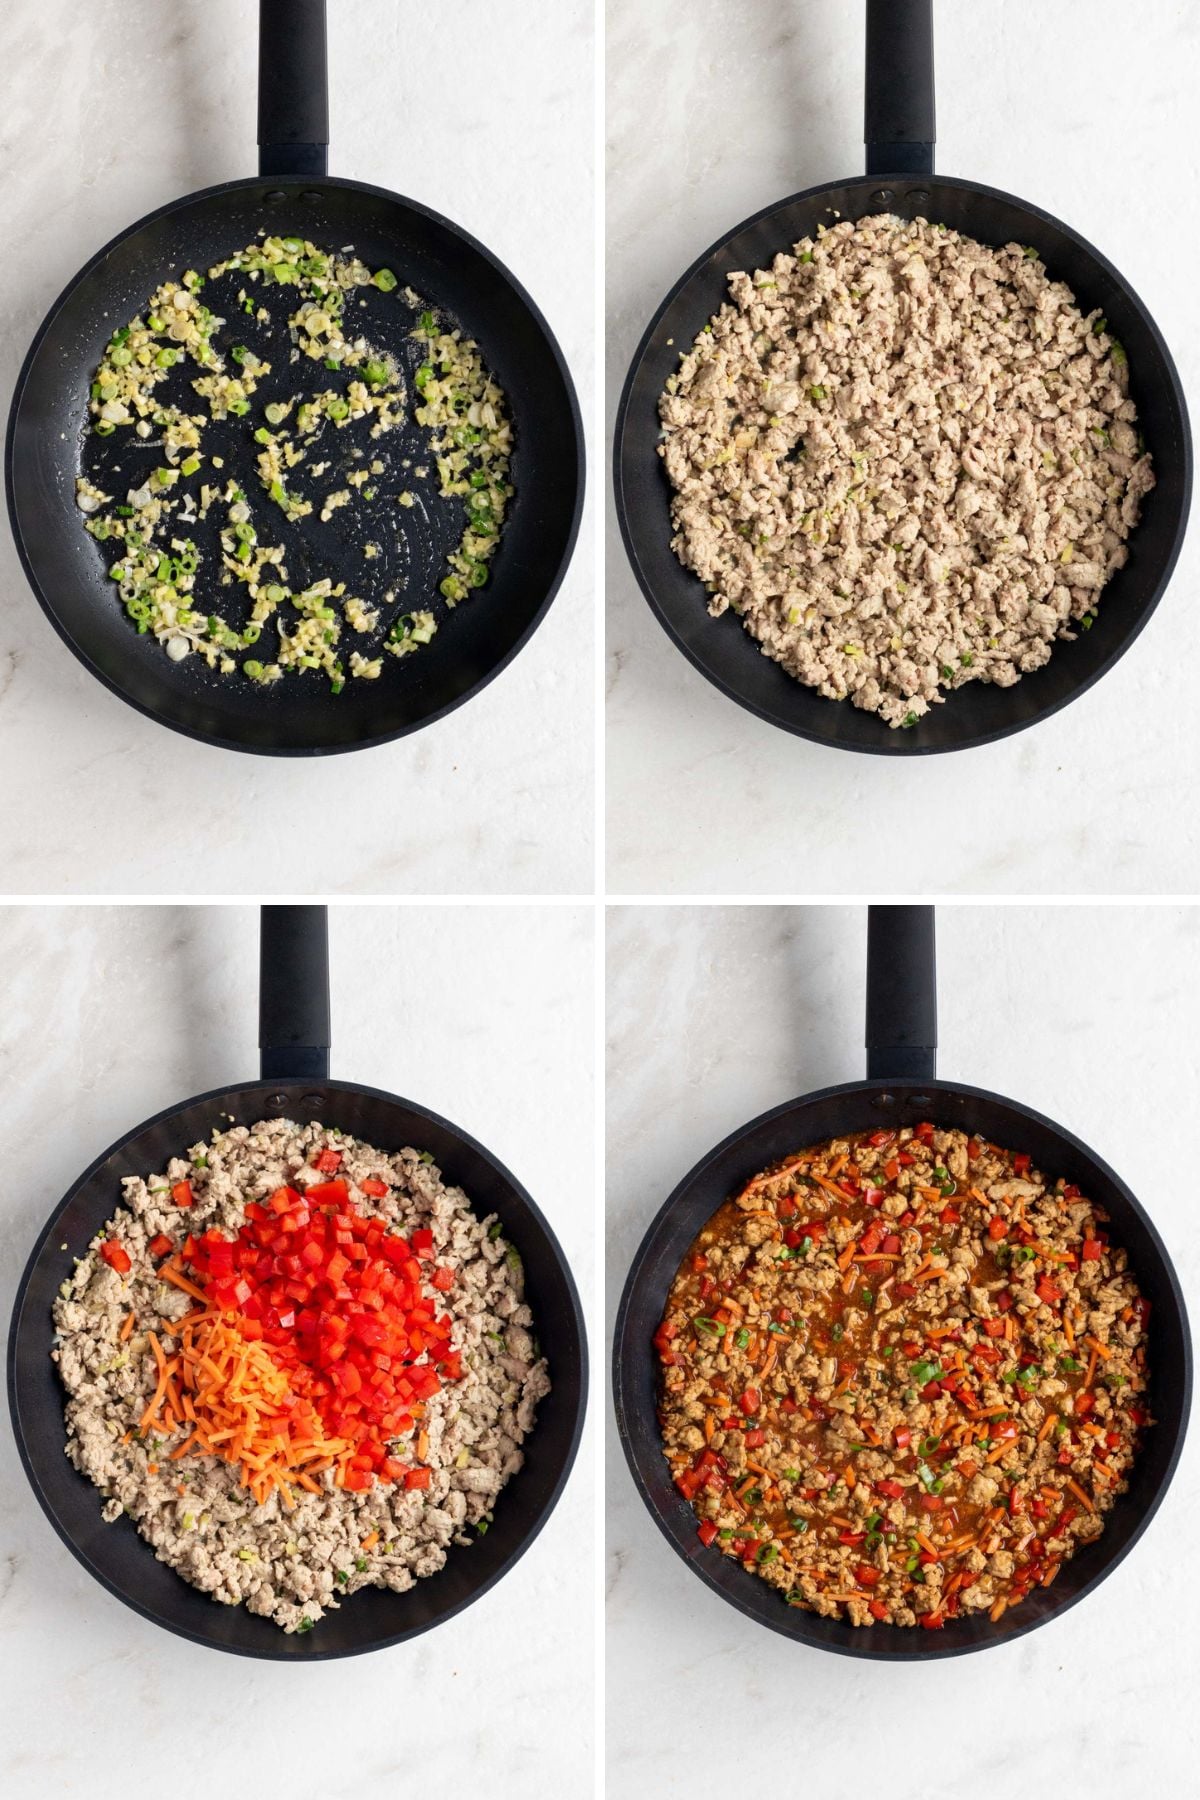
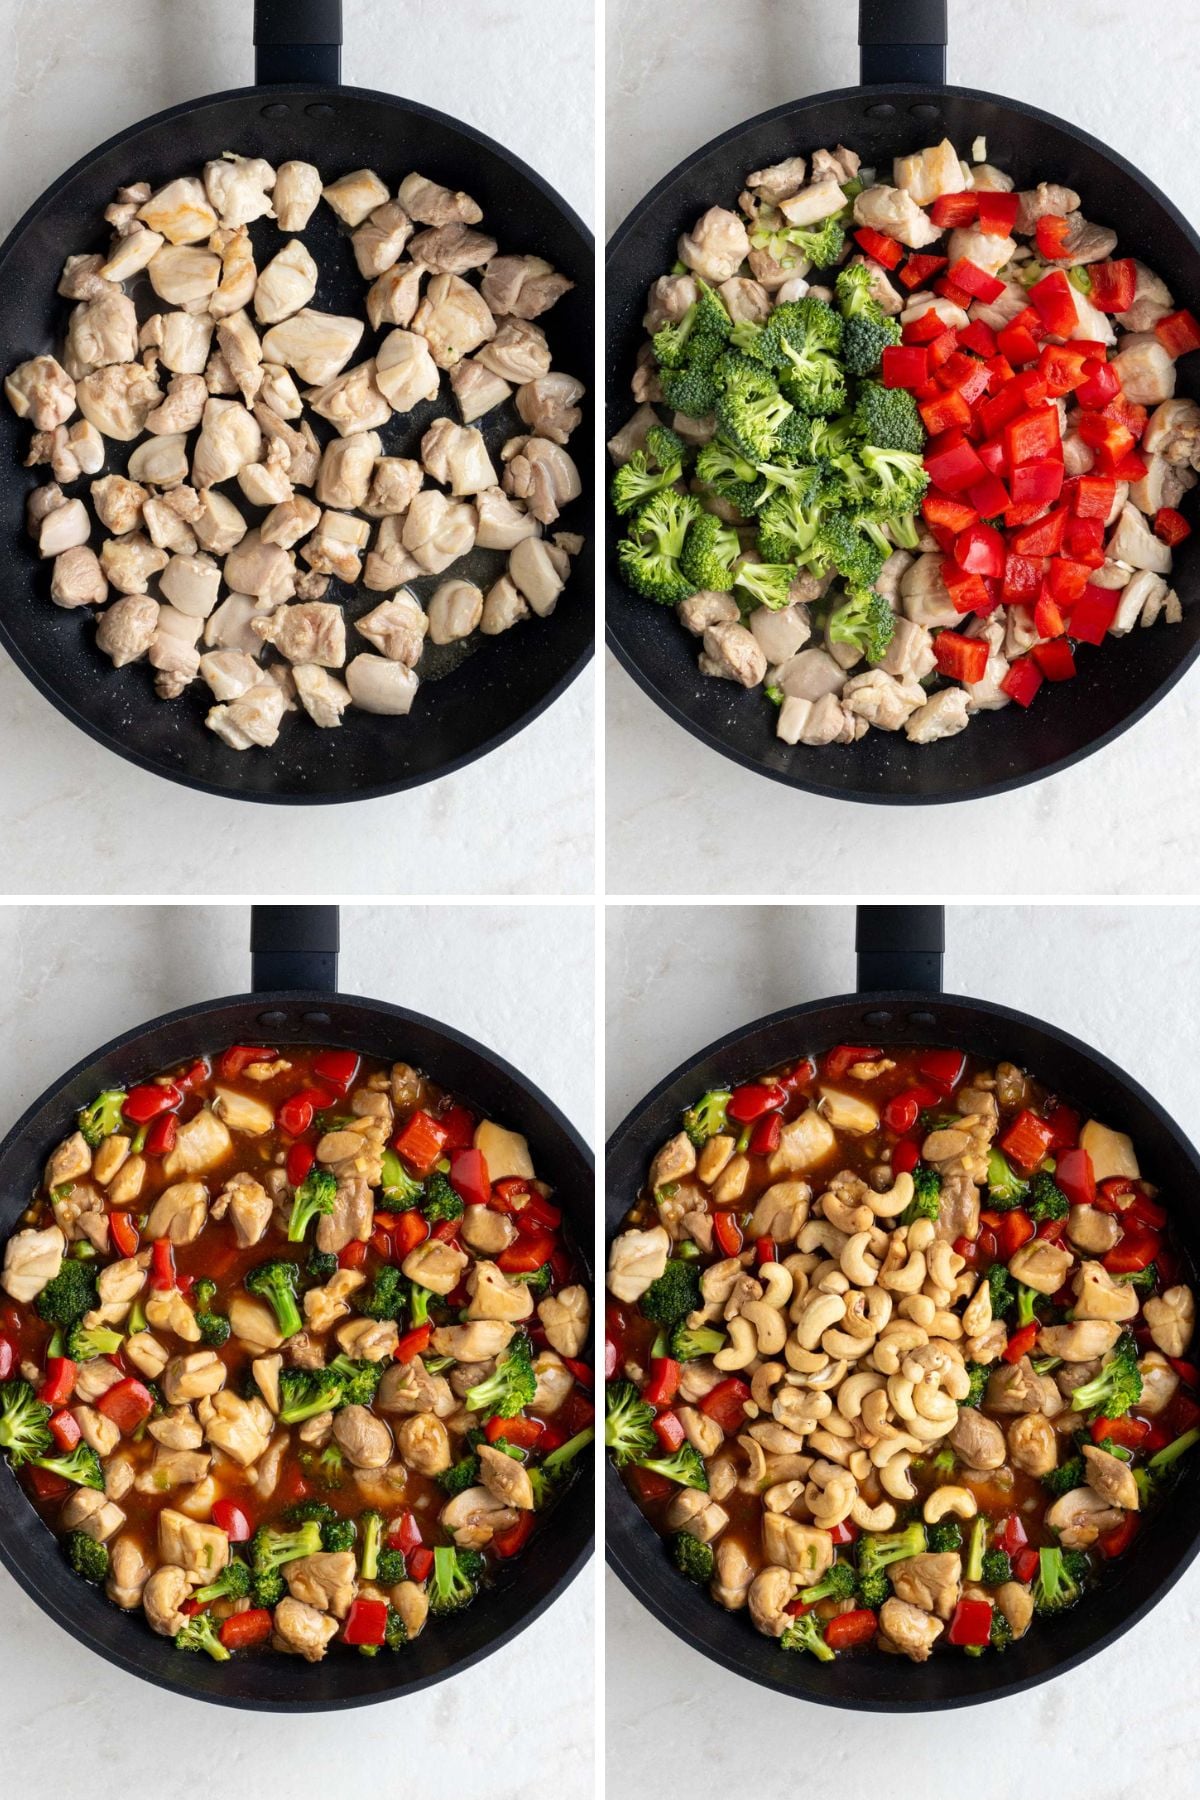
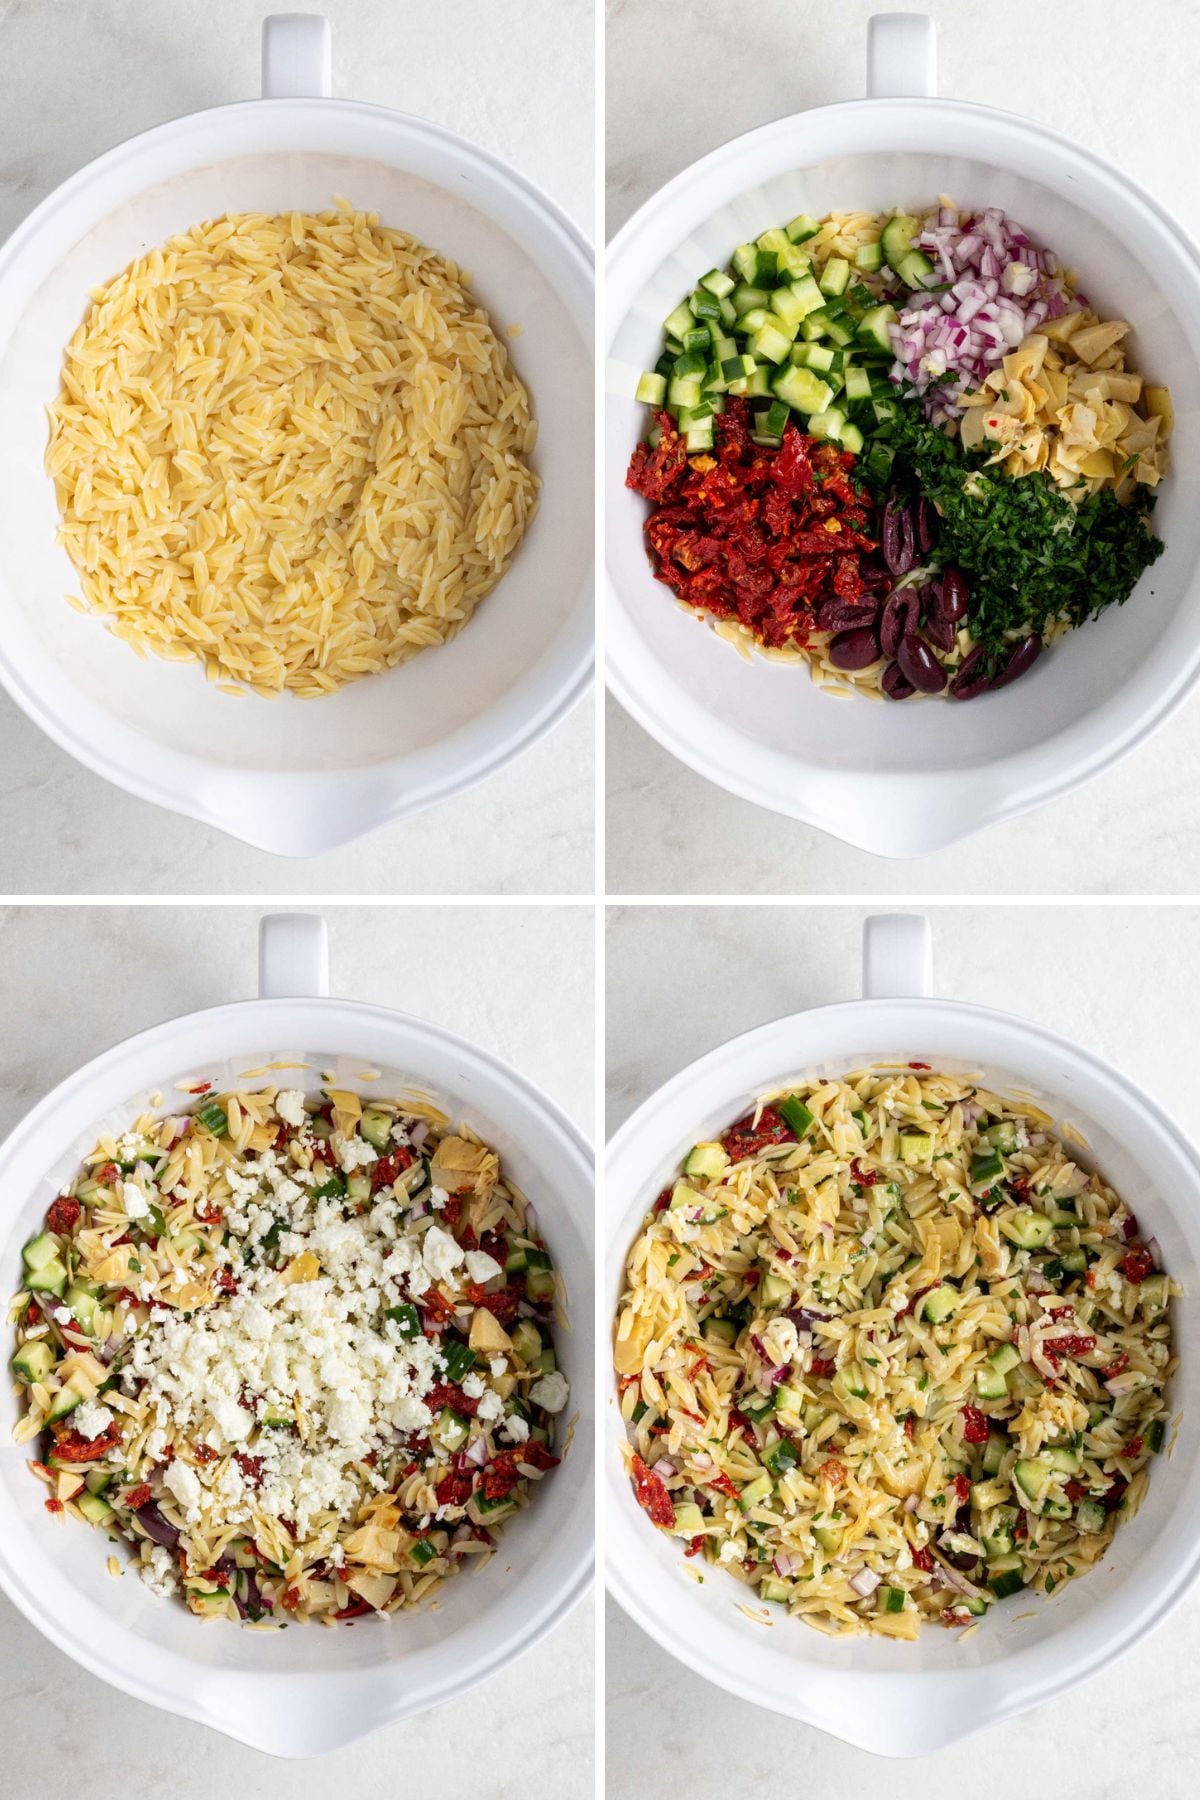
Instructions
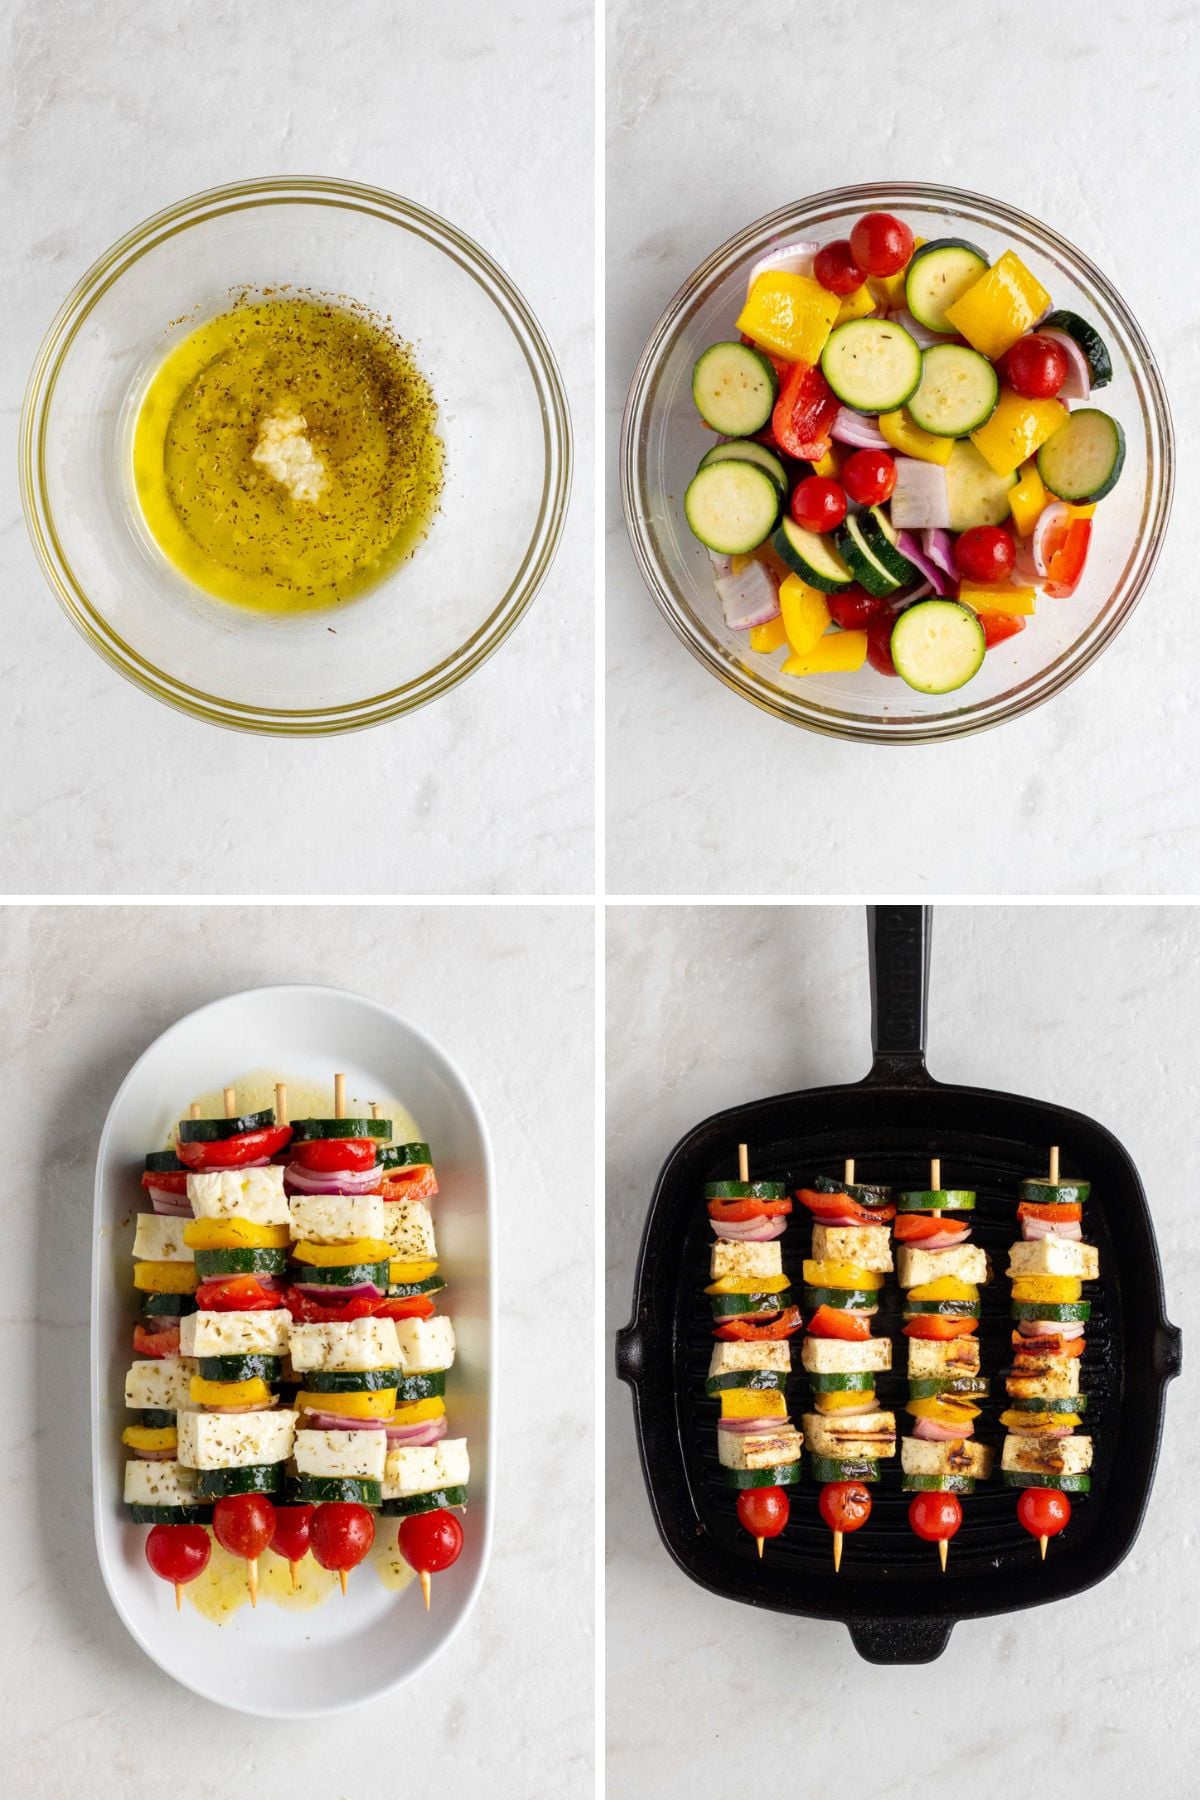
- In a medium bowl, jar, or small food processor, add all of the sauce ingredients: peanut butter, soy sauce, brown sugar, rice vinegar, sesame oil, minced garlic, and water, and whisk or blend until well combined. Taste and adjust seasoning with salt and texture with additional water as needed. You want the sauce to be creamy and pourable, but not too thick.
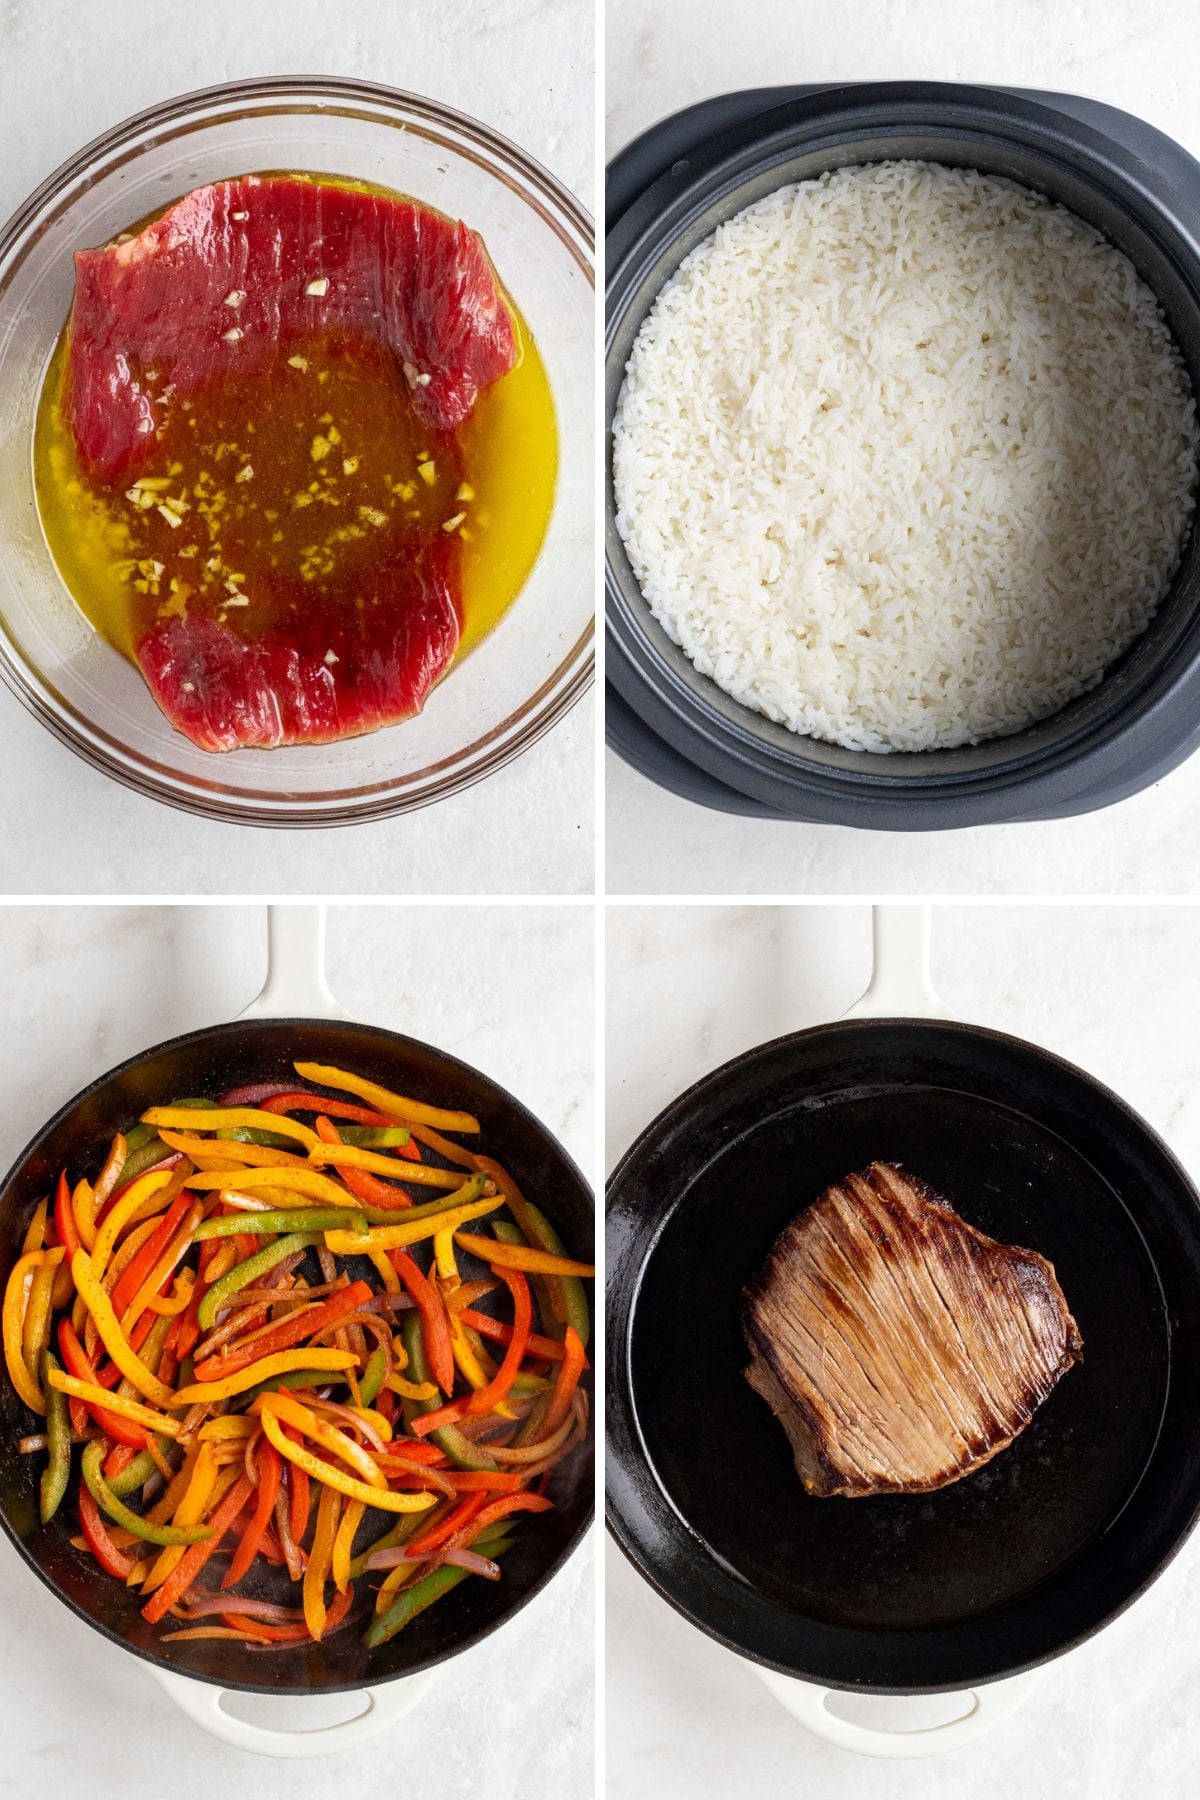
- Place the chicken breasts on a cutting board and season with salt and pepper on both sides.
- In a large pan or cast-iron skillet, warm the olive oil on medium-high heat, add the chicken breasts, and cook for 5-6 minutes per side until cooked through or they’ve reached an internal temperature of 165°F. Once cooked, transfer the cooked chicken to a plate and allow them to rest for 5 minutes. Once rested, slice the chicken breasts into thin strips.
- Bring a large pot of water to a boil, add the vermicelli noodles, and cook for 2-3 minutes, or as per package directions. Drain water and set noodles aside.
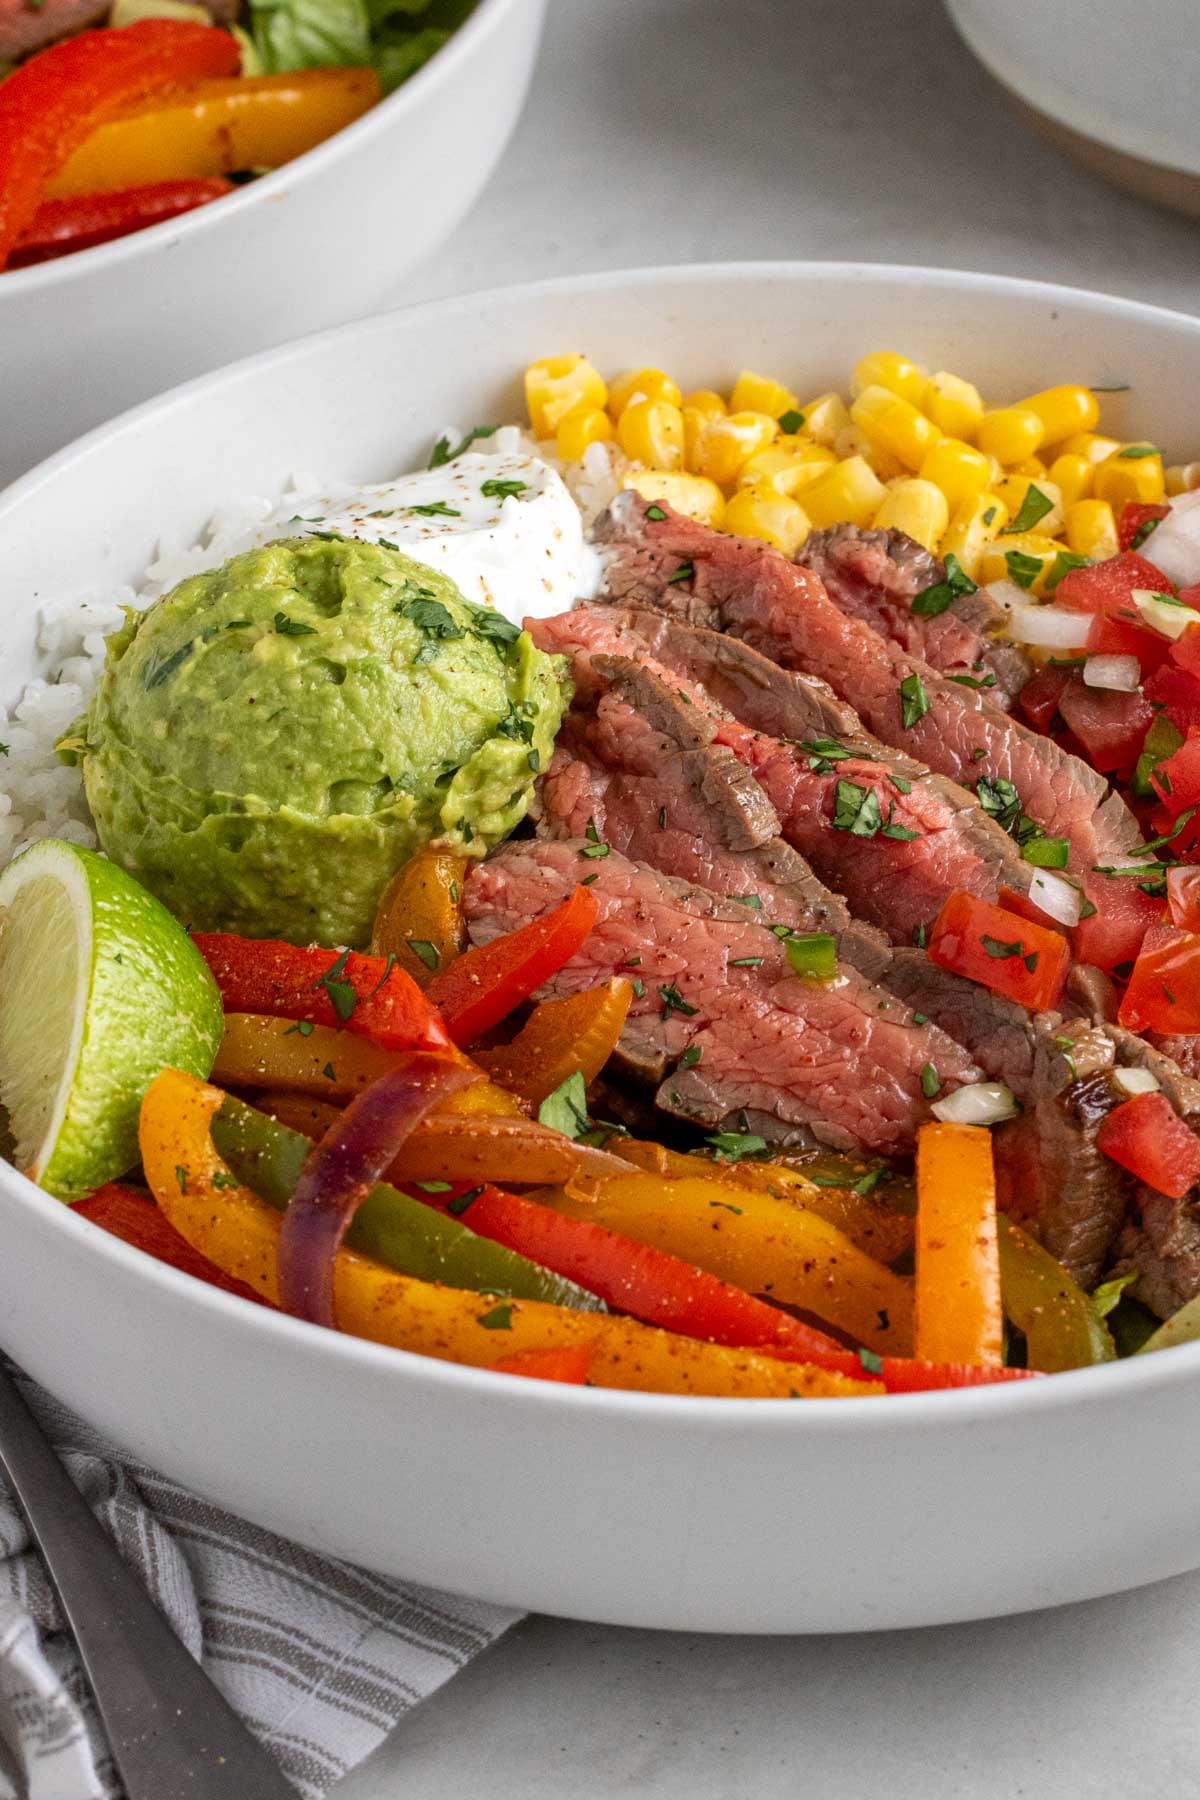
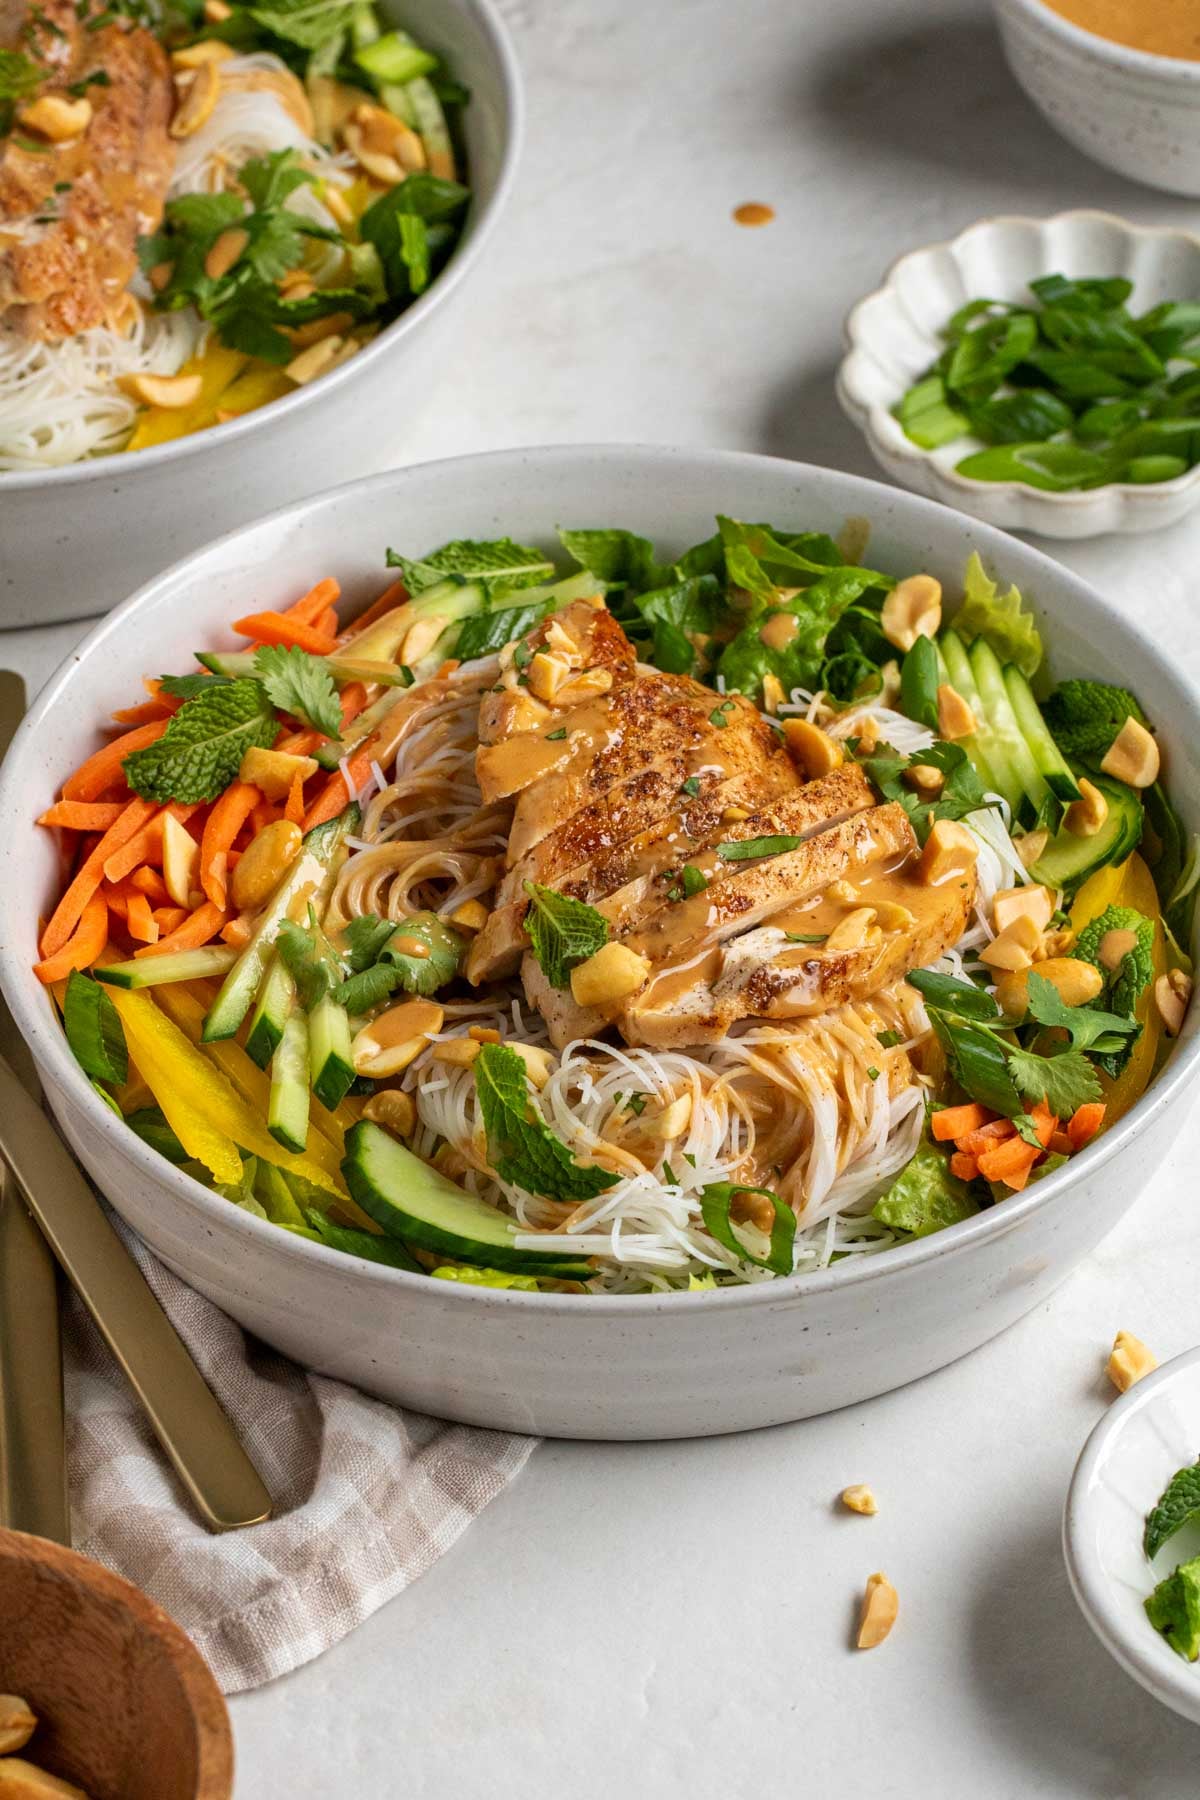
- Once everything is ready, assemble the bowls. Fill the bottom of each bowl with chopped lettuce and top with vermicelli noodles, sliced chicken, carrots, bell pepper, cucumber, green onions, fresh herbs, and top with a drizzle of peanut sauce and chopped peanuts.
- Any leftover chicken and peanut sauce can be stored in an airtight container in the fridge for up to 4 days or in the freezer for up to 3 months.

Notes
To Use Rotisserie Chicken: Swap the chicken breasts for 2 cups of cubed rotisserie chicken, skip steps #2 and #3 , and use it in step #5 instead.
To Use Honey or Maple Syrup: Swap the brown sugar for equal parts honey or maple syrup in step #1.
To Use Garlic Powder: Swap the garlic cloves for 1 teaspoon garlic powder in step #1.
To Use Lime Juice: Swap the rice vinegar for equal parts fresh lime juice in step #1.
Nutrition
- Serving Size: 1 bowl
- Calories: 644 calories
- Sugar: 11 grams
- Fat: 25 grams
- Carbohydrates: 67 grams
- Fiber: 8 grams
- Protein: 39 grams