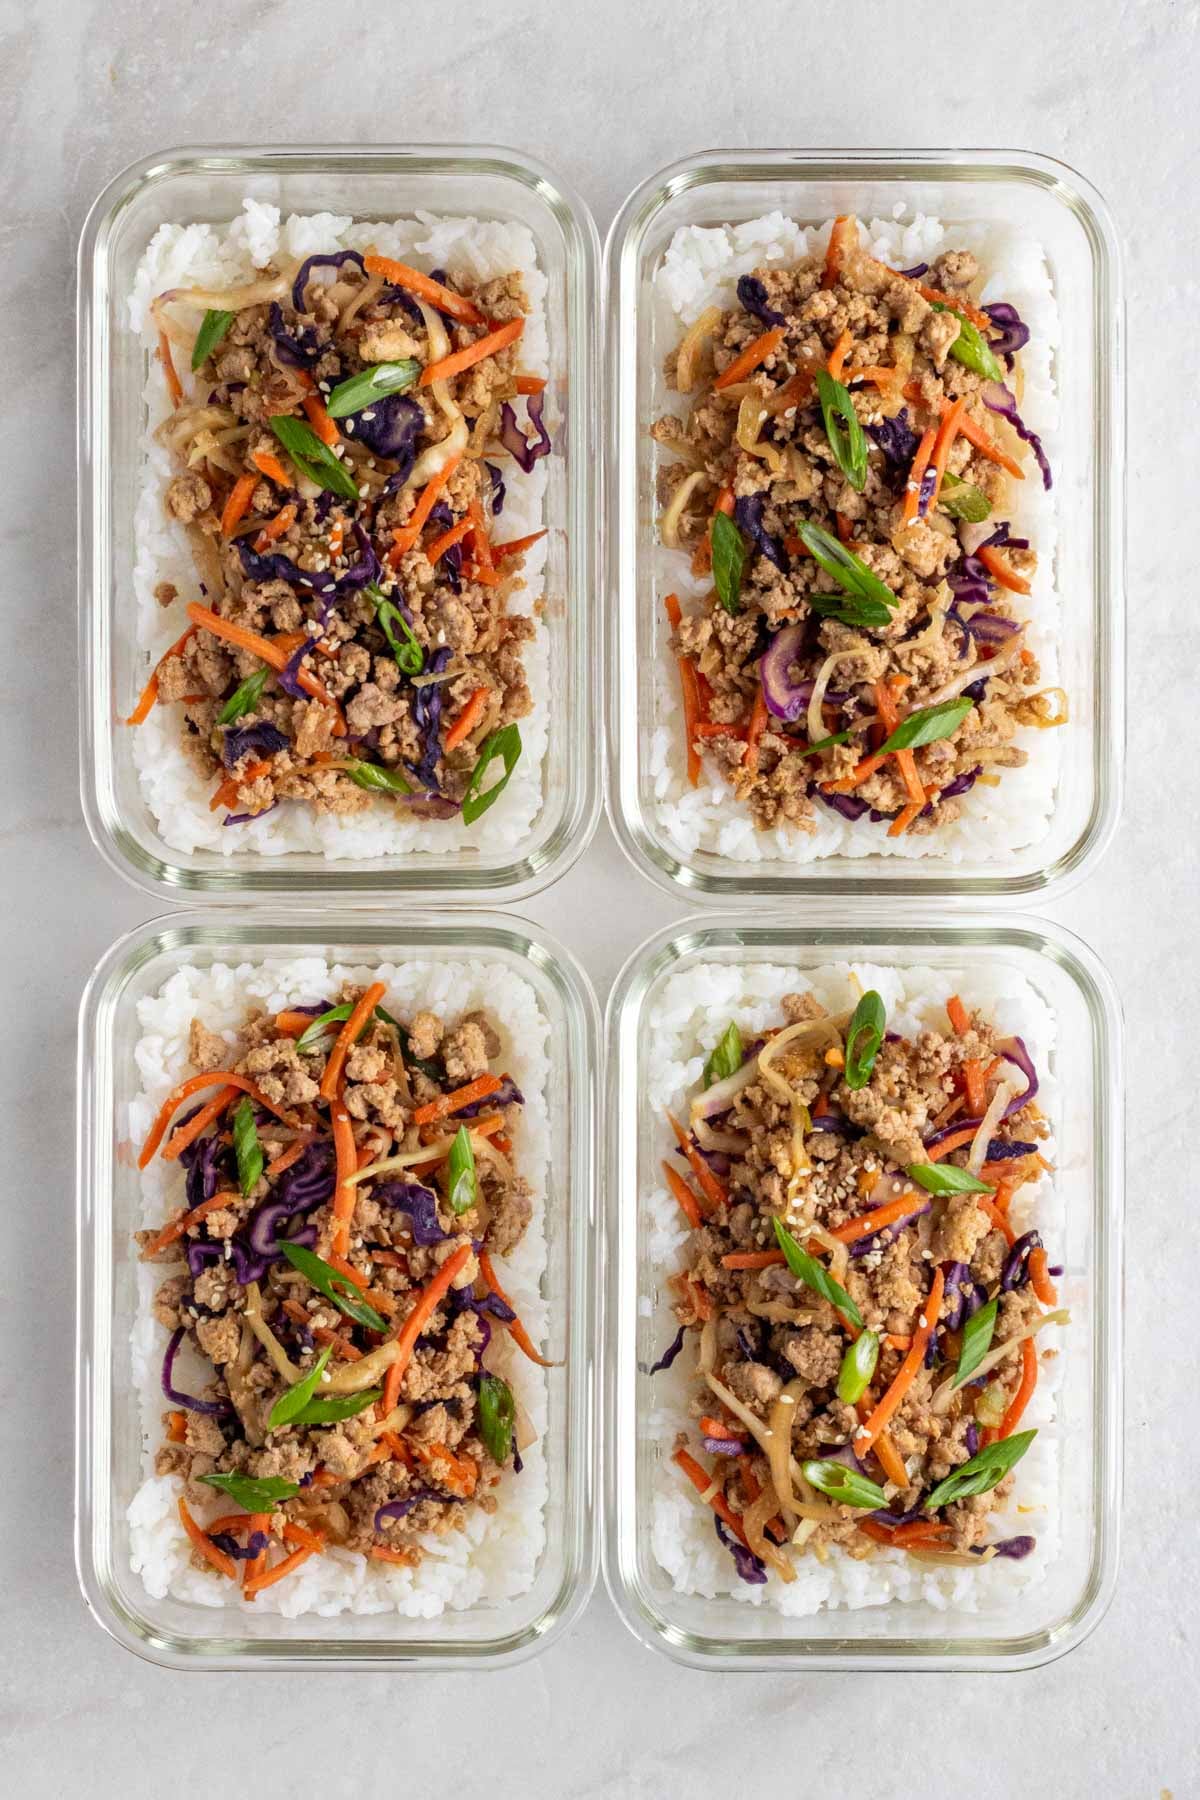
Ready in 30 minutes, this meal prep egg roll in a bowl is perfect for make-ahead meals. Not only is it easy to make, but it’s high in protein and full of flavor.
If you like egg rolls, you’re going to love this recipe. Inspired by the fried, savory roll filled with shredded cabbage, ground meat, and spices, these bowls bring you all the flavors in a much healthier way.
This meal prep egg roll in a bowl recipe brings the savory-umami flavor of egg rolls with just the right amount of sweetness and crunch. You can meal prep these bowls on the weekend and enjoy them for healthy lunches and dinners for the rest of the week.
Why You’ll Love It
- Quick and Easy – These egg roll meal prep bowls are ready in 30 minutes.
- High in Protein – With 26 grams of protein per serving, these bowls are a filling meal.
- Keep Well – These bowls keep well in the fridge and freezer, making them a great meal prep idea.
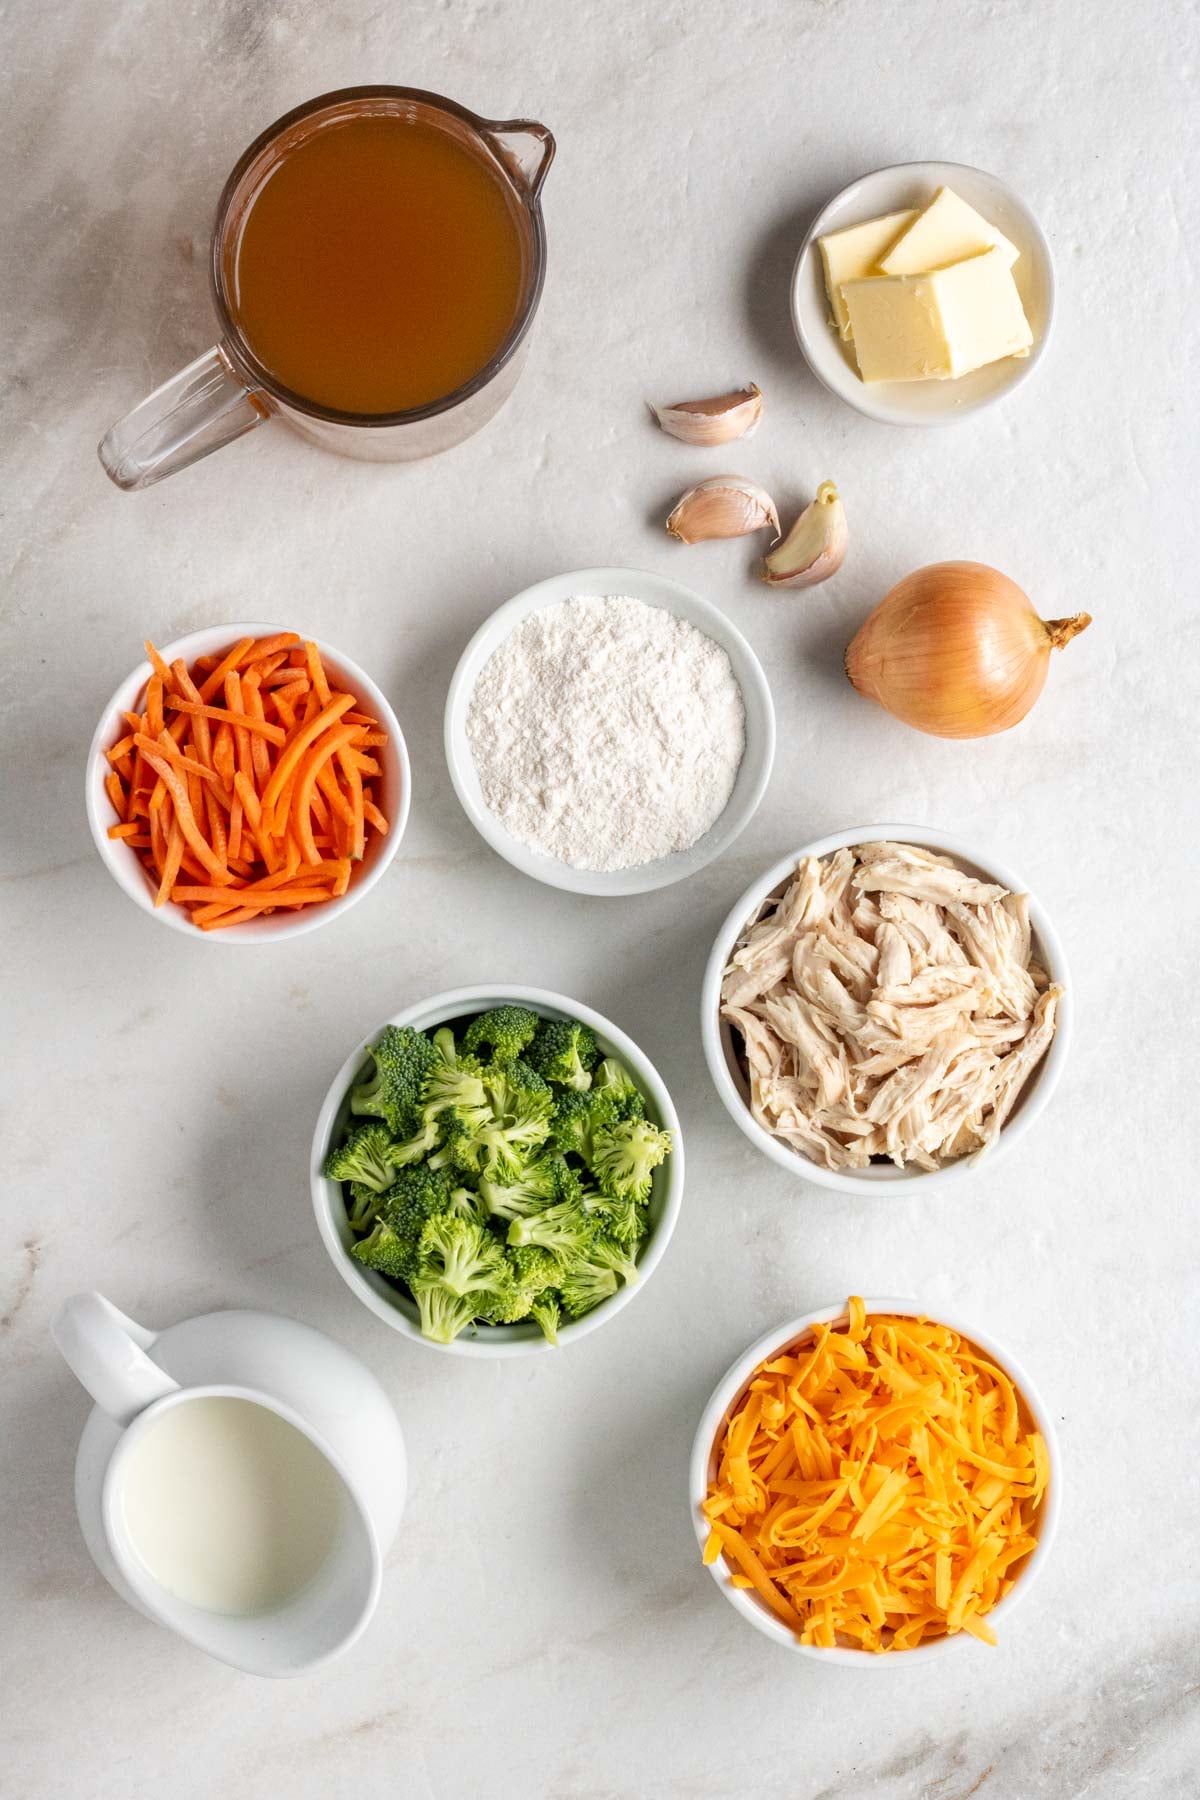
Ingredients + Substitutions
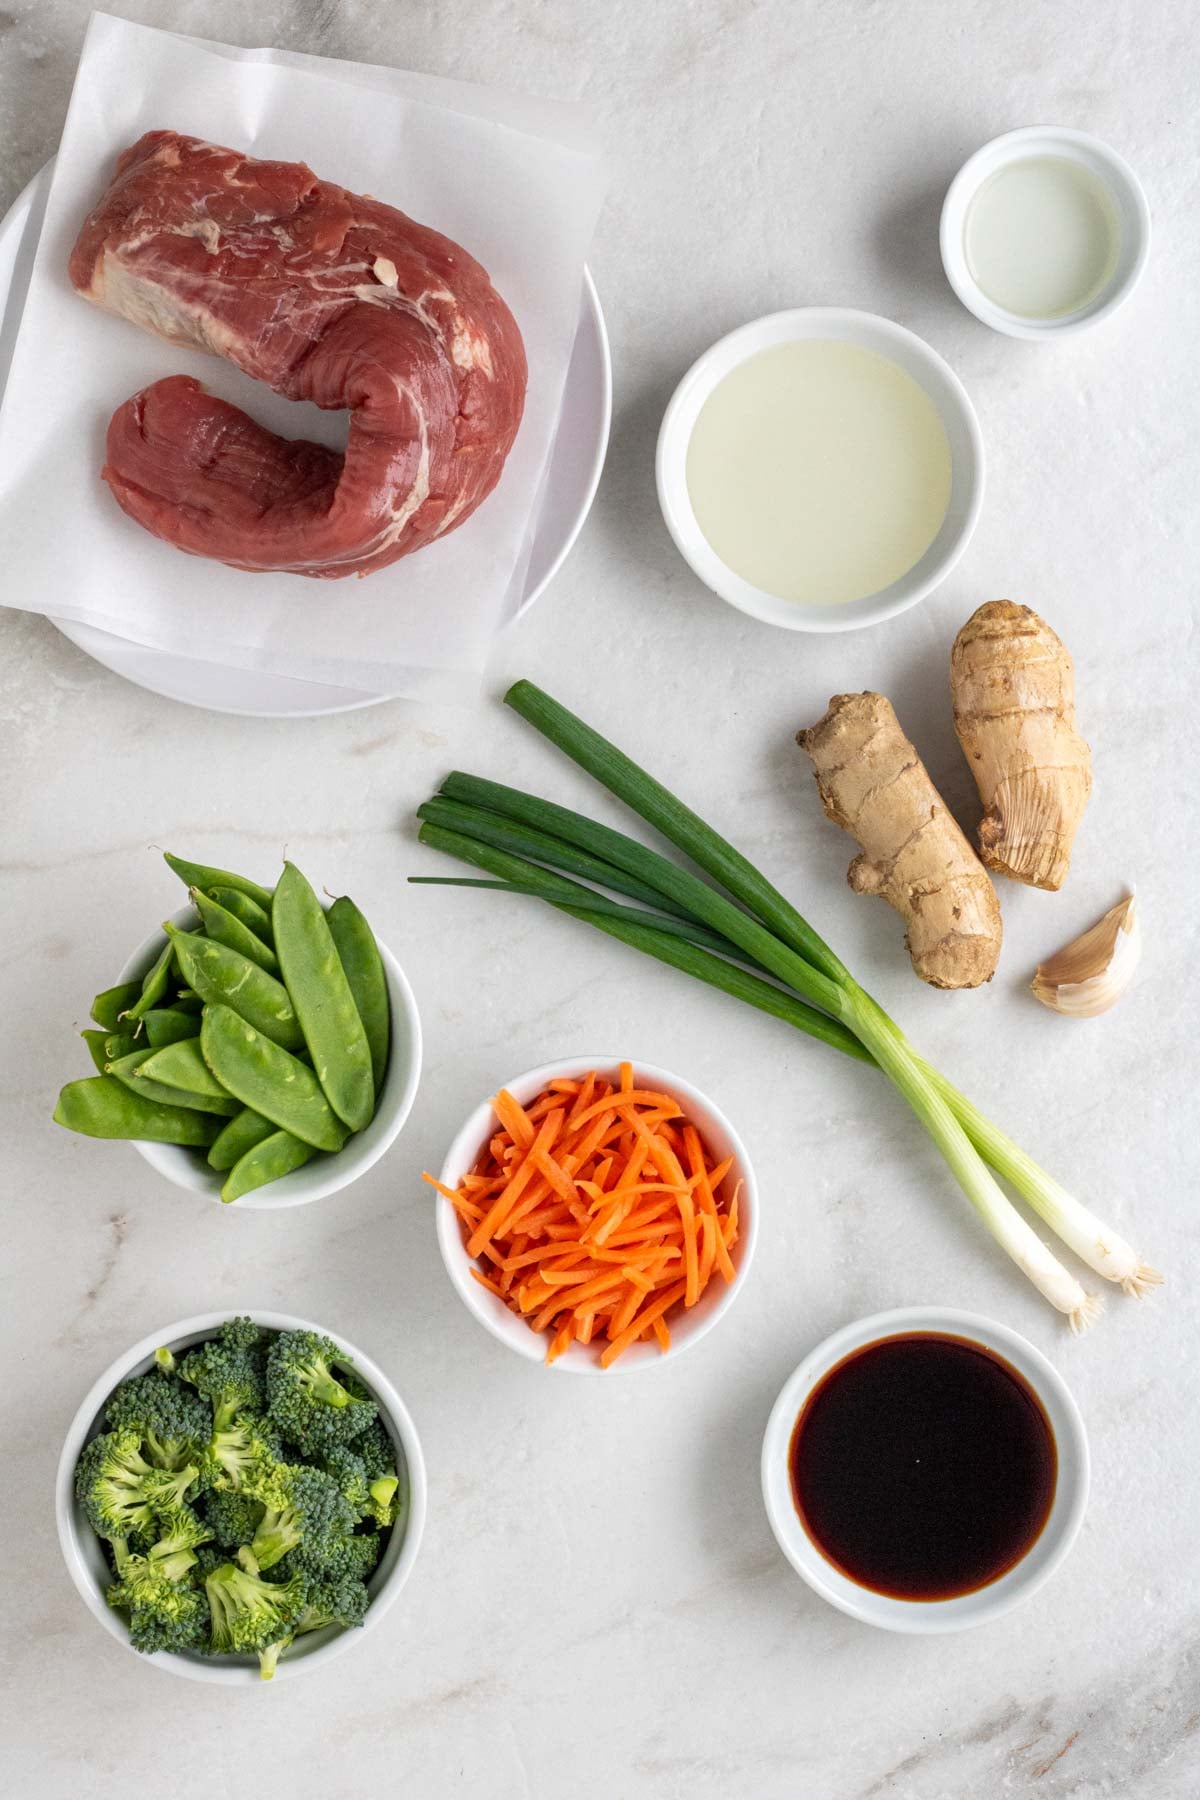
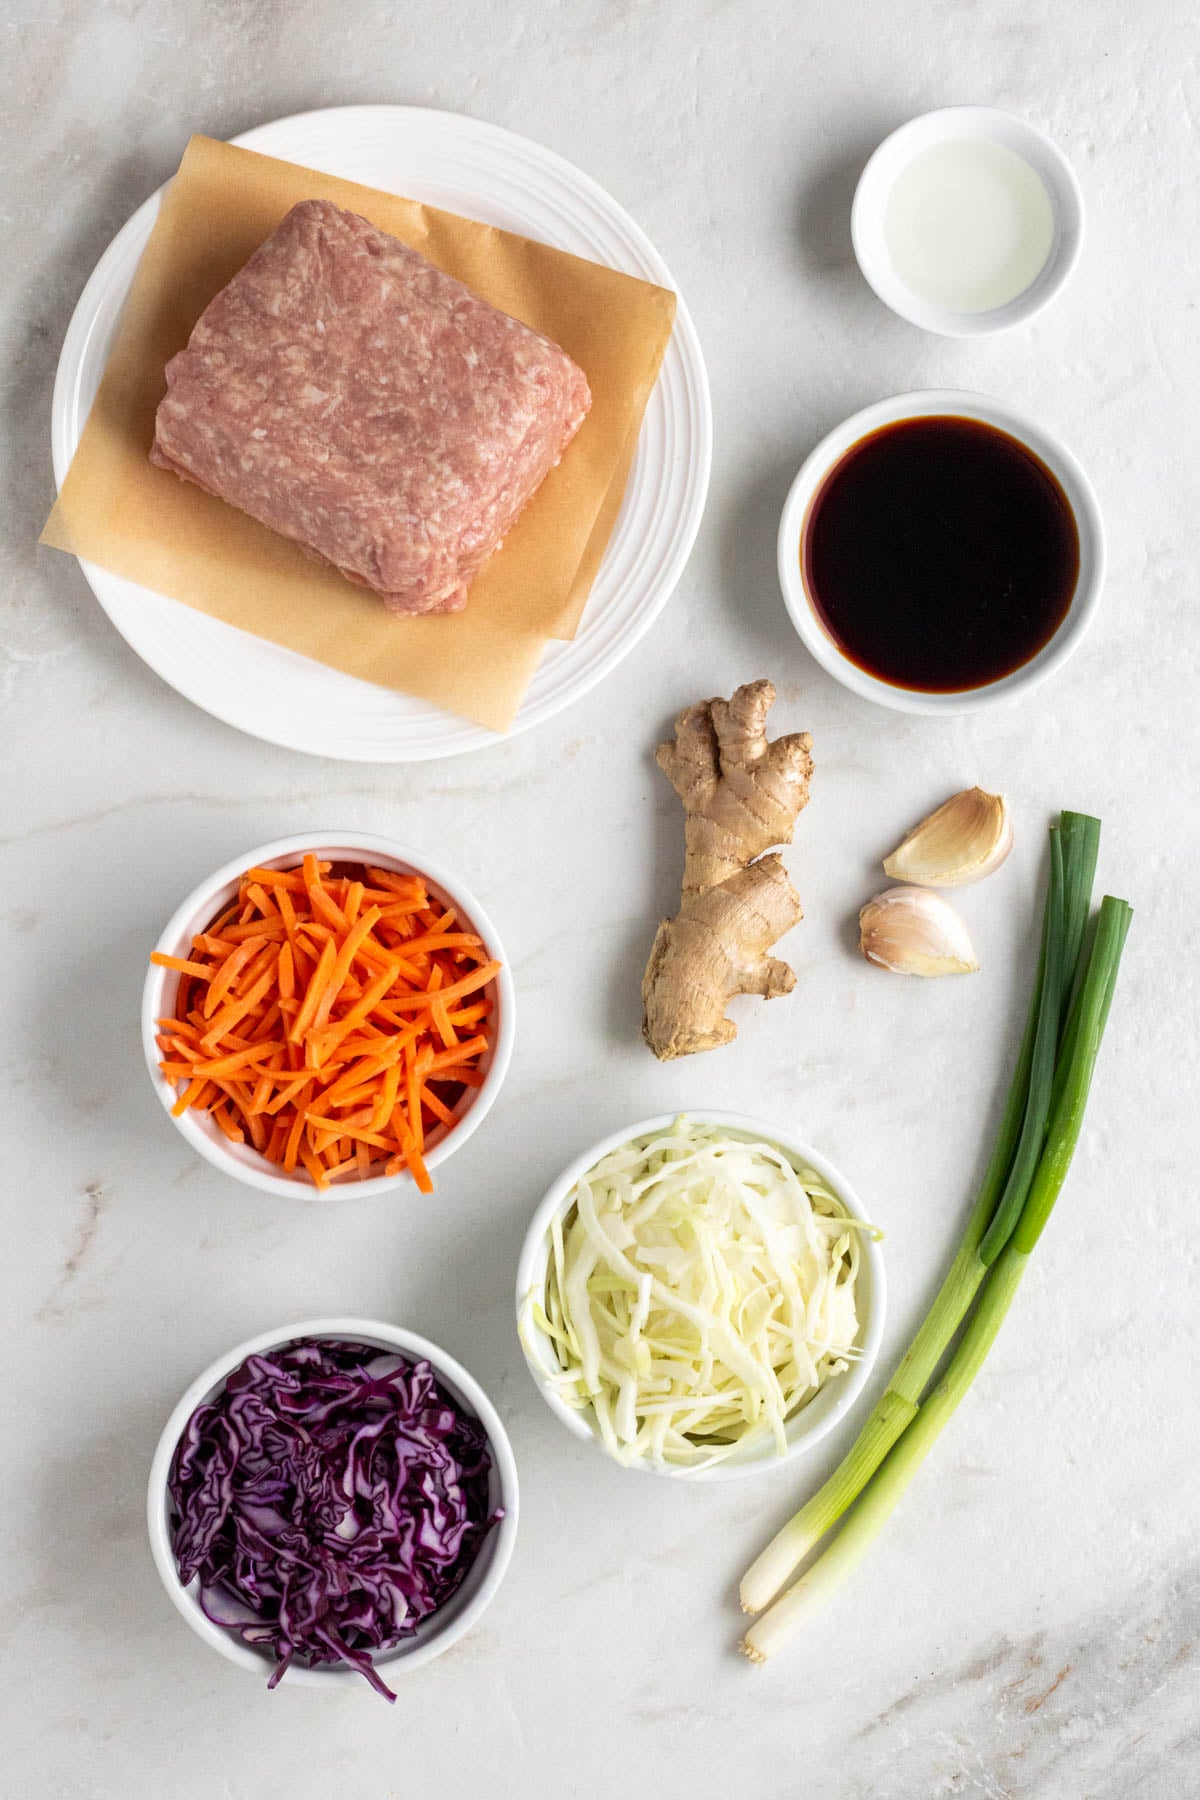
- Ground Pork – To make the egg roll mixture, add some protein. The recipe calls for pork, but you can use any ground meat you like, such as ground beef, ground turkey, or ground chicken.
- Carrots and Cabbage – To add some vegetables and fiber. If you want to cut down on prep time, you can use a bag of coleslaw mix if preferred. See the notes section of the recipe card for details.
- Green Onions – To add some flavor and color.
- Rice – To add some complex carbohydrates to the bowls. I used white rice, but you can use brown rice if preferred. See the notes section of the recipe card for details.
- Sesame Oil – To add some healthy fats. You can use regular or toasted sesame oil.
- Soy Sauce – To flavor the egg roll mixture. You can use regular or low-sodium soy sauce.
- Rice Vinegar – To balance the flavor with some acidity.
- Garlic and Ginger – To flavor the egg roll mixture. The recipe calls for garlic cloves and fresh ginger root, but you can use garlic powder and ground ginger if preferred. See the notes section of the recipe card for details.
- Sesame Seeds – To serve, although optional.
Dietary Adaptions
To Make them Gluten-Free: Use gluten-free soy sauce or swap it for tamari or coconut aminos.
To Make them Dairy-Free: No adaptations are needed; this recipe is dairy-free.
Red’s Nutrition Tip
I used ground pork for this deconstructed bowl egg roll recipe because I think it provides the best flavor. That said, if you’re trying to create a calorie deficit or simply want a lower-fat option, you can easily swap the pork for ground turkey or ground chicken.
Serving Suggestions
This meal prep egg roll in a bowl is a balanced meal with protein, carbohydrates, fiber, and fat. They can be enjoyed as is or adapted to suit your personal dietary needs. For example:
- To make them higher in protein, add an additional 1/2 pound of ground pork to the recipe, and additional sauce ingredients as needed.
- To make them lower in fat, swap the ground pork for ground turkey or ground chicken.
- To make them higher in fiber, swap the white rice for brown rice and/or include additional high fiber vegetables such as broccoli, green beans, or green peas.
- To make them low-carb, swap the rice for cauliflower rice.
Storage + Reheating
To Refrigerate: Allow the egg roll meal prep bowls to cool completely, then cover them with a lid, and store them in the fridge for up to 4 days.
To Freeze: Once cooled, the bowls can be stored in an airtight container in the freezer for up to 3 months.
To Reheat: Once thawed, the bowls can be reheated in the microwave for 2-3 minutes or until warm.
More Meal Prep Recipes:
- Sticky Chicken Meal Prep Bowls
- Firecracker Beef Meal Prep Bowls
- Teriyaki Ground Turkey Meal Prep Bowls
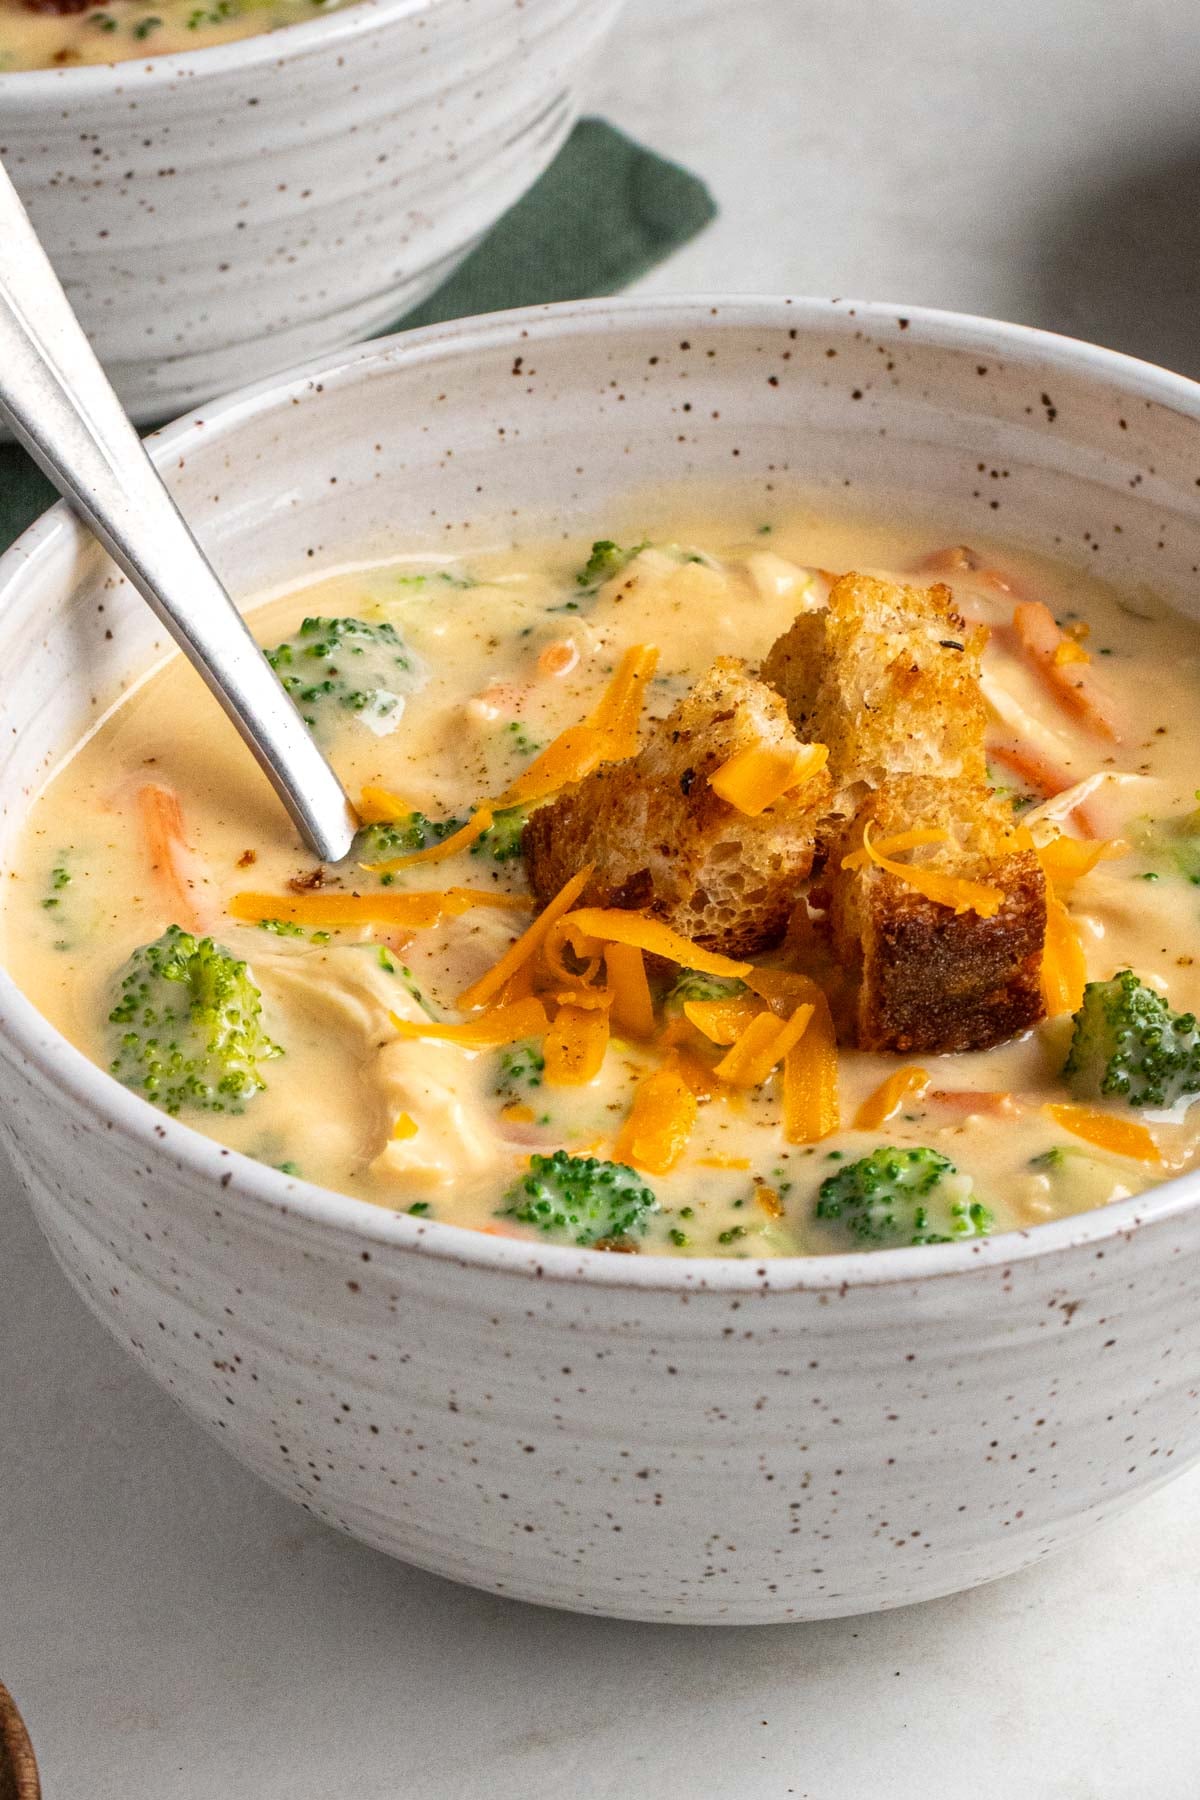
Meal Prep Egg Roll in a Bowl
Ready in 30 minutes and with over 26 grams of protein, this egg roll in a bowl recipe is a quick, easy, and high-protein meal prep idea. It keeps well in the fridge for days and freezer for months.
-
 Prep Time: 10 minutes
 -
Cook Time: 20 minutes
-
Total Time: 30 minutes
-
Yield: 4 bowls 1x
-
Category: Meal Prep
-
Method: Stovetop
Ingredients
- 1 1/2 cups white rice, uncooked
- 1 tablespoon sesame oil
- 1 pound ground pork
- 1/4 cup soy sauce
- 1 tablespoon rice vinegar
- 2 inches fresh ginger root, minced or grated
- 2 cloves garlic, minced or grated
- 1 large carrot, peeled and julienned (about 1 cup)
- 1 cup red cabbage, thinly sliced
- 1 cup green cabbage, thinly sliced
- 2 green onions, thinly sliced (white and green parts separated)
- Sesame seeds, to serve (optional)
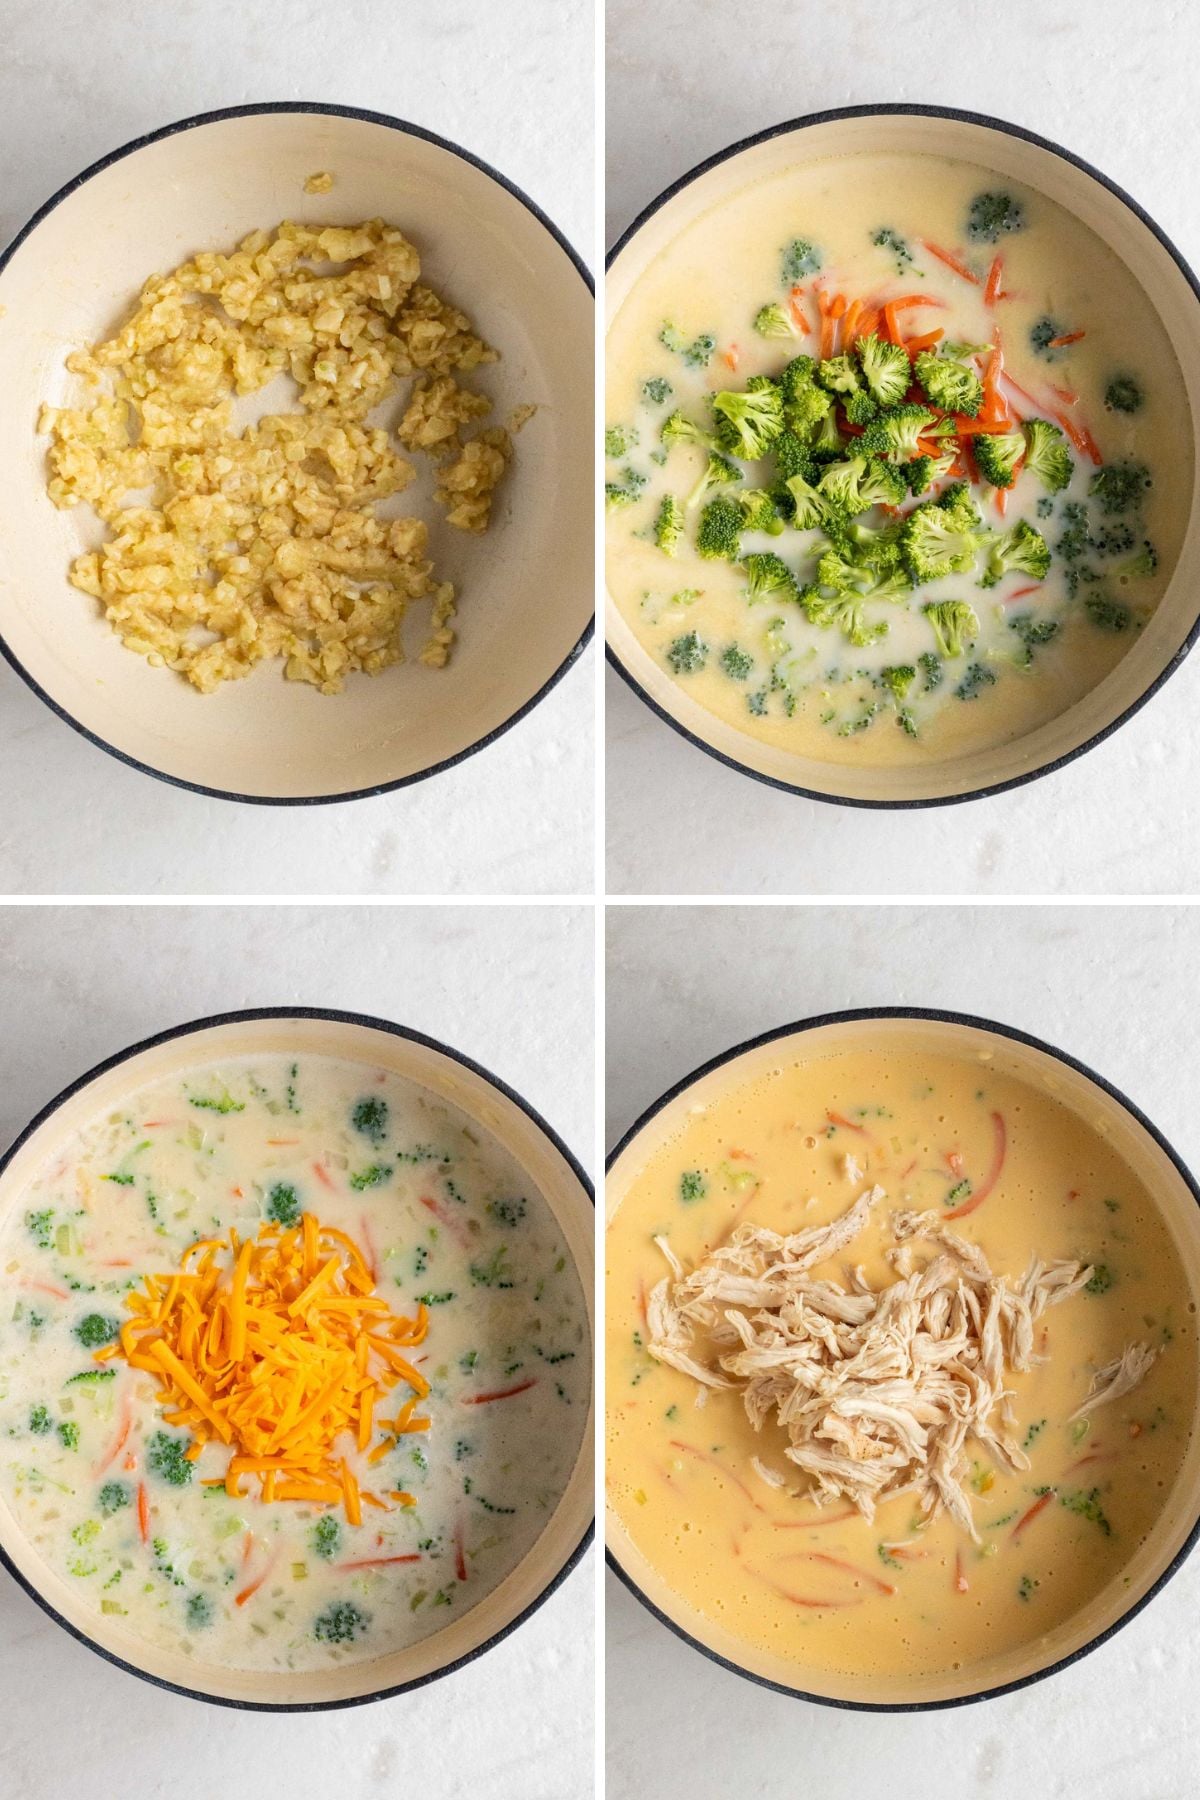
Instructions
- In a pot, combine the rice with 3 cups of water and a pinch of salt. Bring to a boil, then reduce to a simmer, and allow to cook covered for 15 minutes, or as per package directions, until it can be fluffed with a fork.
- In a small bowl, add the soy sauce, rice vinegar, minced garlic, and minced ginger, and stir until well combined. Set aside.
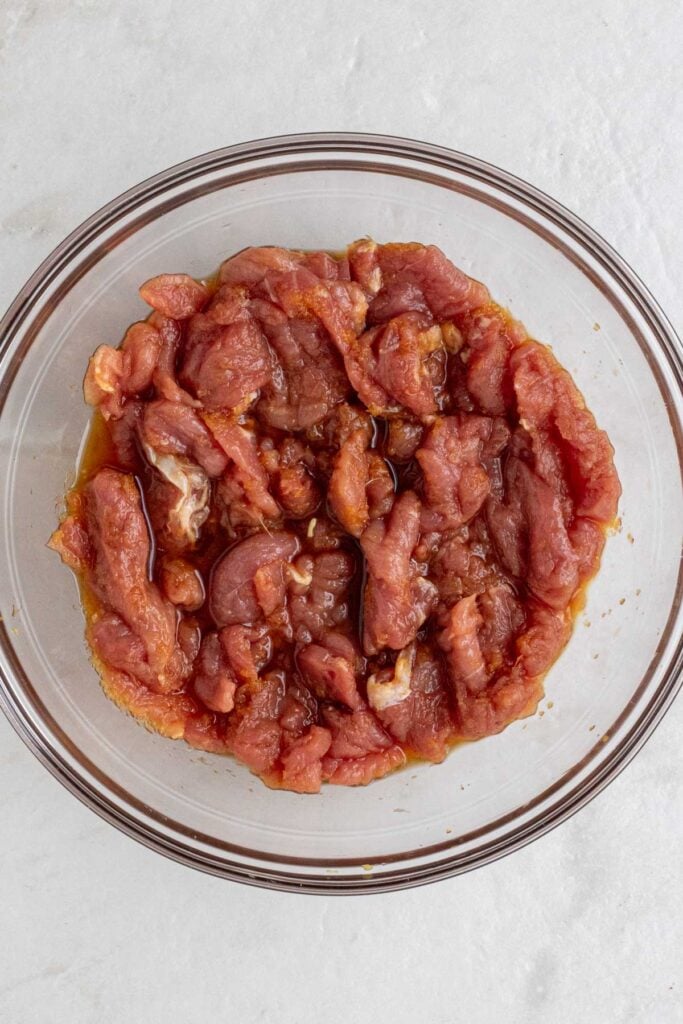
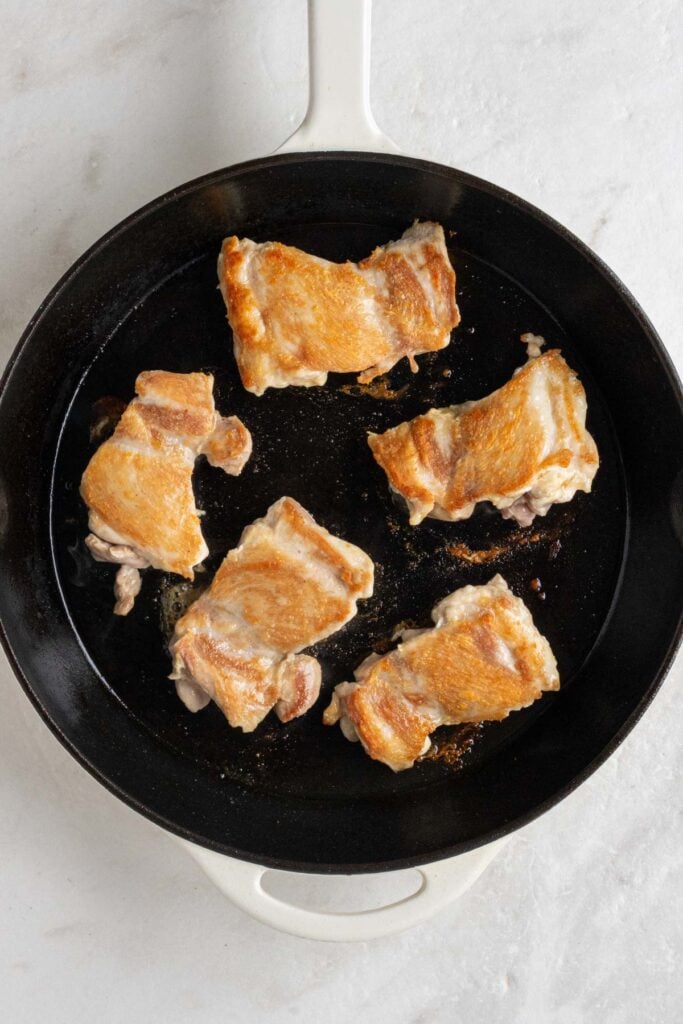
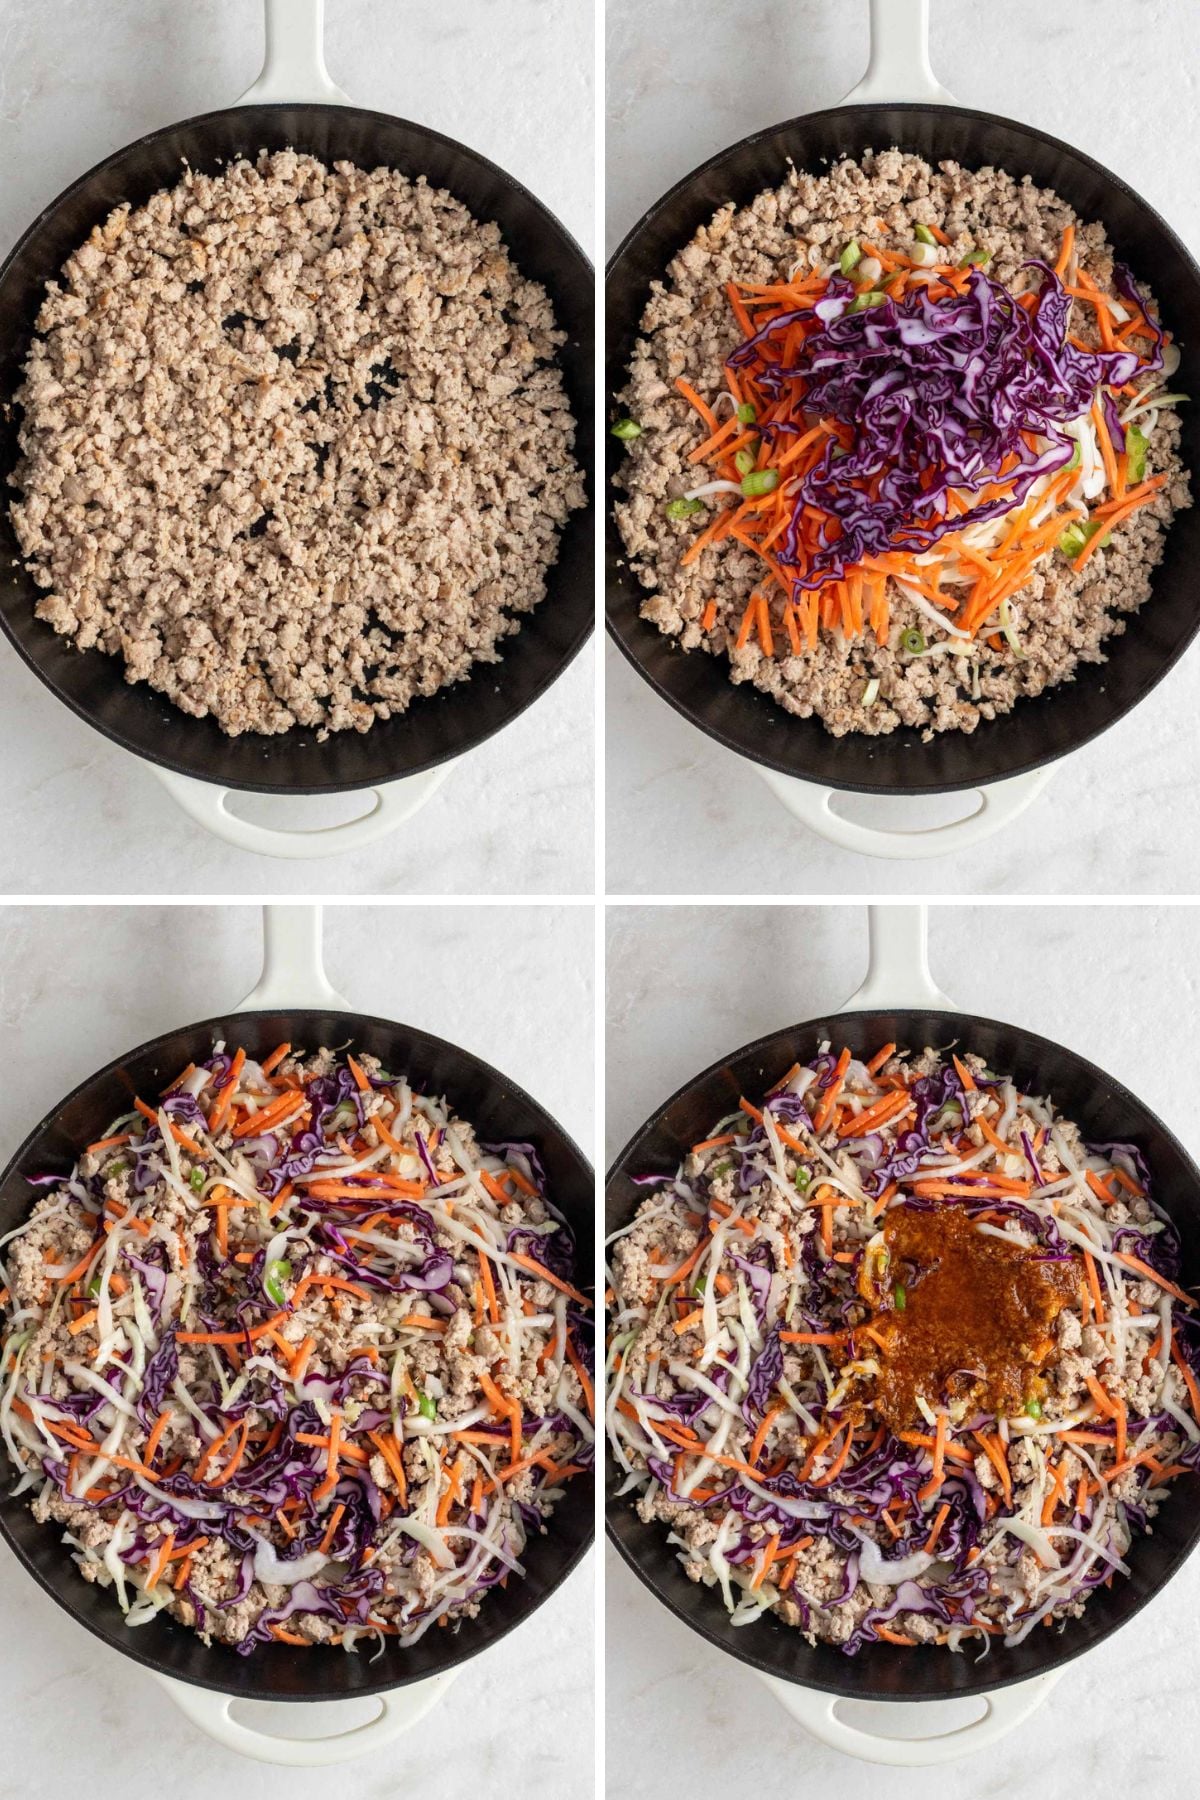
- In a large skillet on medium-high heat, warm the sesame oil, then add the ground pork and cook, breaking it apart with a spatula or wooden spoon into small pieces, for 4-5 minutes until mostly cooked.
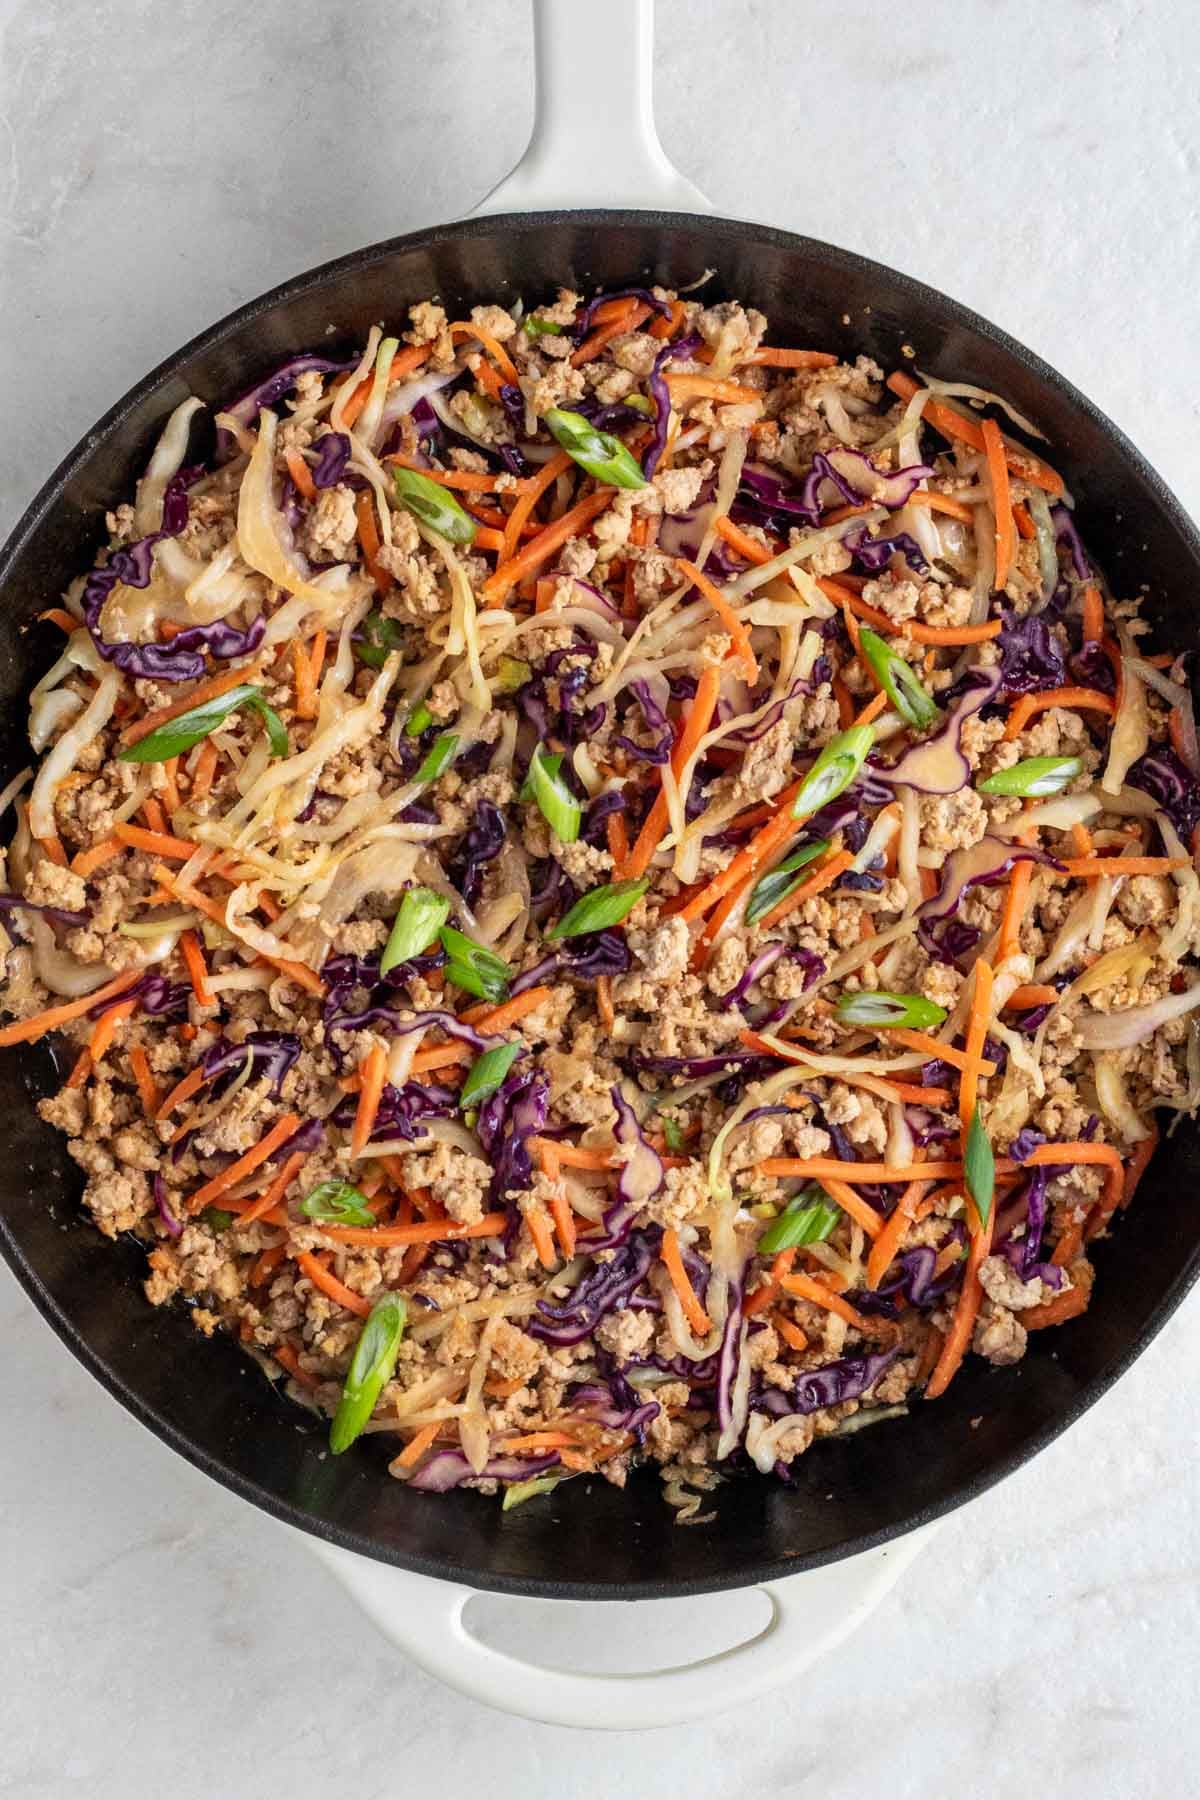
- Once the pork is mostly cooked, reduce the temperature to medium heat, add the carrots, cabbage, and green onions (white parts only) to the pan, along with one tablespoon of water. Stir to combine with the pork, cover, and allow to cook for an additional 2-3 minutes until vegetables are tender, stirring occasionally.
- Once the vegetables are tender, add the soy sauce mixture to the pan, stirring to ensure everything is well coated in the sauce, and cook for another 2-3 minutes, stirring occasionally.
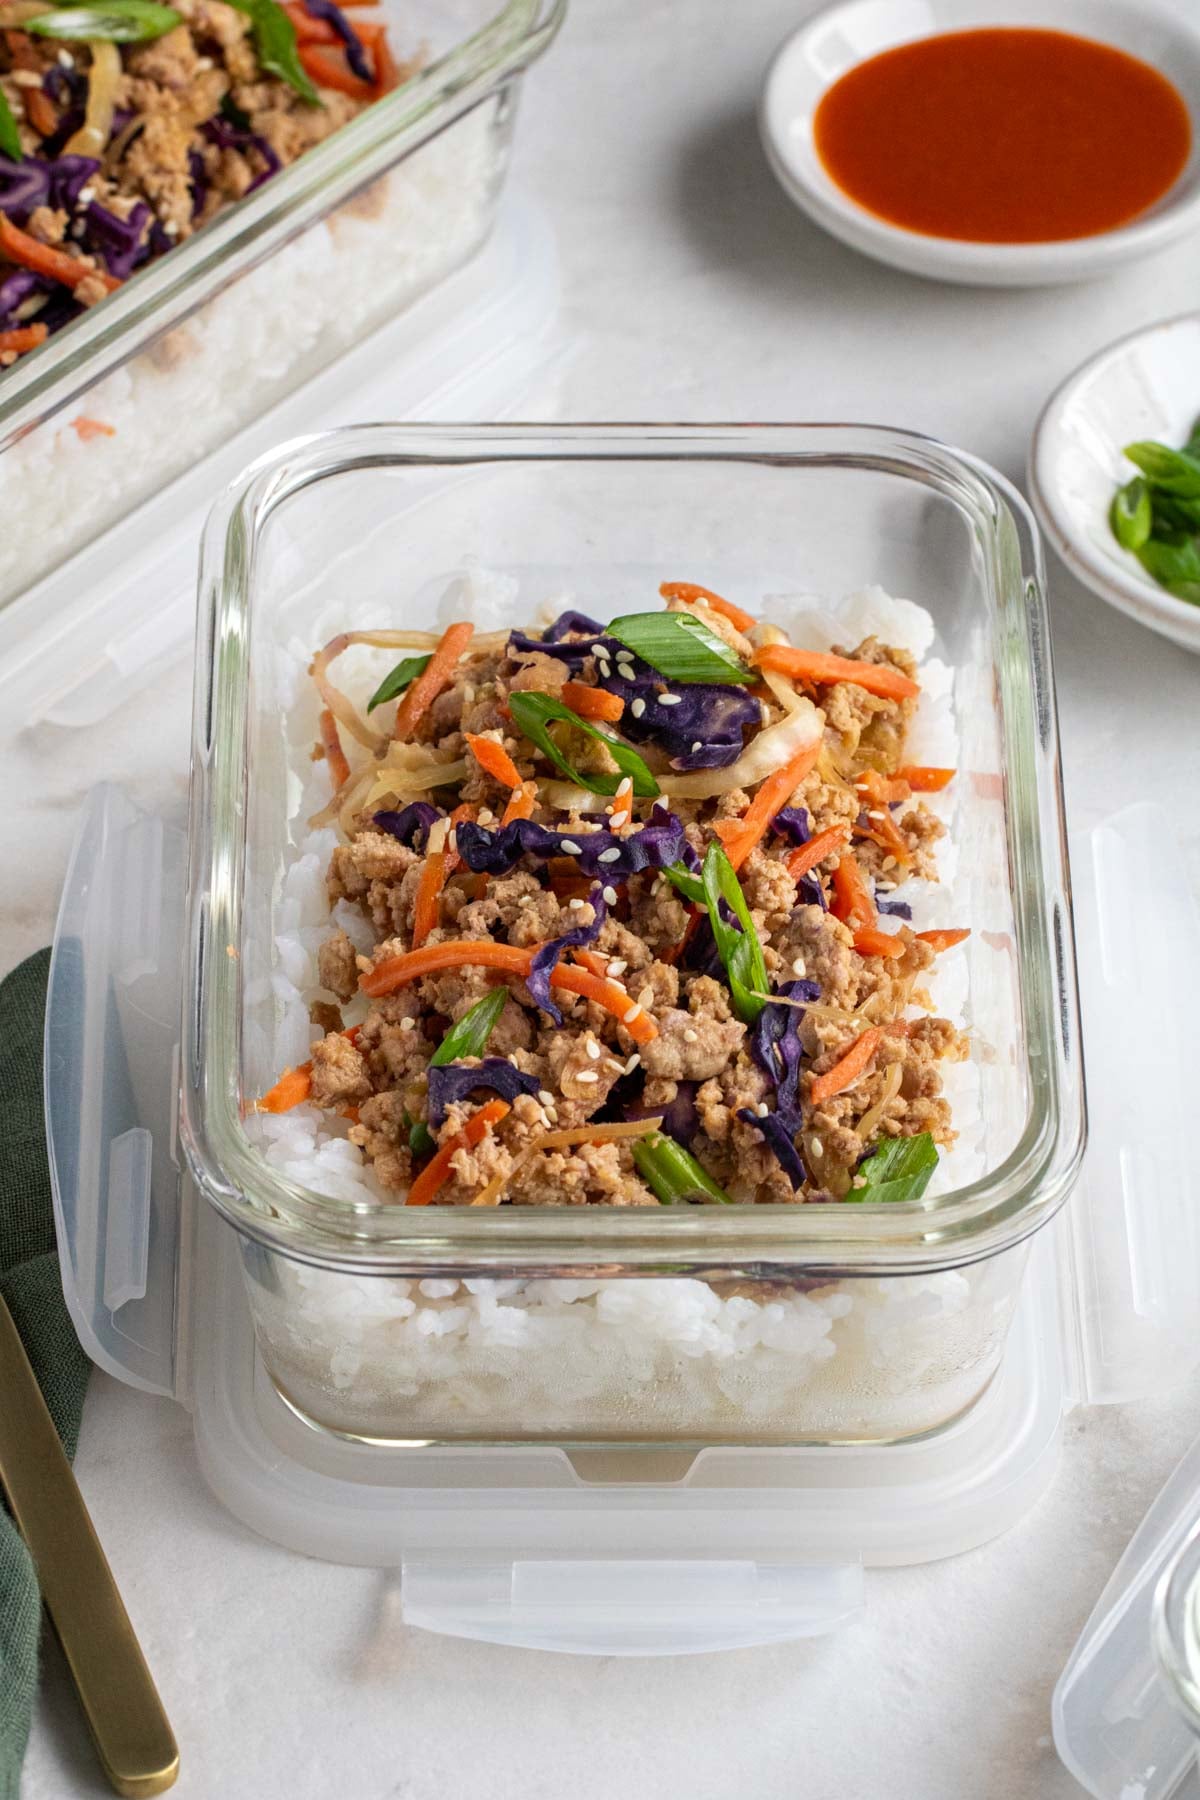
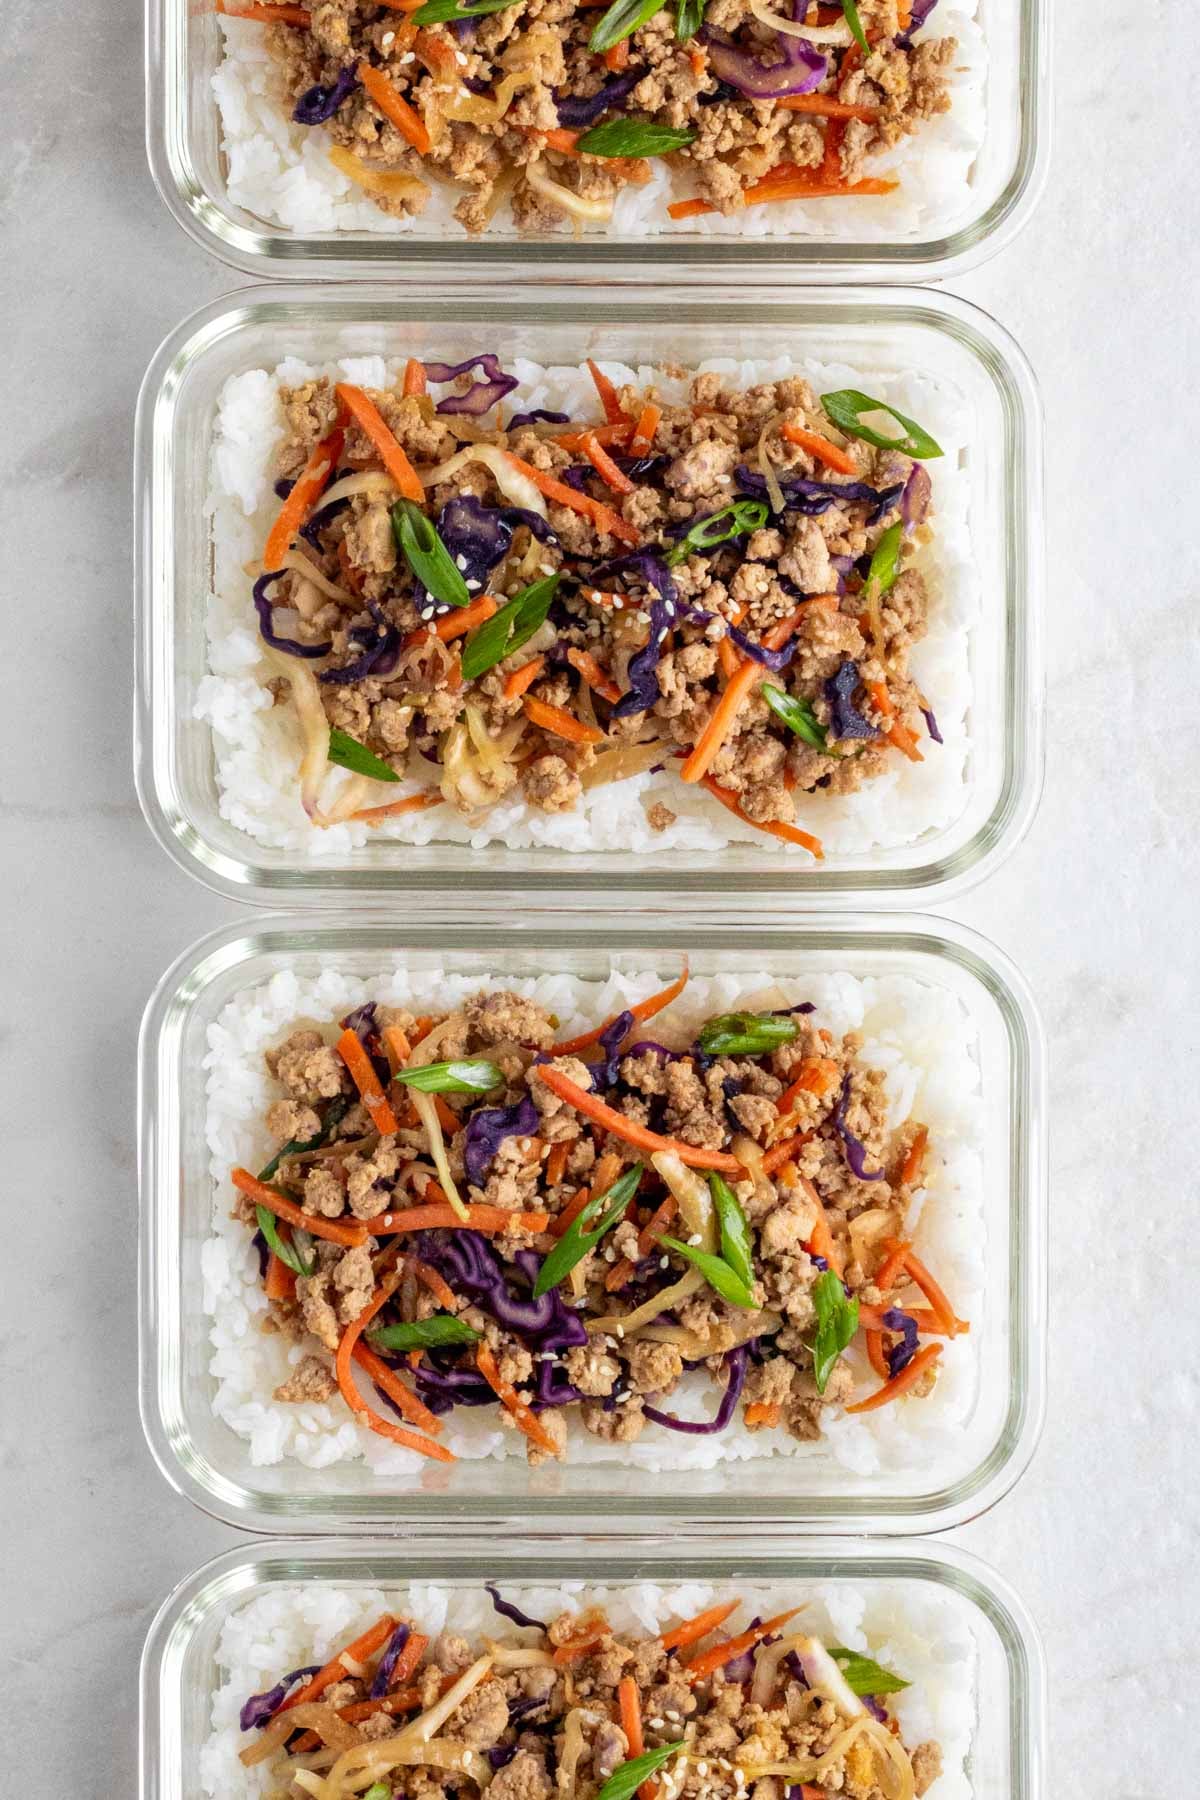
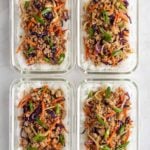
- Once the rice and pork mixture is cooked, assemble the bowls. Divide the rice evenly across 4 meal prep containers or bowls, layer with ¼ of the pork mixture, and top with sliced green onions (green parts only) and sesame seeds.
- The bowls can be served immediately, stored in the refrigerator for up to 4 days, or in the freezer for up to 3 months.

Notes
To Use Brown Rice: Swap the white rice for equal parts brown rice and increase the cooking time to 40 minutes in step #1.
To Use Coleslaw Mix: Swap the carrots and cabbage for 4 cups of coleslaw mix in step #4.
To Use Garlic Powder: Swap the garlic cloves for 1 teaspoon of garlic powder in step #2.
To Use Ground Ginger: Swap the fresh ginger for 2 teaspoons of ground ginger in step #2.
Nutrition
- Serving Size: 1 bowl
- Calories: 621 calories
- Sugar: 4 grams
- Fat: 28 grams
- Carbohydrates: 64 grams
- Fiber: 3 grams
- Protein: 26 grams