Both beans and lentils are nutrient-dense legumes, but is one better than the other? And which one contains more protein and fiber? Here is a comparison and nutritional breakdown of beans vs. lentils.
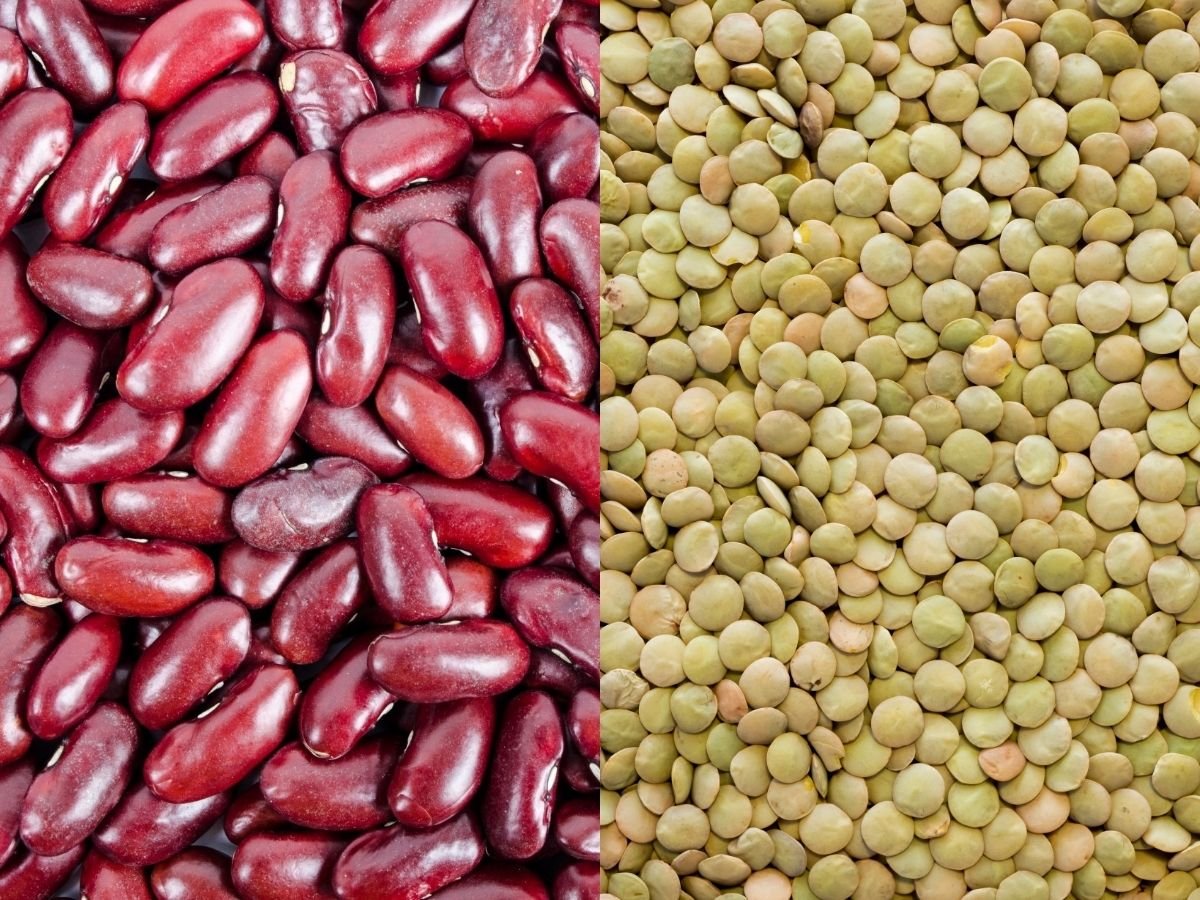
Table of contents
What’s the difference between beans and lentils?
Beans and lentils are legumes, which are plants belonging to the large flowering plant family Fabaceae, and grow as edible seeds within pods (1).
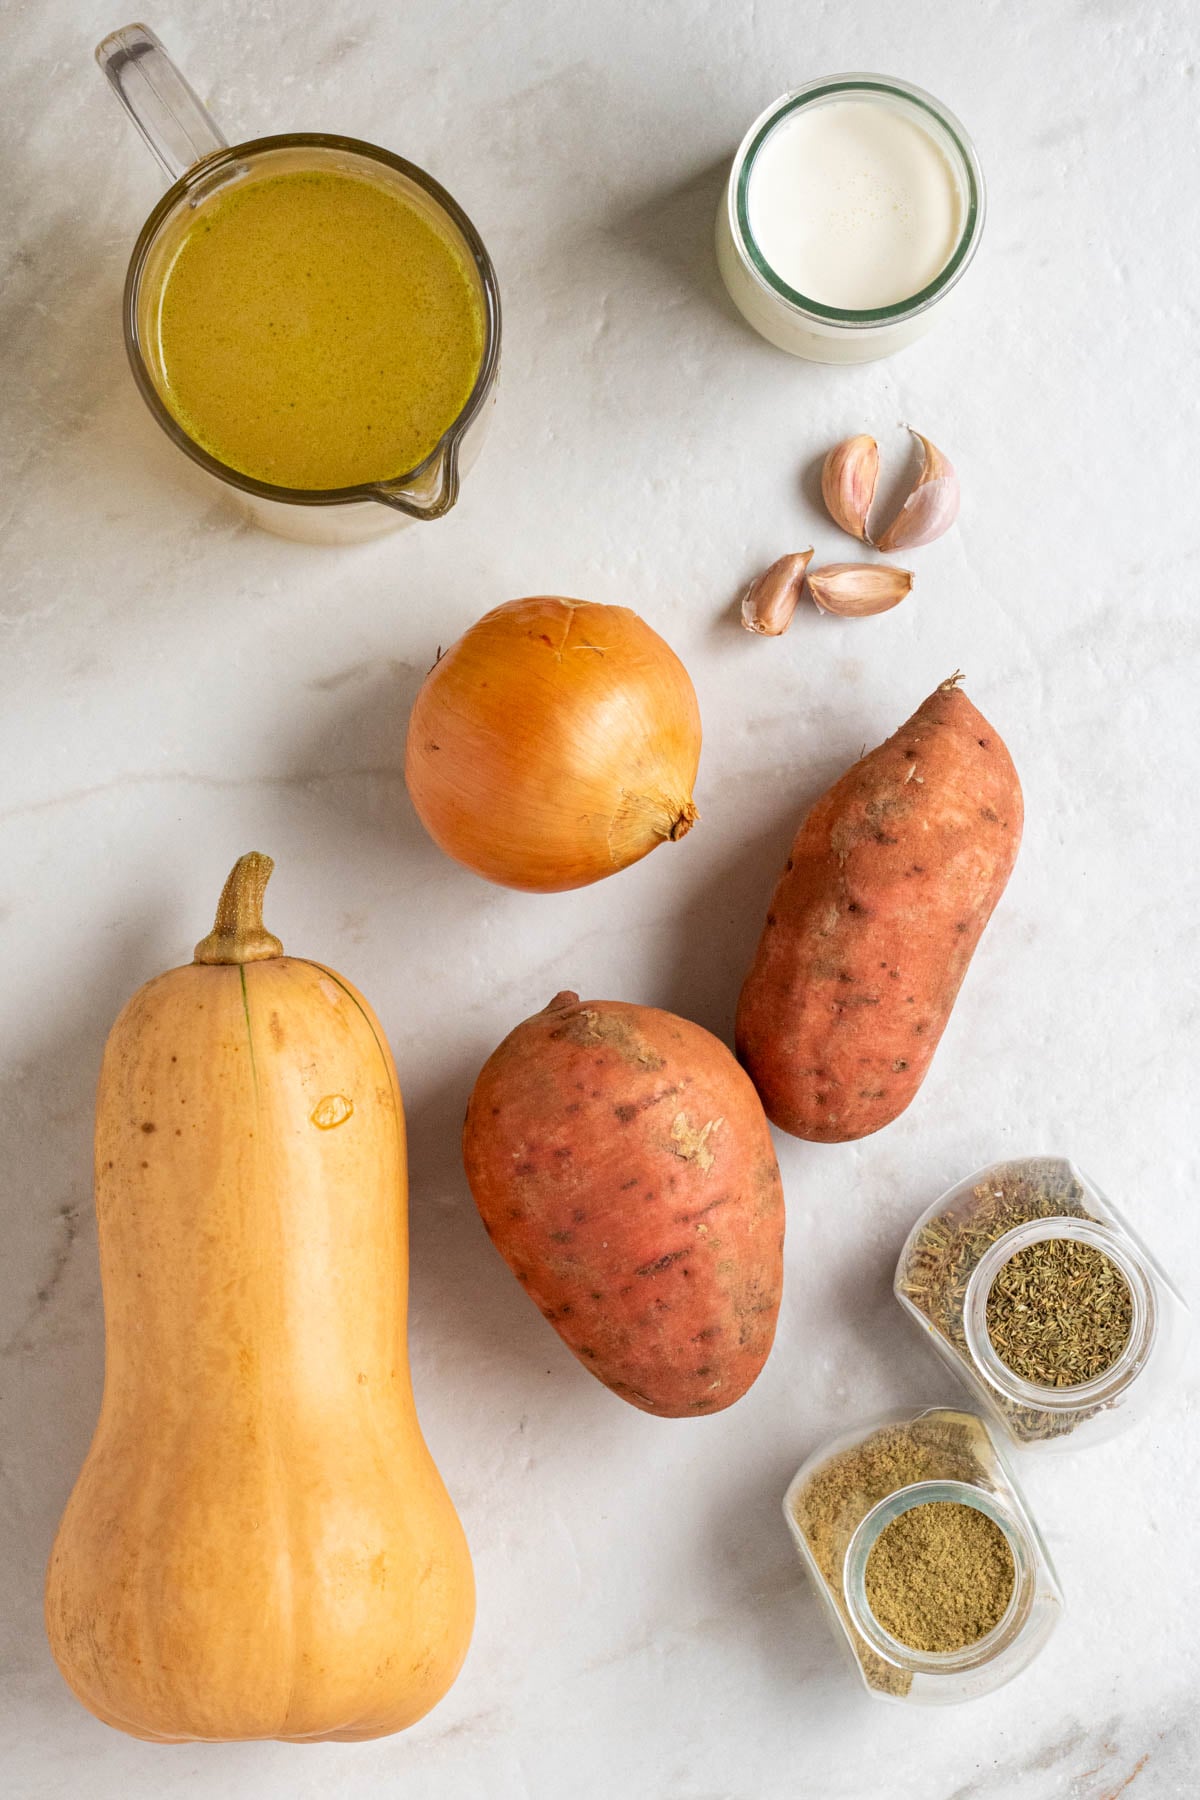
Beans and lentils differ slightly in shape and are available in a variety of colors and forms. Beans are generally plump and round, kidney, or oval shapes, while lentils are small, flat, lens-shaped discs. Common bean varieties include white beans, black beans, navy beans, pinto beans, and garbanzo beans (chickpeas), while common lentil varieties include red lentils, brown lentils, and green lentils.
Both beans and lentils are nutrient-dense foods that provide numerous health benefits. They are rich in protein and fiber, as well as many vitamins and minerals.
Beans vs. Lentils Nutrition
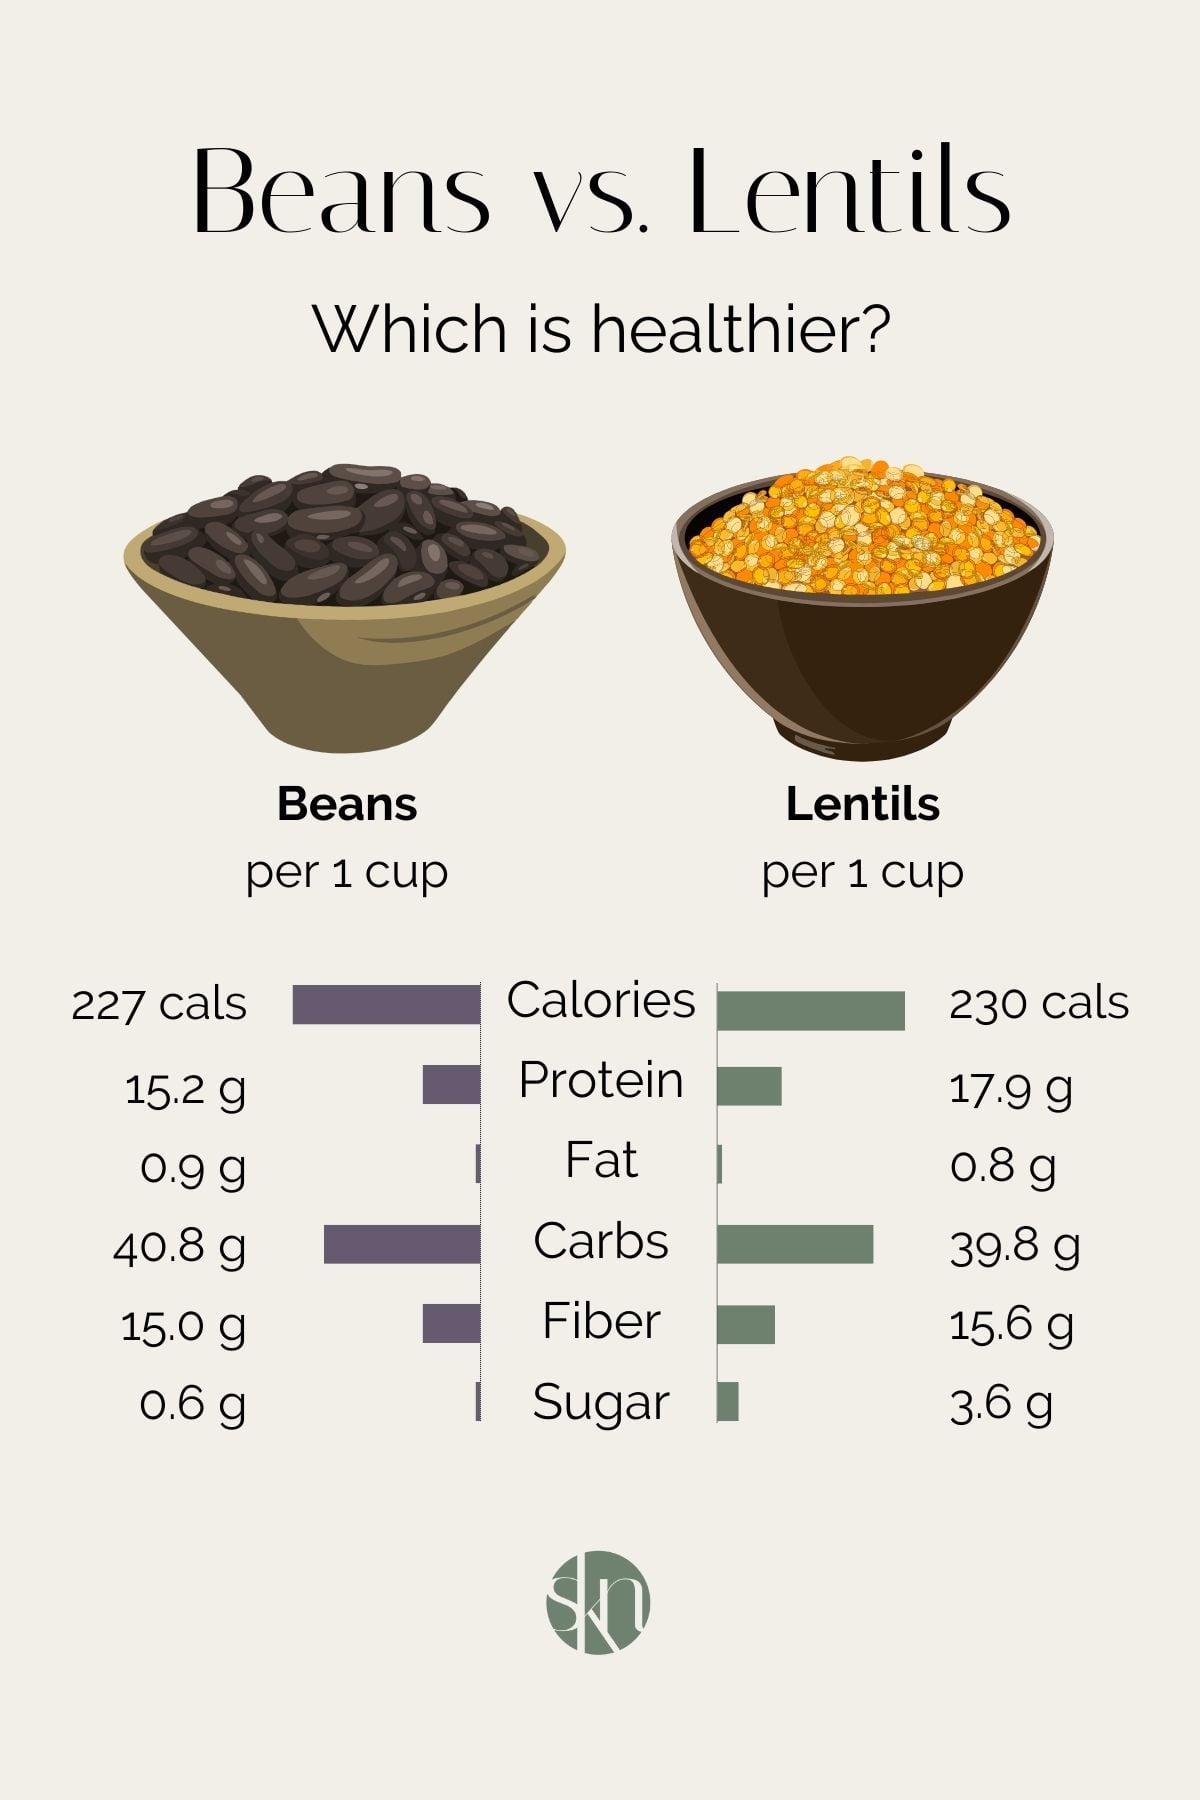
Here is a nutrition comparison of a 1-cup (172-gram) serving of cooked black beans and a 1-cup (198-gram) serving of cooked lentils (2, 3).
| Nutrition per 1 cup (cooked) | Black Beans | Lentils |
| Calories | 227 calories | 230 calories |
| Protein | 15.20 grams | 17.90 grams |
| Fat | 0.93 grams | 0.75 grams |
| Carbohydrates | 40.80 grams | 39.80 grams |
| Fiber | 15.00 grams | 15.60 grams |
| Sugar | 0.55 grams | 3.56 grams |
Calories
Beans and lentils contain a very similar amount of calories. A 1-cup serving of cooked black beans contains 227 calories, while a 1-cup serving of cooked lentils contains 230 calories.
Protein
Lentils contain slightly more protein than beans. A 1-cup serving of cooked black beans contains 15.20 grams of protein, while a 1-cup serving of cooked lentils contains 17.90 grams of protein.
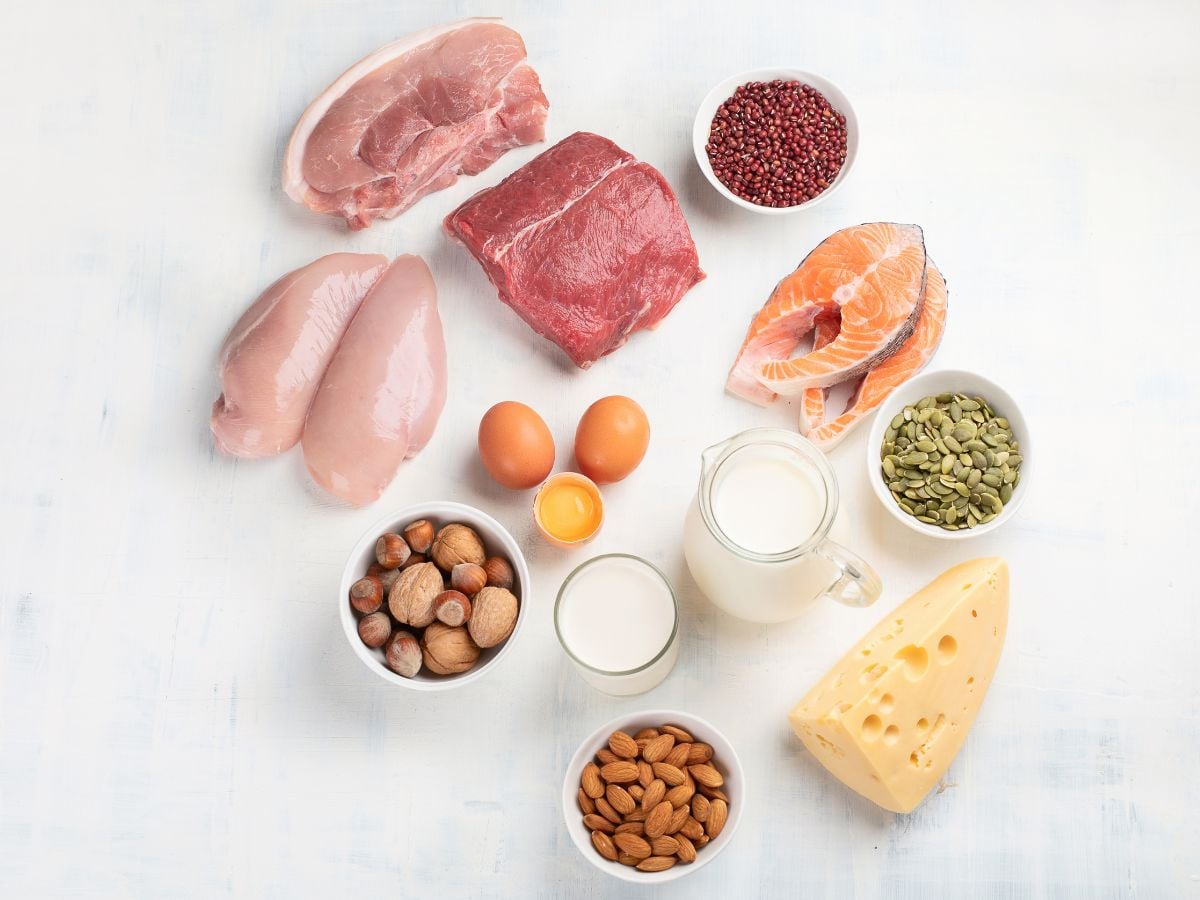
Both beans and lentils are excellent sources of plant-based protein; however, neither is considered a “complete” protein source, as they do not contain all the essential amino acids. Therefore, pairing them with whole grains, such as brown rice, creates a complete vegetarian protein (4, 5).
Fat
Beans and lentils contain similar amounts of fat; however, neither is a significant source of fat. A 1-cup serving of cooked black beans contains 0.93 grams of fat, while a 1-cup serving of cooked lentils contains 0.75 grams of fat.
The fat content of lentils and beans is considered healthy fat, as it is naturally occurring and consists of monounsaturated and polyunsaturated fats, which are considered heart-healthy fats.
Carbohydrates
Beans and lentils contain a very similar amount of carbohydrates. A 1-cup serving of cooked black beans contains 40.80 grams of carbohydrates, while a 1-cup serving of cooked lentils contains 39.80 grams of carbohydrates.
Both lentils and beans are primarily sources of complex carbohydrates from starch, specifically resistant starch, which has been shown to provide a number of health benefits, including improved insulin sensitivity, lower blood sugar levels, increased satiety, increased micronutrient absorption, and improved digestive health (6).
Fiber
Beans and lentils contain a very similar amount of fiber. A 1-cup serving of cooked black beans contains 15.00 grams of fiber, while a 1-cup serving of cooked lentils contains 15.60 grams of fiber.
Both beans are lentils are high-fiber foods, containing both soluble and insoluble fiber, which have been shown to support gut health (7).
Sugar
Lentils contain more sugar than beans; however, neither is a significant source of sugar. A 1-cup serving of cooked black beans contains 0.55 grams of fiber, while a 1-cup serving of cooked lentils contains 3.56 grams of fiber.
The sugar in beans and lentils is natural sugar and is found along with protein, complex carbohydrates, fiber, and essential nutrients, which help mitigate any harmful effects and naturally balance blood sugar.
Vitamins and Minerals
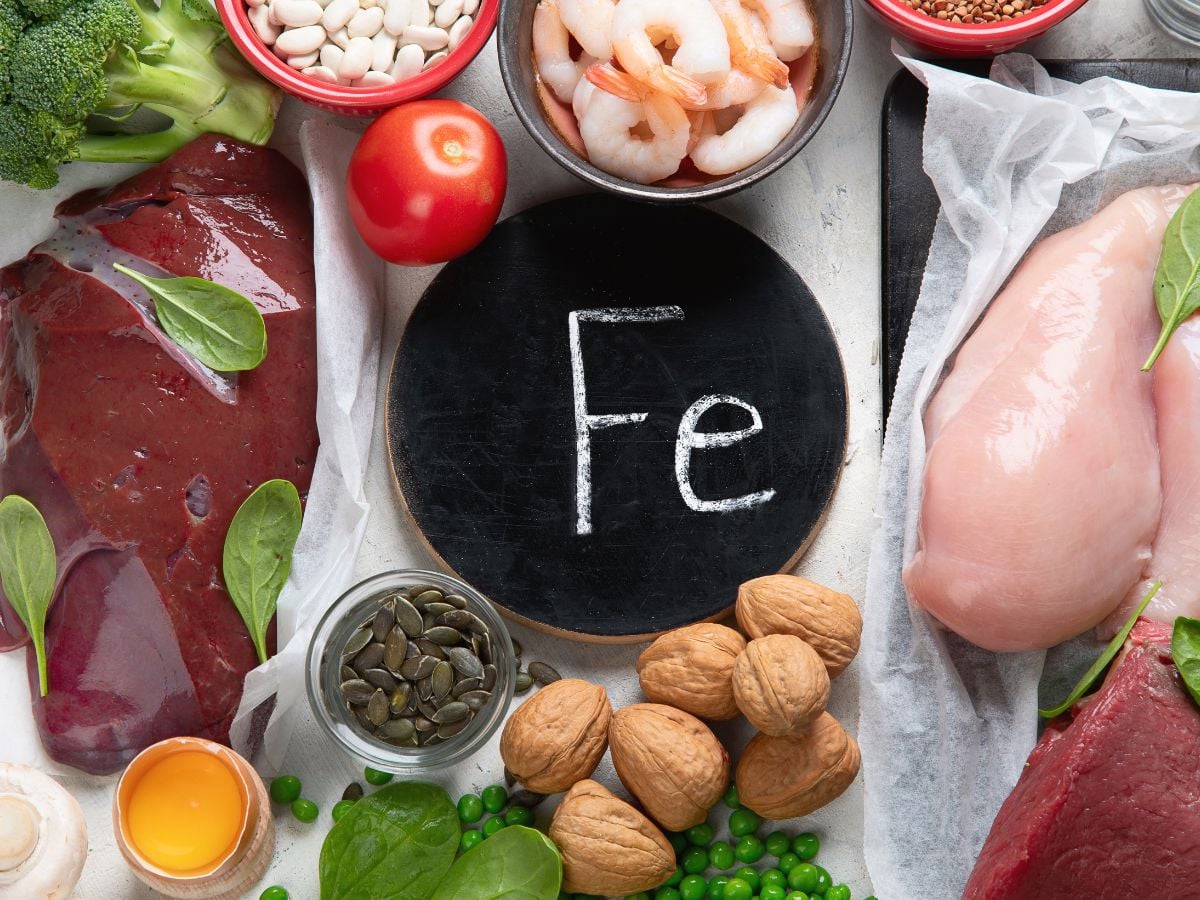
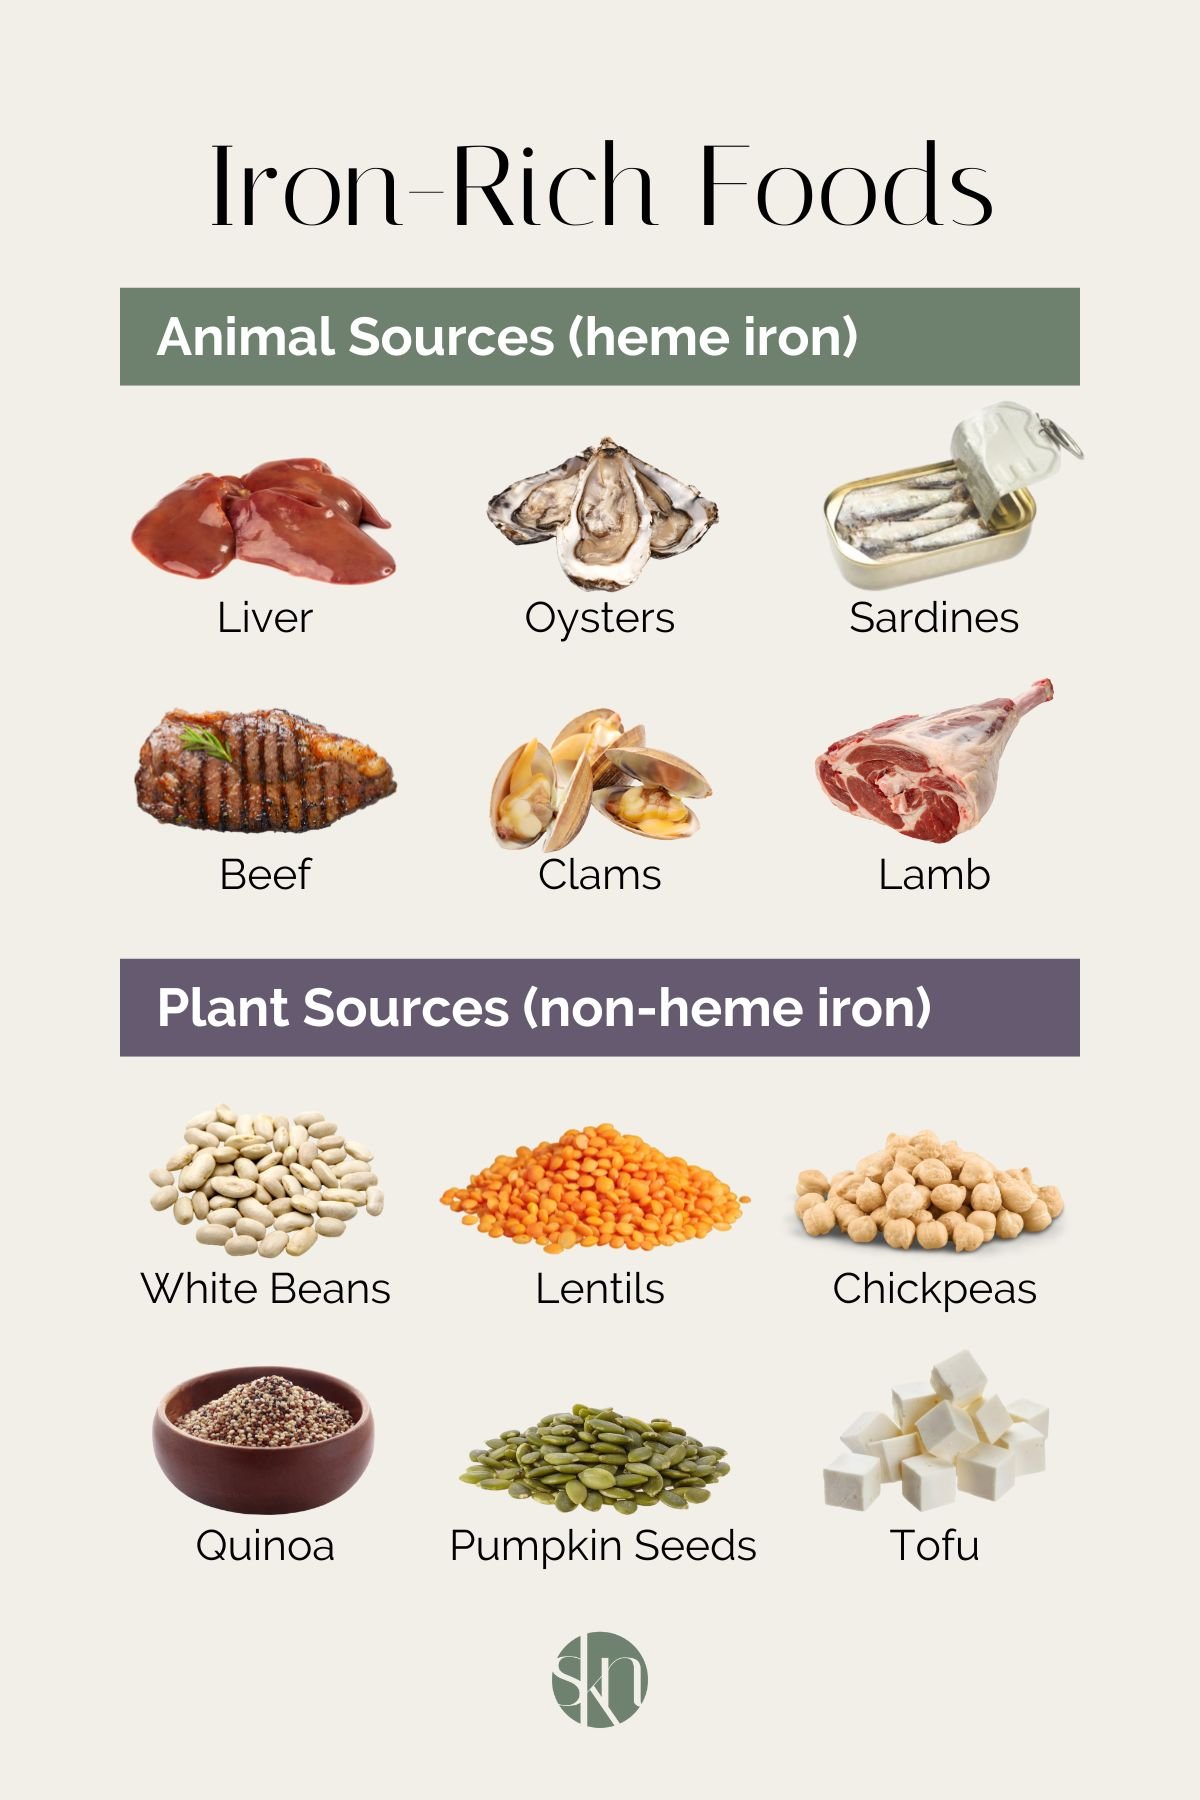
Beans and lentils are naturally rich in micronutrients, namely calcium, iron, magnesium, potassium, zinc, and low in sodium. Beans are generally higher in calcium and magnesium, and lower in sodium, while lentils are higher in iron, potassium, and zinc.
The iron found in legumes, along with other plant foods, is known as non-heme iron and is less bioavailable than heme iron found in animal foods (8, 9).
| Nutrition per 1 cup (cooked) | Black Beans | Lentils |
| Calcium | 46.4 mg | 37.6 mg |
| Iron | 3.61 mg | 6.59 mg |
| Magnesium | 120 mg | 71 mg |
| Potassium | 611 mg | 731 mg |
| Sodium | 1.72 mg | 3.96 mg |
| Zinc | 1.93 mg | 2.52 mg |
Other Factors to Consider
Here are some additional factors to consider in the comparison of beans and lentils.
| Feature | Beans | Lentils |
| Shape | Plump and round, kidney, or oval | Small, flat, lens-shaped discs |
| Color | Black, white, brown, red, green, speckled | Red, green, brown |
| Cooking Time | 45-90 minutes | 15-30 minutes |
| Taste | Mild and nutty | Earthy and peppery |
| Texture | Firm, hold texture well when cooked | Soft, can get “mushy” when overcooked |
| Cost | $1.50-$2.50/lb | $1.50-$2.50/lb |
Cooking Time
Lentils tend to cook faster than beans because they are smaller in size and have thinner skins, which allows for quicker water absorption. Most varieties of lentils cook in 15-30 minutes and require no prior preparation. In contrast, most beans require soaking for 8-12 hours before cooking, to improve digestibility by minimizing naturally occurring antinutrients, and then need 45-90 minutes to cook.
For convenience, both canned beans and canned lentils can be used in most recipes, drastically reducing both prep and cooking time.
Uses
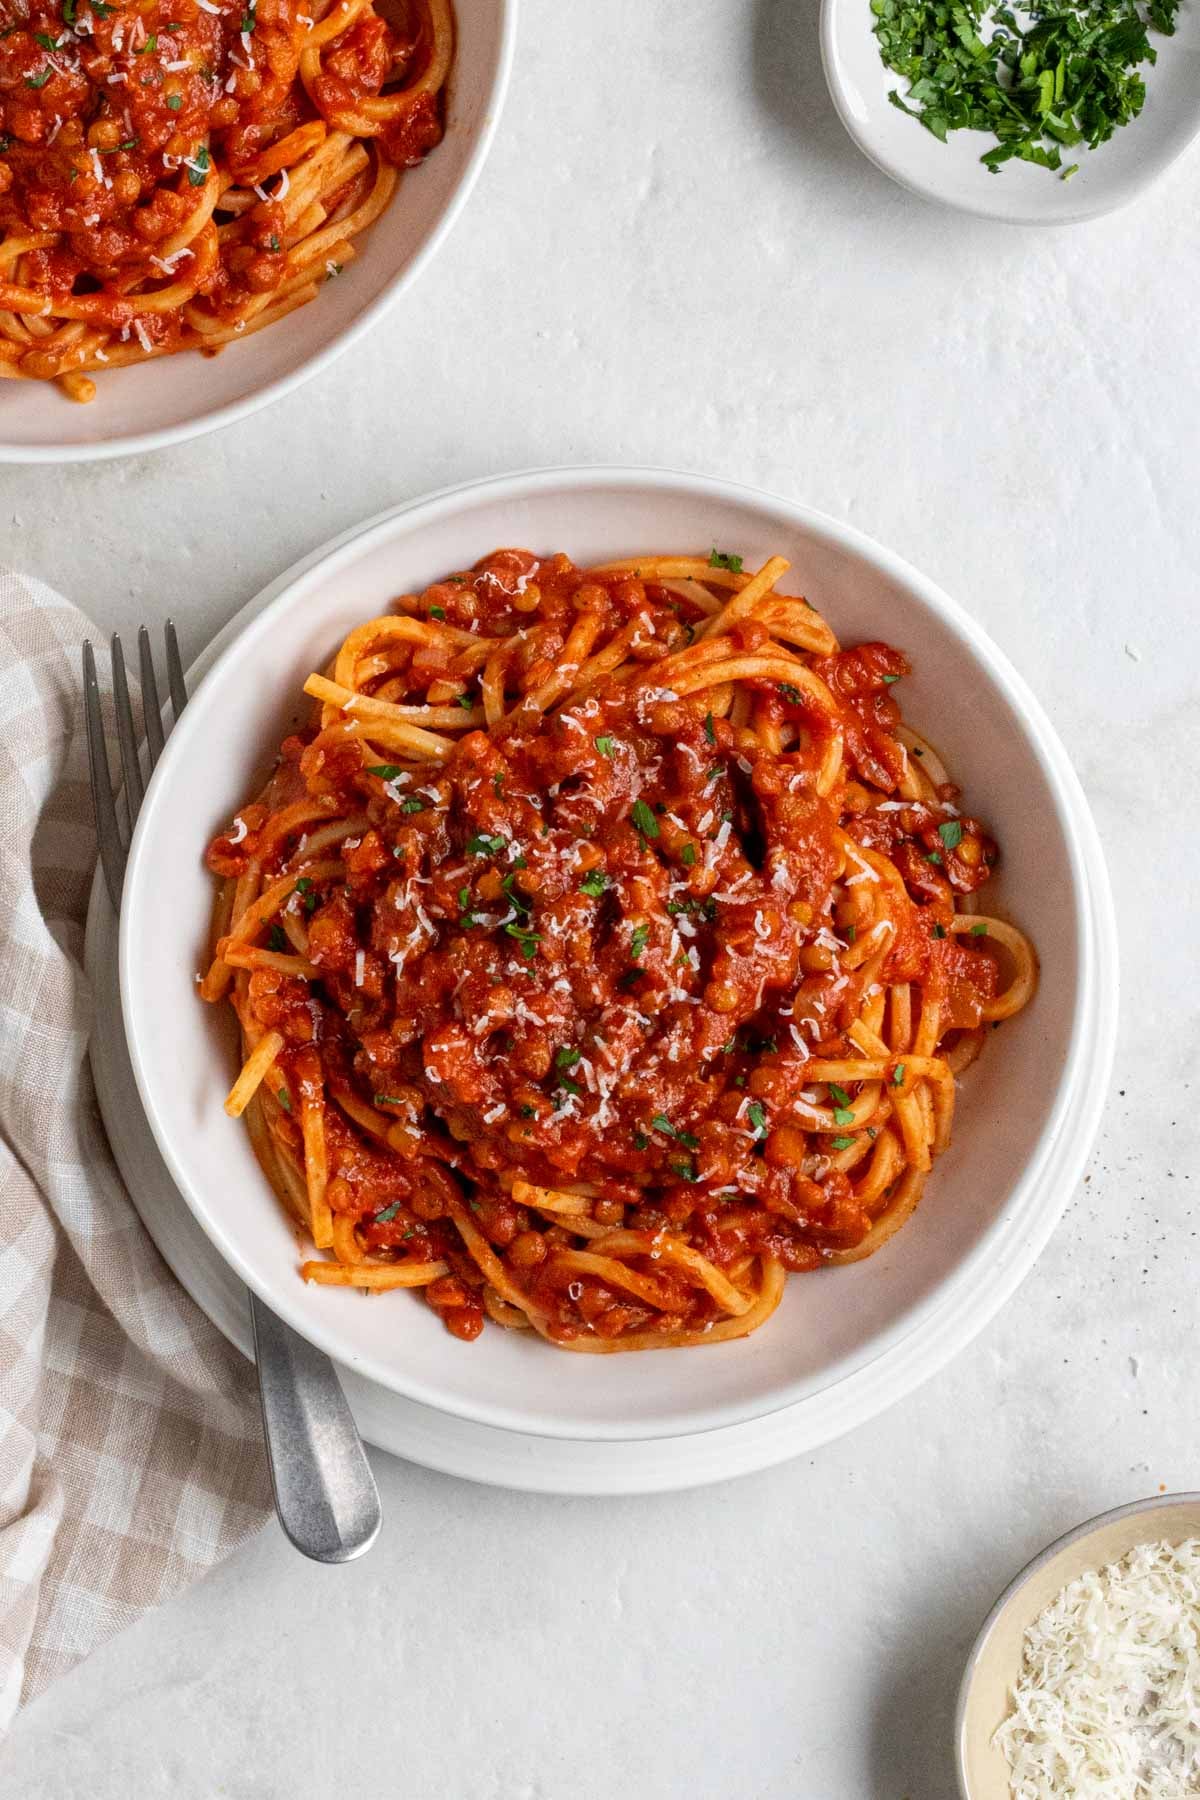
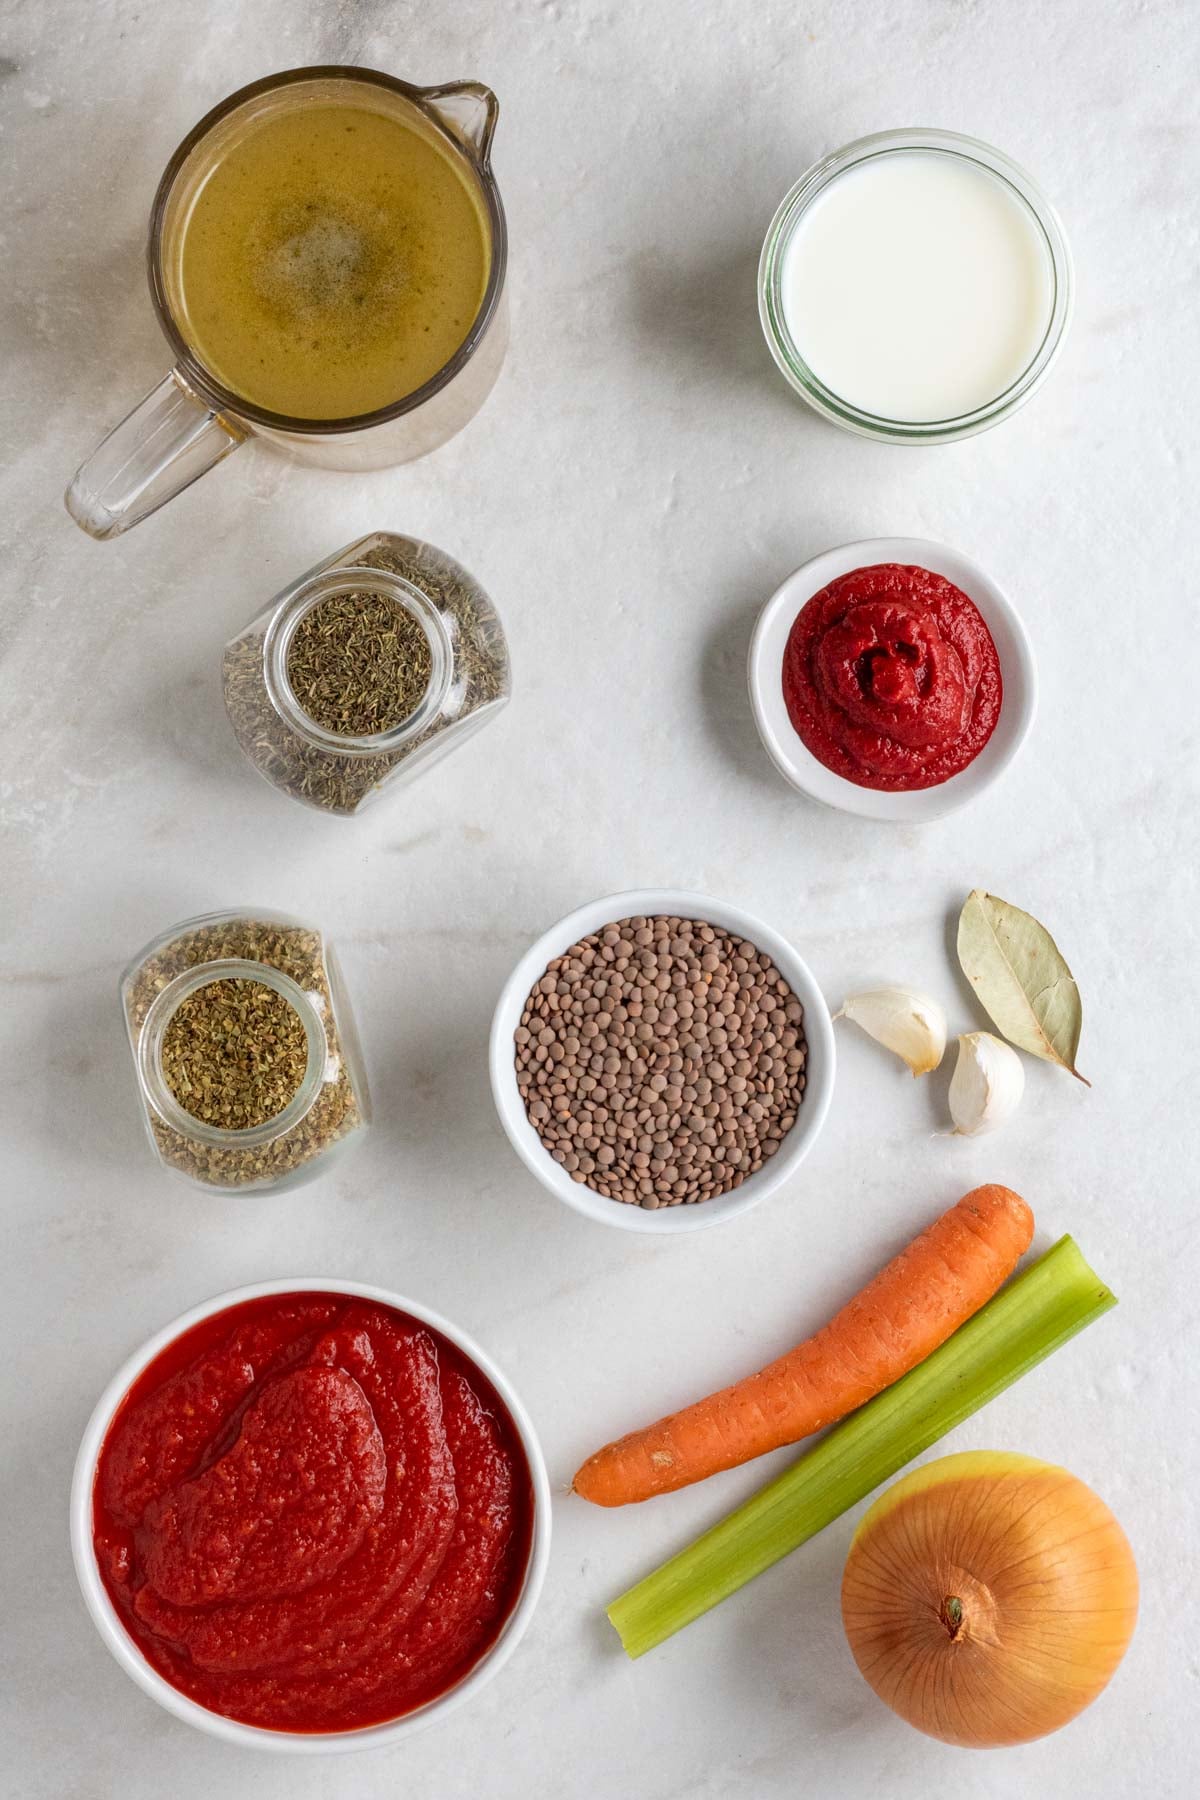
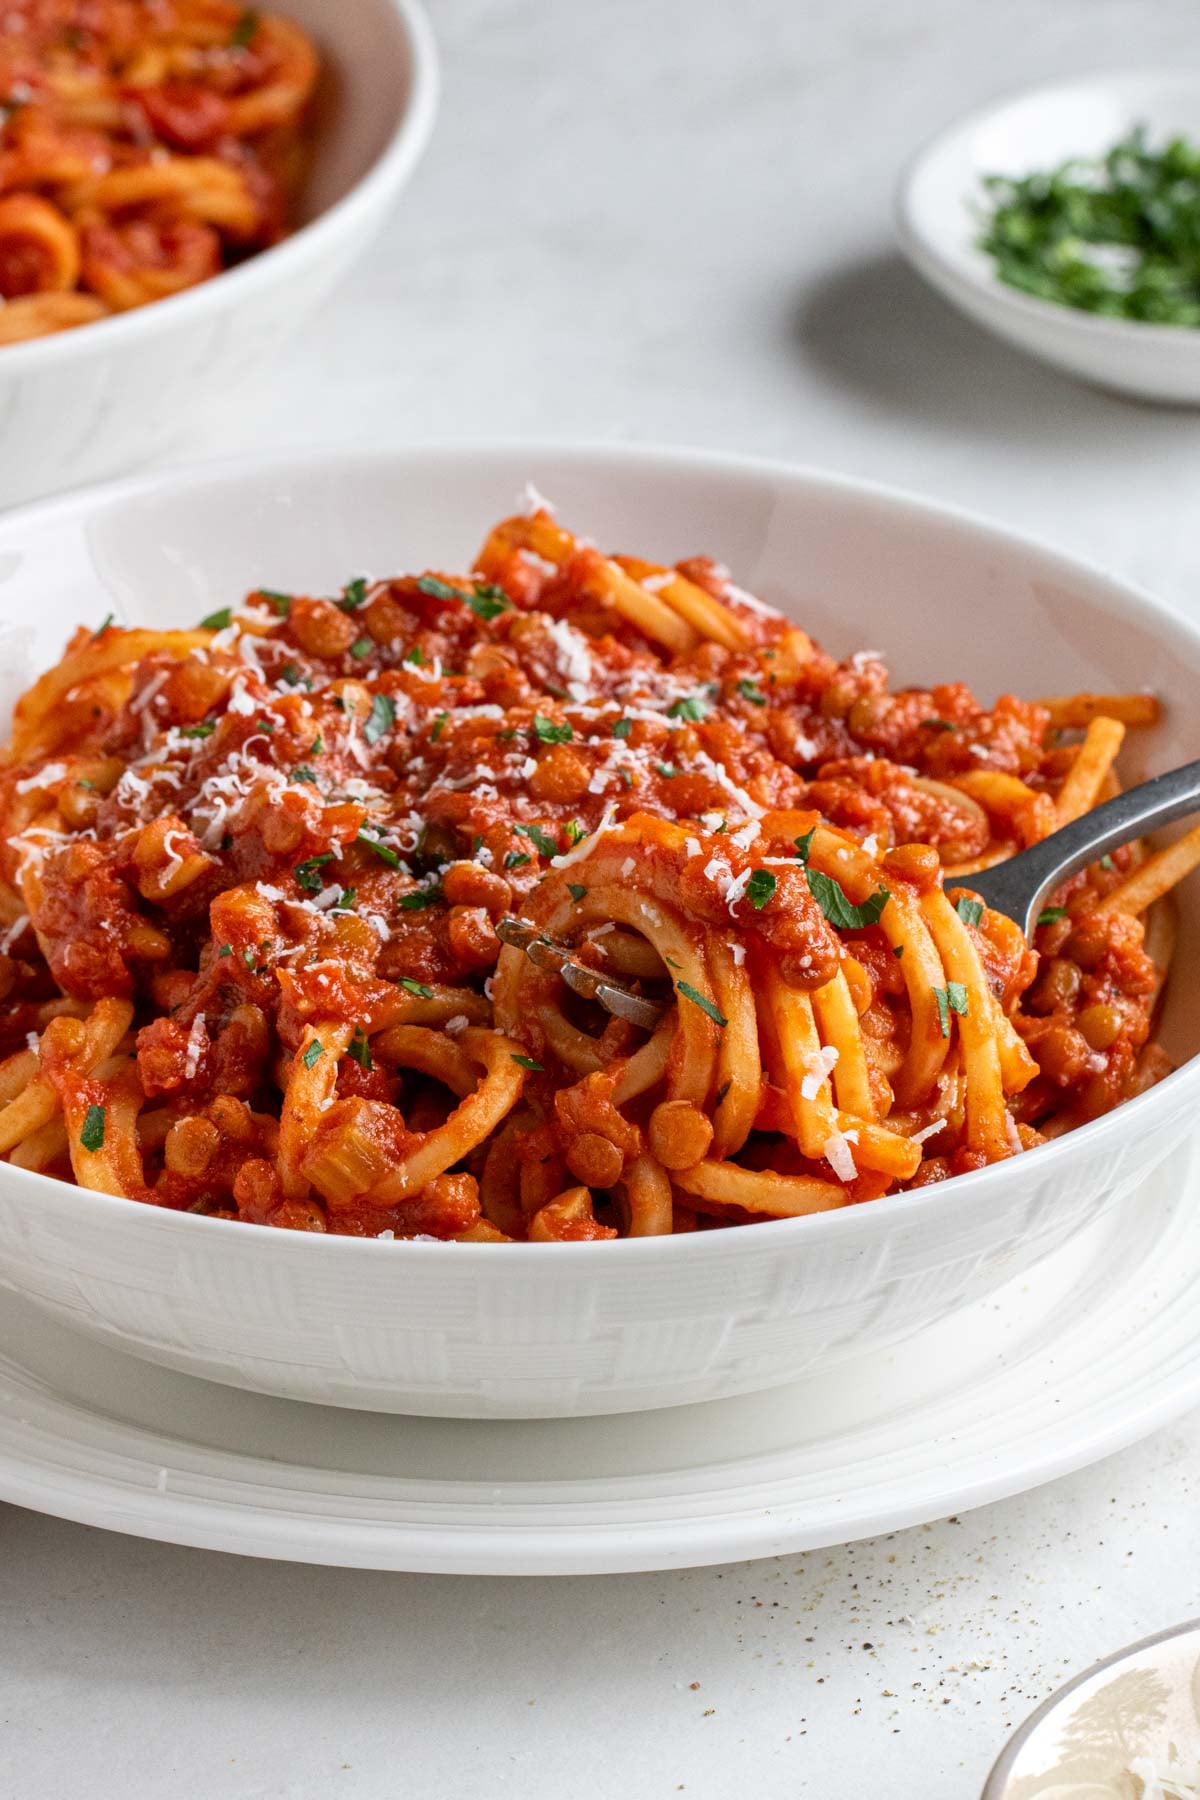
Lentils and beans are versatile ingredients that can be eaten hot or cold, and are commonly used in soups, stews, curries, dhals, and salads. They also work well as an alternative to ground meat in dishes such as shepherd’s pie, bolognese sauce, burgers, and chili.
Lentils tend to break down more when cooked, compared to beans, which hold their shape a bit better, making lentils particularly good for dips, hummus, and spreads.
Taste + Texture
Beans and lentils have slightly differing flavors. Beans have a mild, nutty flavor with a tender, sometimes creamy, texture. Lentils have an earthy, sometimes peppery taste, with a firmer texture. Beans tend to hold their texture better once cooked, while lentils can break down and become “mushy” if overcooked.
Cost
Beans and lentils are generally similar in price, ranging from $1.50 to $2.50 per pound dried; however, canned varieties tend to be much more expensive (10, 11). While dried legumes take longer to prepare, they are a budget-friendly protein source that is much cheaper than meat.
So, which is healthier?
Both beans and lentils are healthy foods that should be included in a healthy diet. They are food sources of plant protein, fiber, vitamins, and minerals, offering numerous health benefits. While there are some minor differences in macronutrients and micronutrients, generally, beans and lentils have a similar nutritional profile and are equally healthy.
A higher intake of legumes is associated with a 6% lower odds of cardiovascular disease and has also been shown to help lower cholesterol and blood pressure (12, 13). Moreover, a diet that regularly includes legumes may aid in weight loss and weight management, as fiber, protein, and slowly digested carbohydrates found in legumes aid in satiety, helping to better manage feelings of hunger and fullness.
Additionally, the regular consumption of beans and lentils in a healthy diet can help to increase protein intake to ensure you’re meeting your daily protein needs, and eat more fiber to promote better digestive and heart health.

The Bottom Line
Beans and lentils are part of the legume family and offer numerous health benefits. They have very similar nutrient profiles, containing a similar number of calories, protein, carbohydrates, and fiber per serving, with little to no fat or sugar. Regularly eating beans and lentils has been shown to positively impact many health markers.