
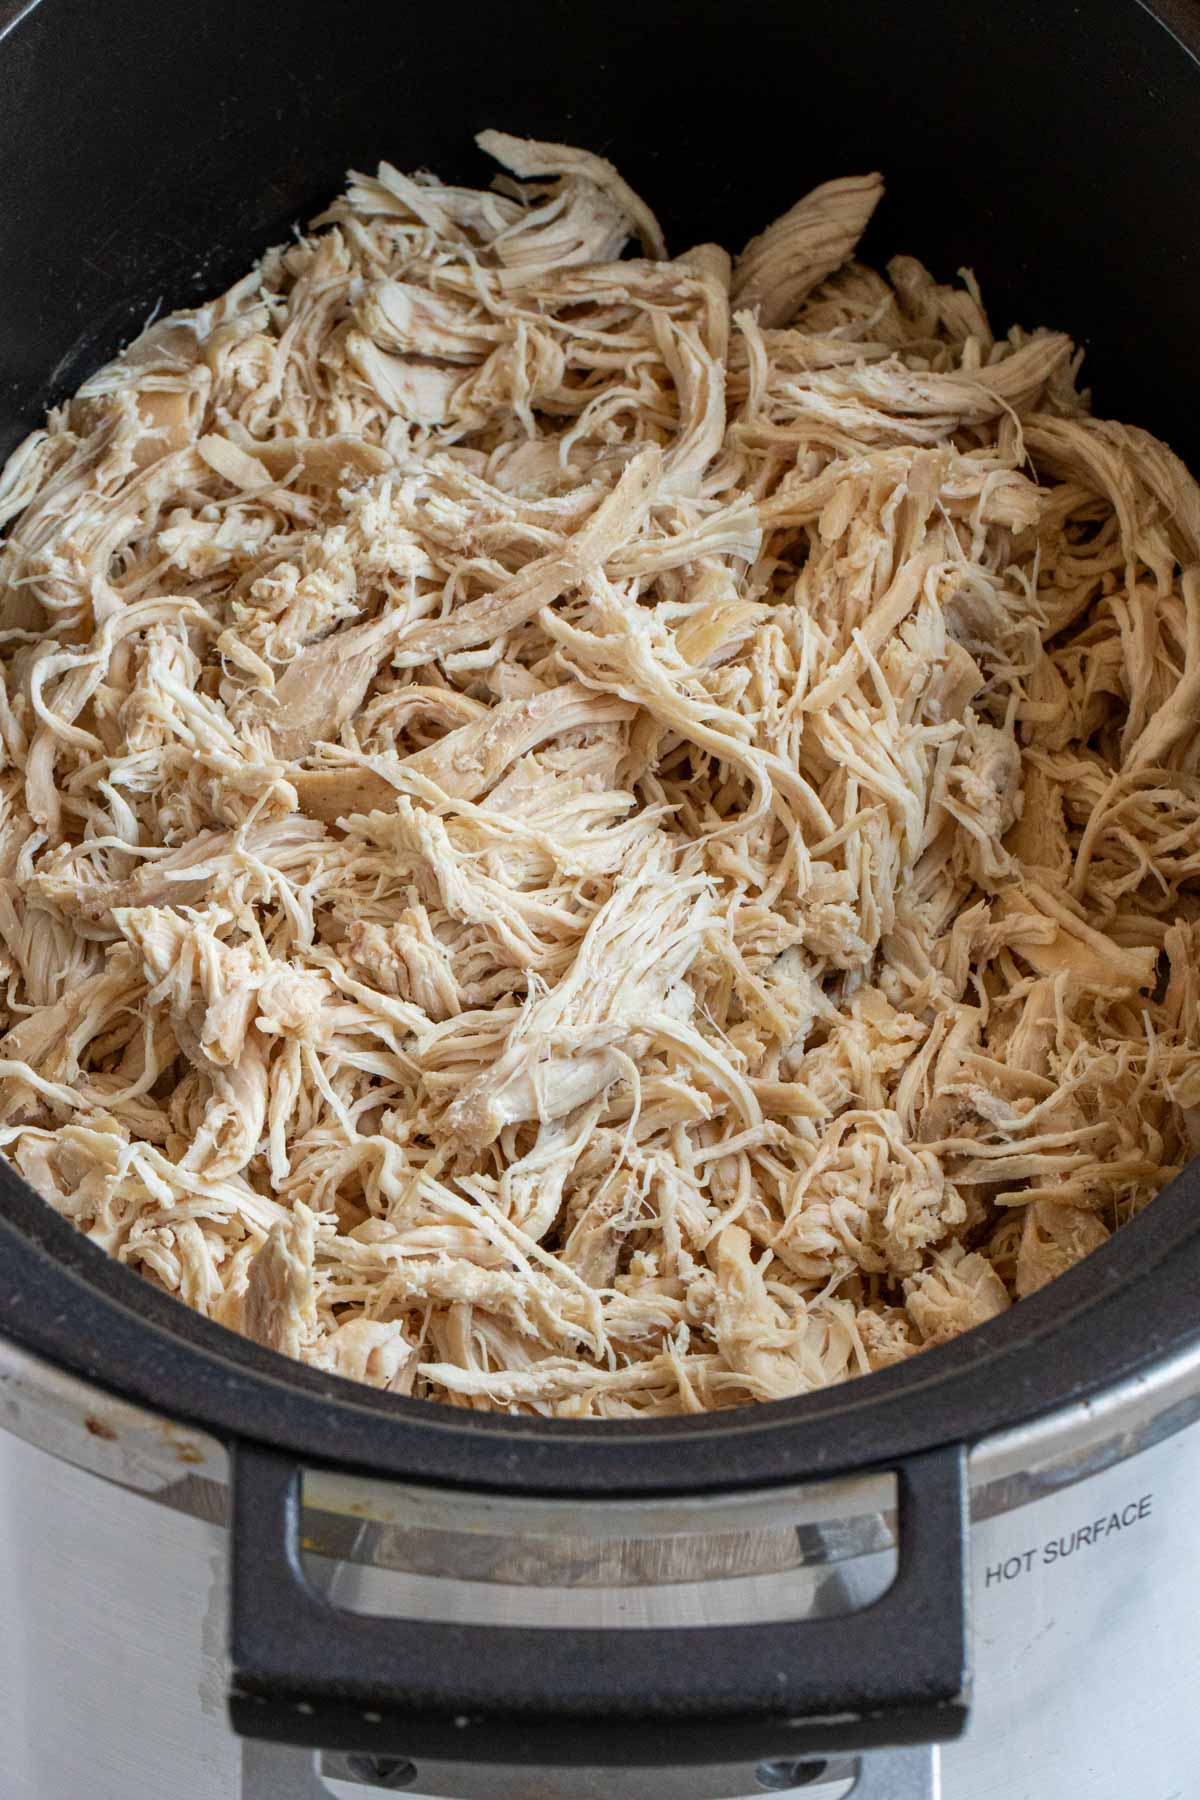
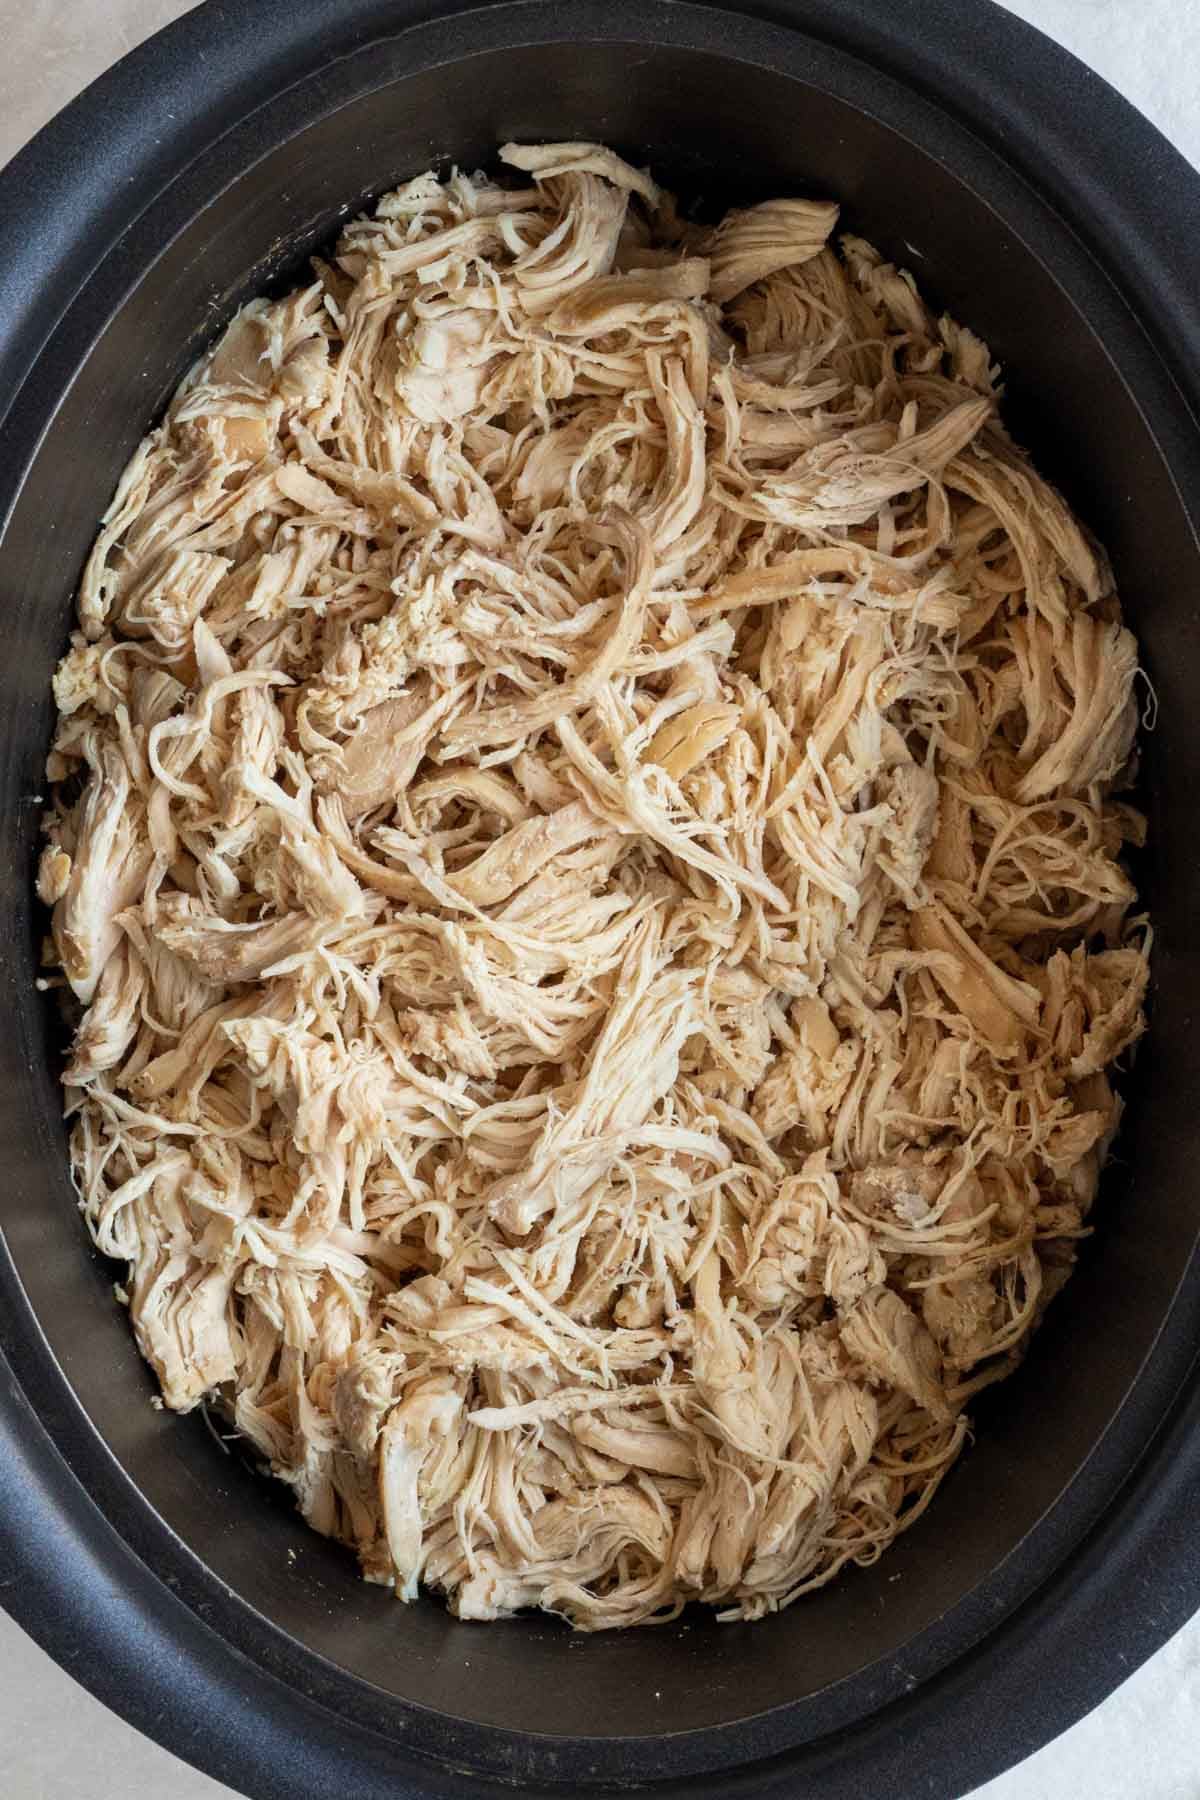
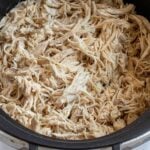
Made with only 6 ingredients, this slow-cooker shredded chicken recipe is a great high-protein meal prep idea. It creates tender shredded chicken that can be used in tacos, sandwiches, salads, soups, stews, and casseroles.
Meal prep is made easy with this crockpot shredded chicken recipe! While simple, this shredded chicken is a great meal prep hack for busy days when you don’t have time to cook or forget to thaw meat for dinner before you leave for work.
While the flavors are simple, the recipe is very versatile, as you can add any seasonings you like to the slow cooker. Plus, once cooked, you can store shredded chicken in the fridge or freezer and use it for quick-assembly weeknight dinners when you need a tasty, yet healthy, and crowd-pleasing meal on the table in under 30 minutes.

Why You’ll Love It
- Easy to Make – This 6-ingredient crockpot recipe is straightforward to make.
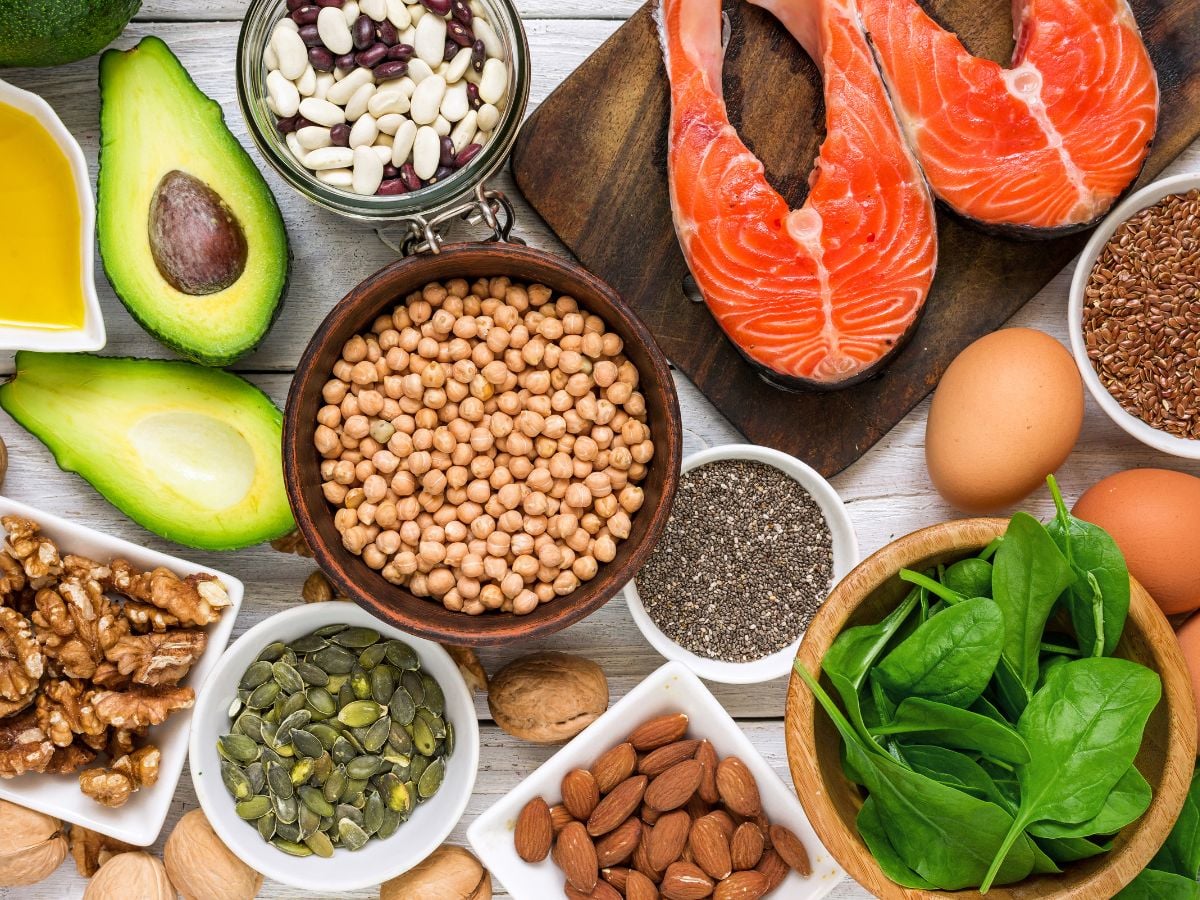
- High in Protein – Made with boneless, skinless chicken breasts, this shredded chicken is a great lean protein source to add to recipes.
- Keeps Well – This slow cooker shredded chicken recipe stores well in the fridge and freezer, making it a great meal prep idea.

Ingredients + Substitutions
- Chicken Breast – The recipe calls for boneless, skinless chicken breasts, but you can use boneless, skinless chicken thighs if preferred. See the notes section of the recipe card for details.
- Broth – To cook the chicken and add some flavor. I used chicken broth, but vegetable broth or water will also work well.
- Onion Powder – To season the chicken, although optional.
- Garlic Powder – To season the chicken, although optional.
- Salt and Pepper – To season.


Dietary Adaptions
To Make it Gluten-Free: Use certified gluten-free broth.
To Make it Dairy Free: No adaptations are needed; this recipe is dairy-free.


Red’s Nutrition Tip
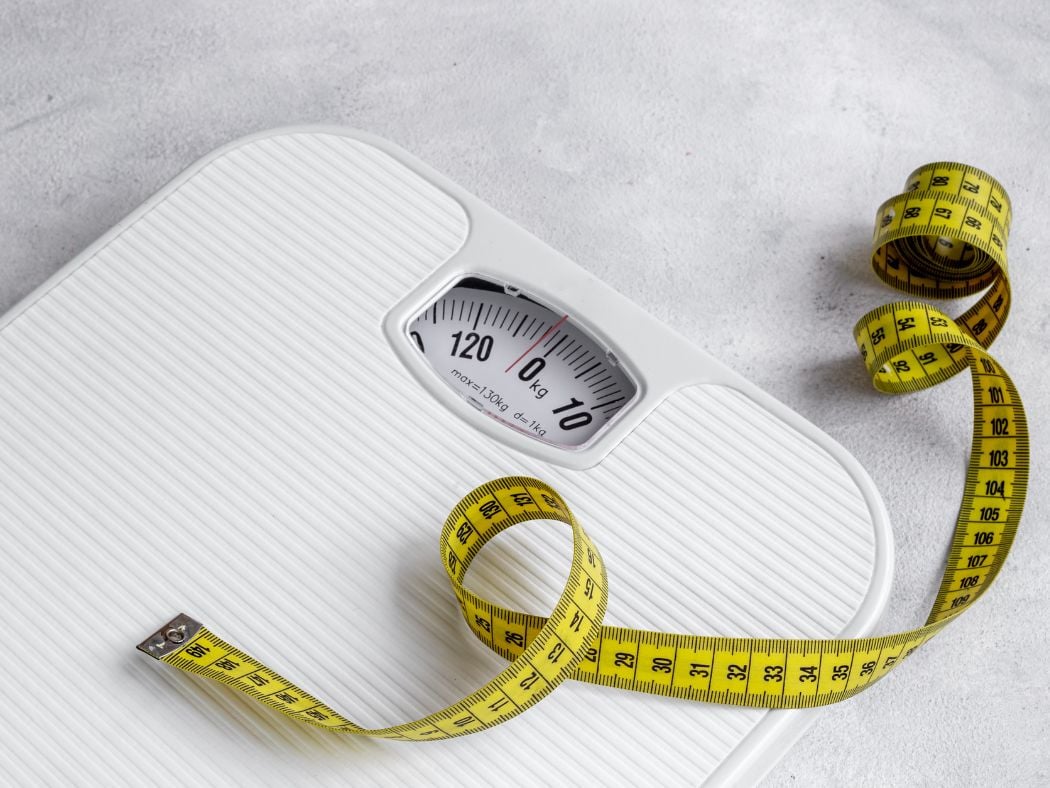
This slow-cooker shredded chicken is a great way to help increase protein intake. Whether your goal is general health, to create a calorie deficit for weight loss, or to build muscle for healthy weight gain, the lean chicken breasts are a low-calorie, high-protein food that can increase the protein content of a meal without overly increasing calorie content or saturated fat content.
Serving Suggestions
This shredded chicken is a great source of protein that can be used in a wide variety of recipes.
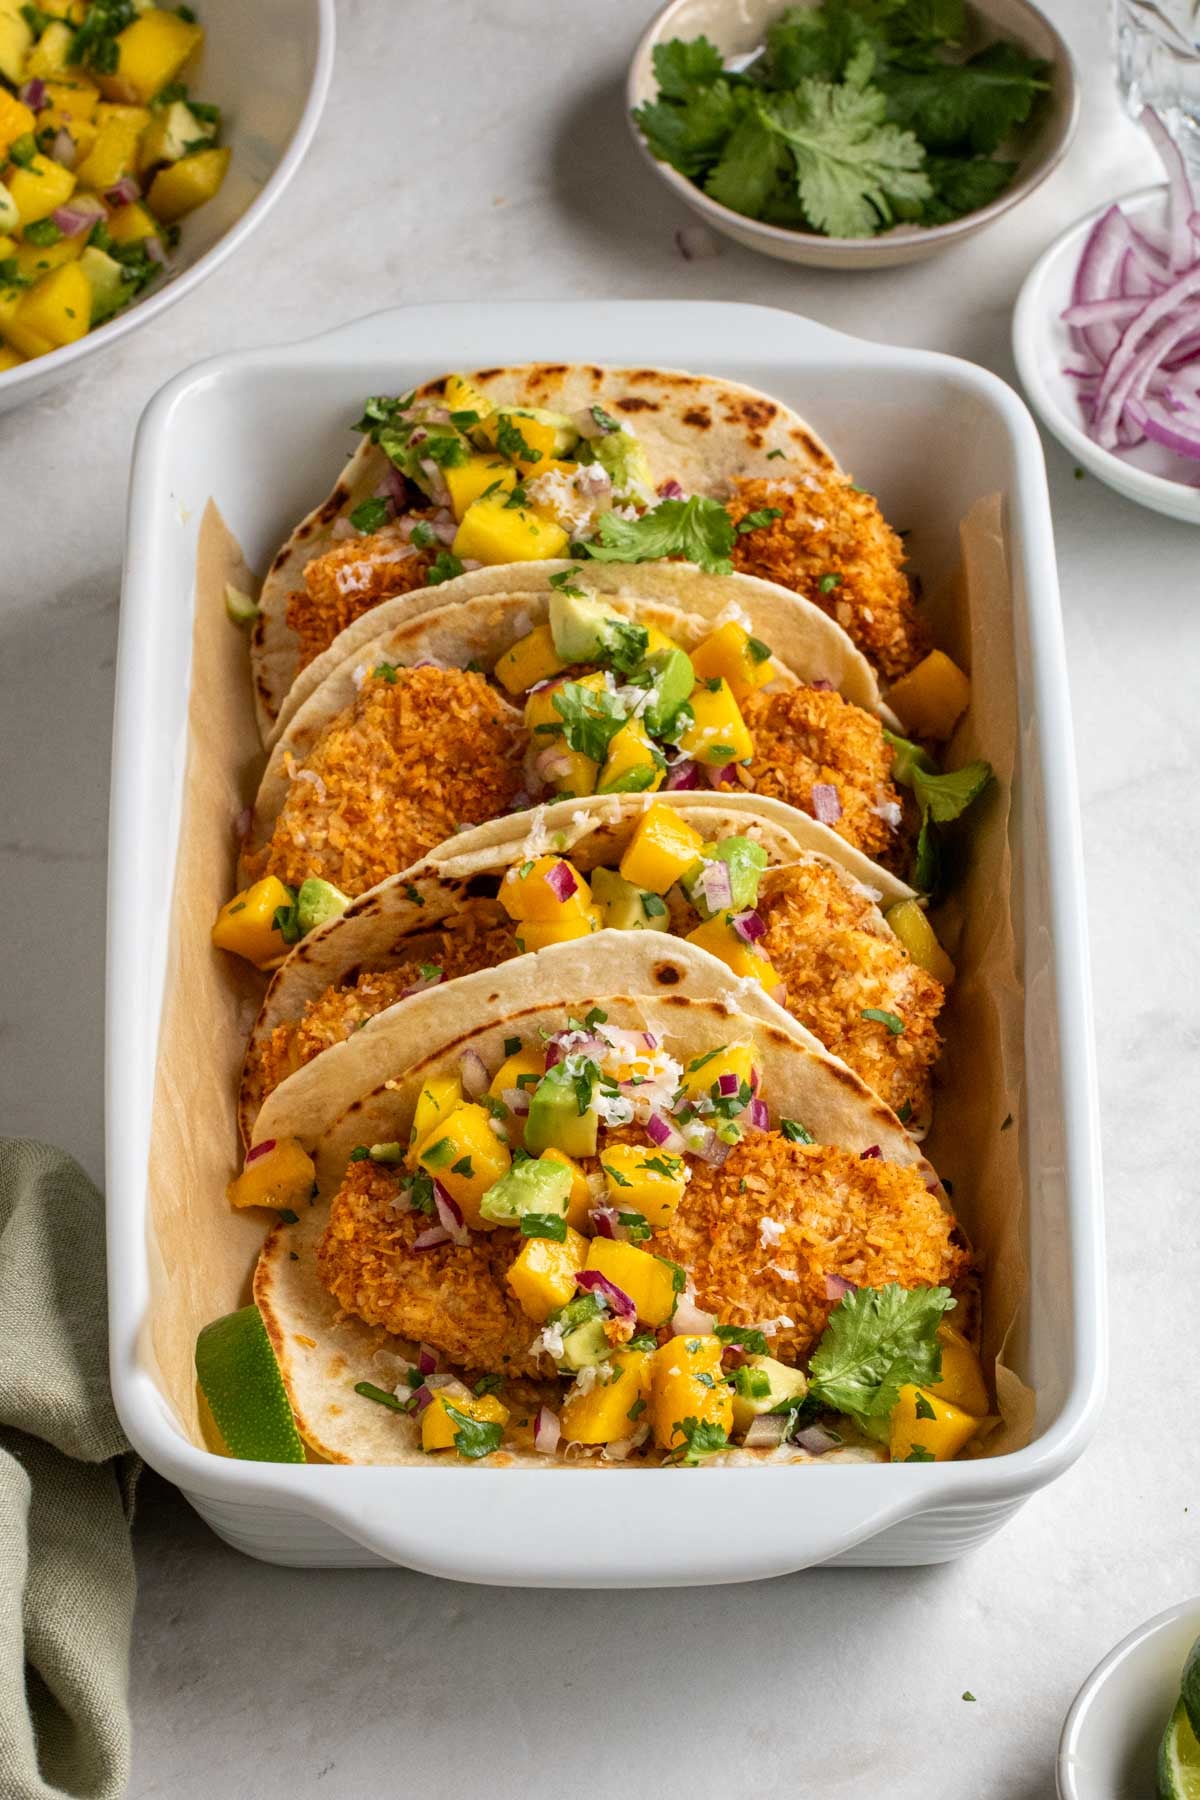
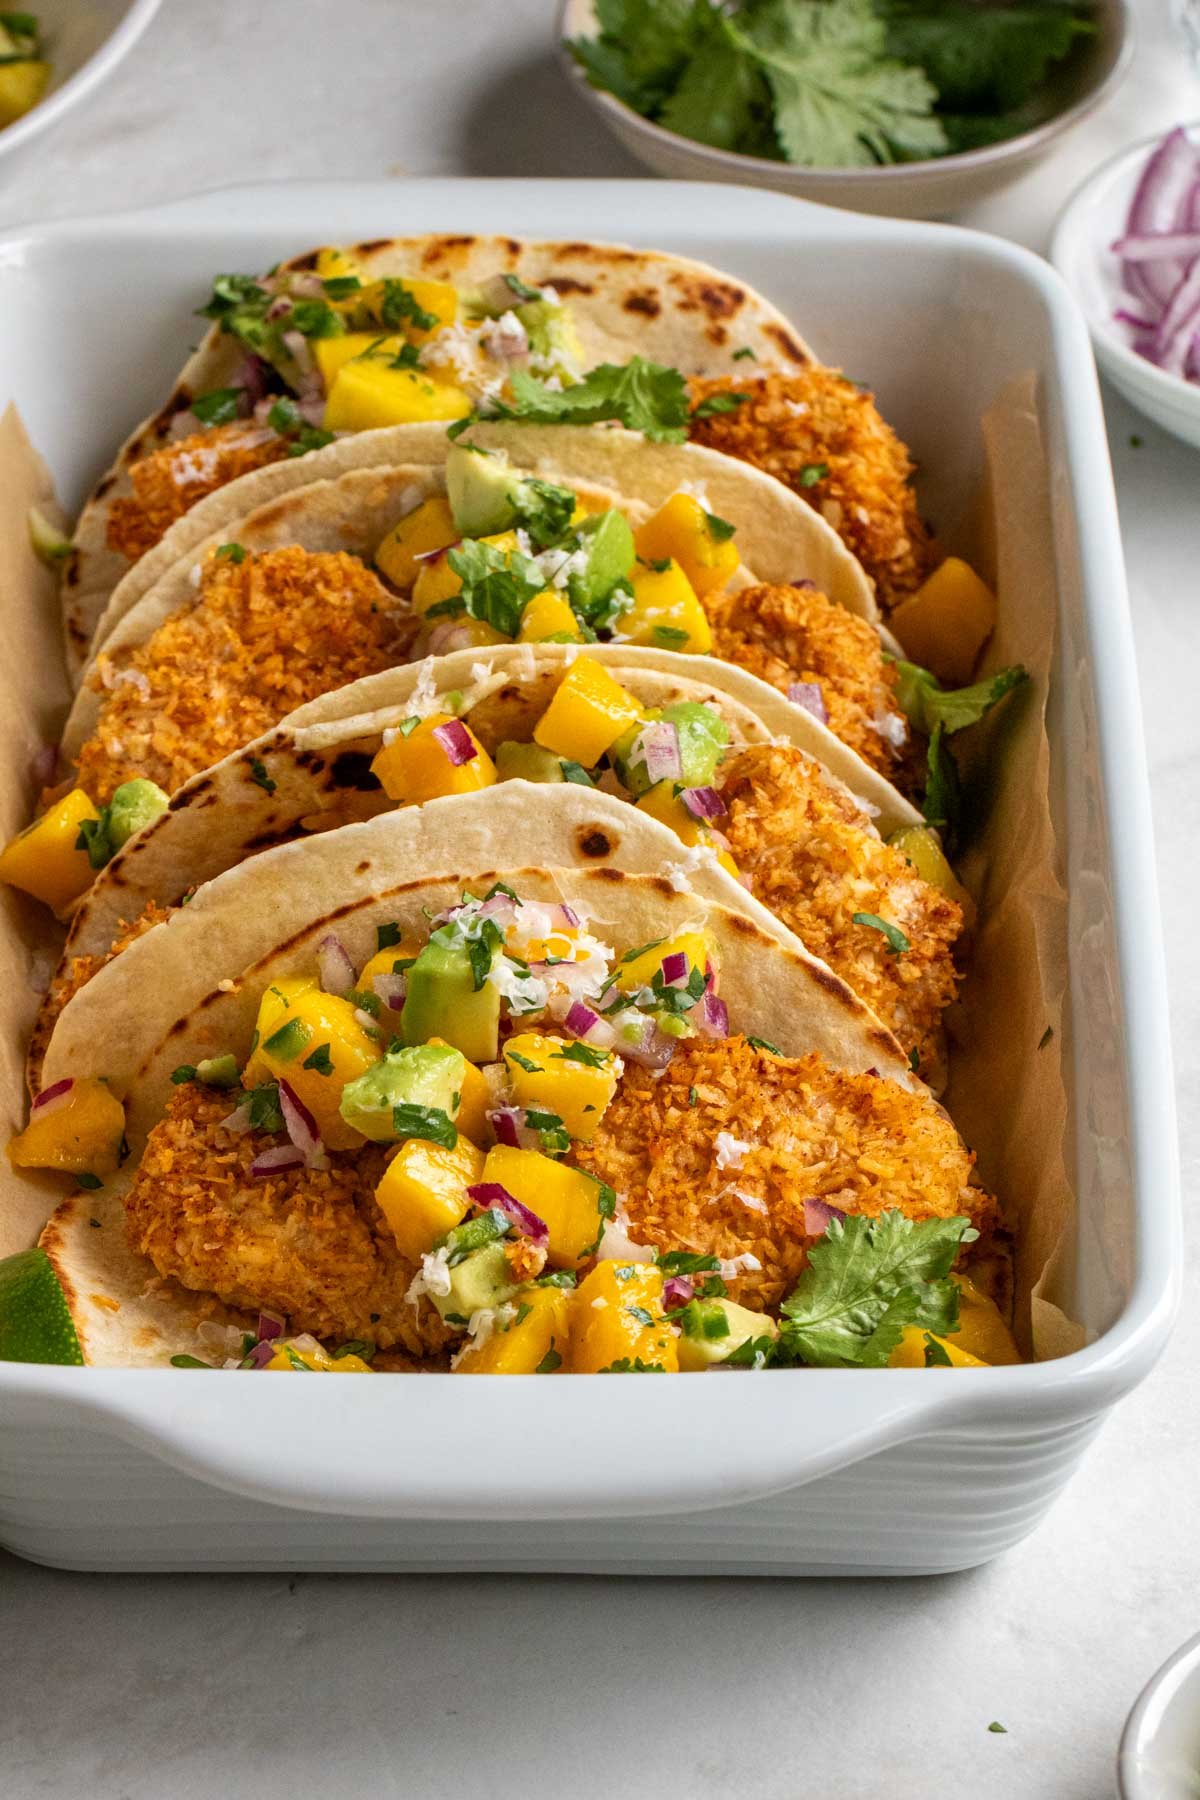
- To turn it into tacos, add a pack of taco seasoning to the slow cooker and serve the shredded chicken on corn tortillas with salsa, guacamole, and sour cream.
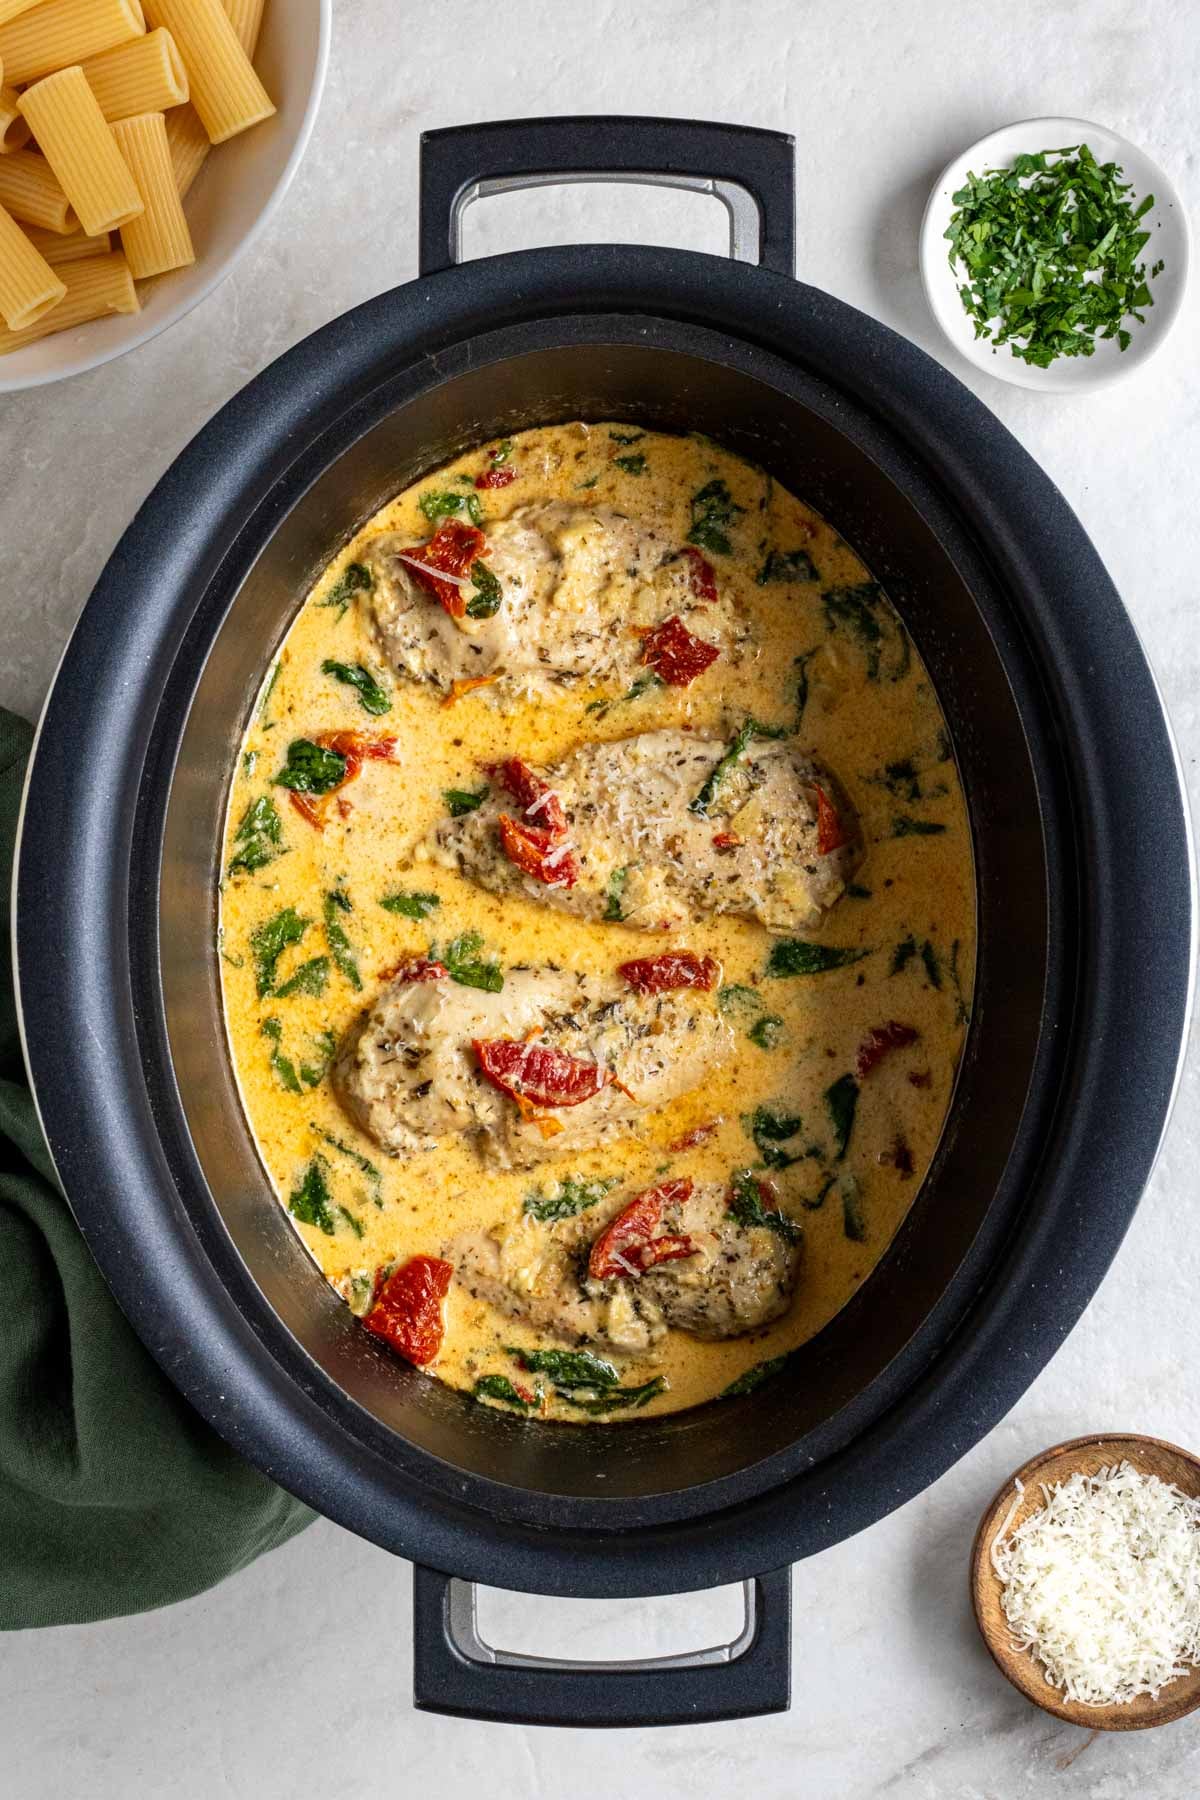
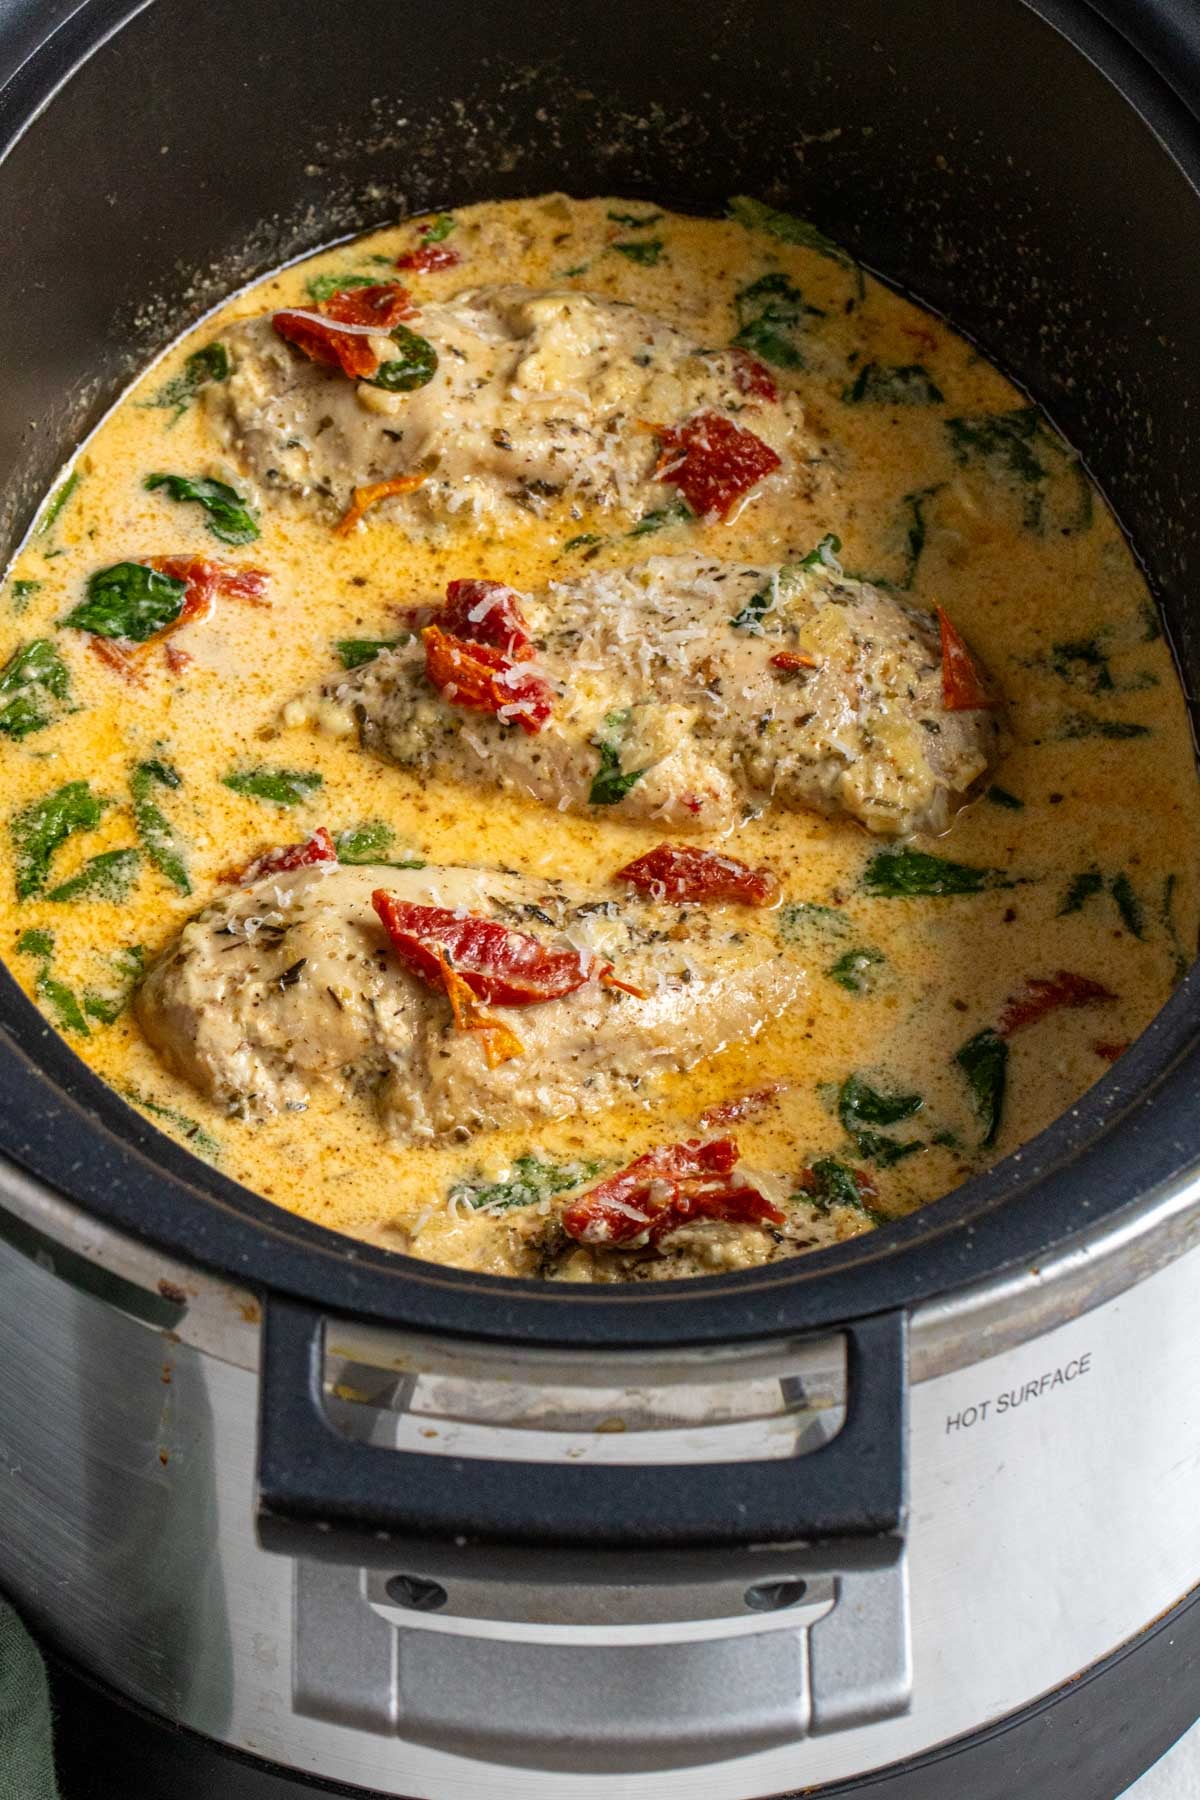
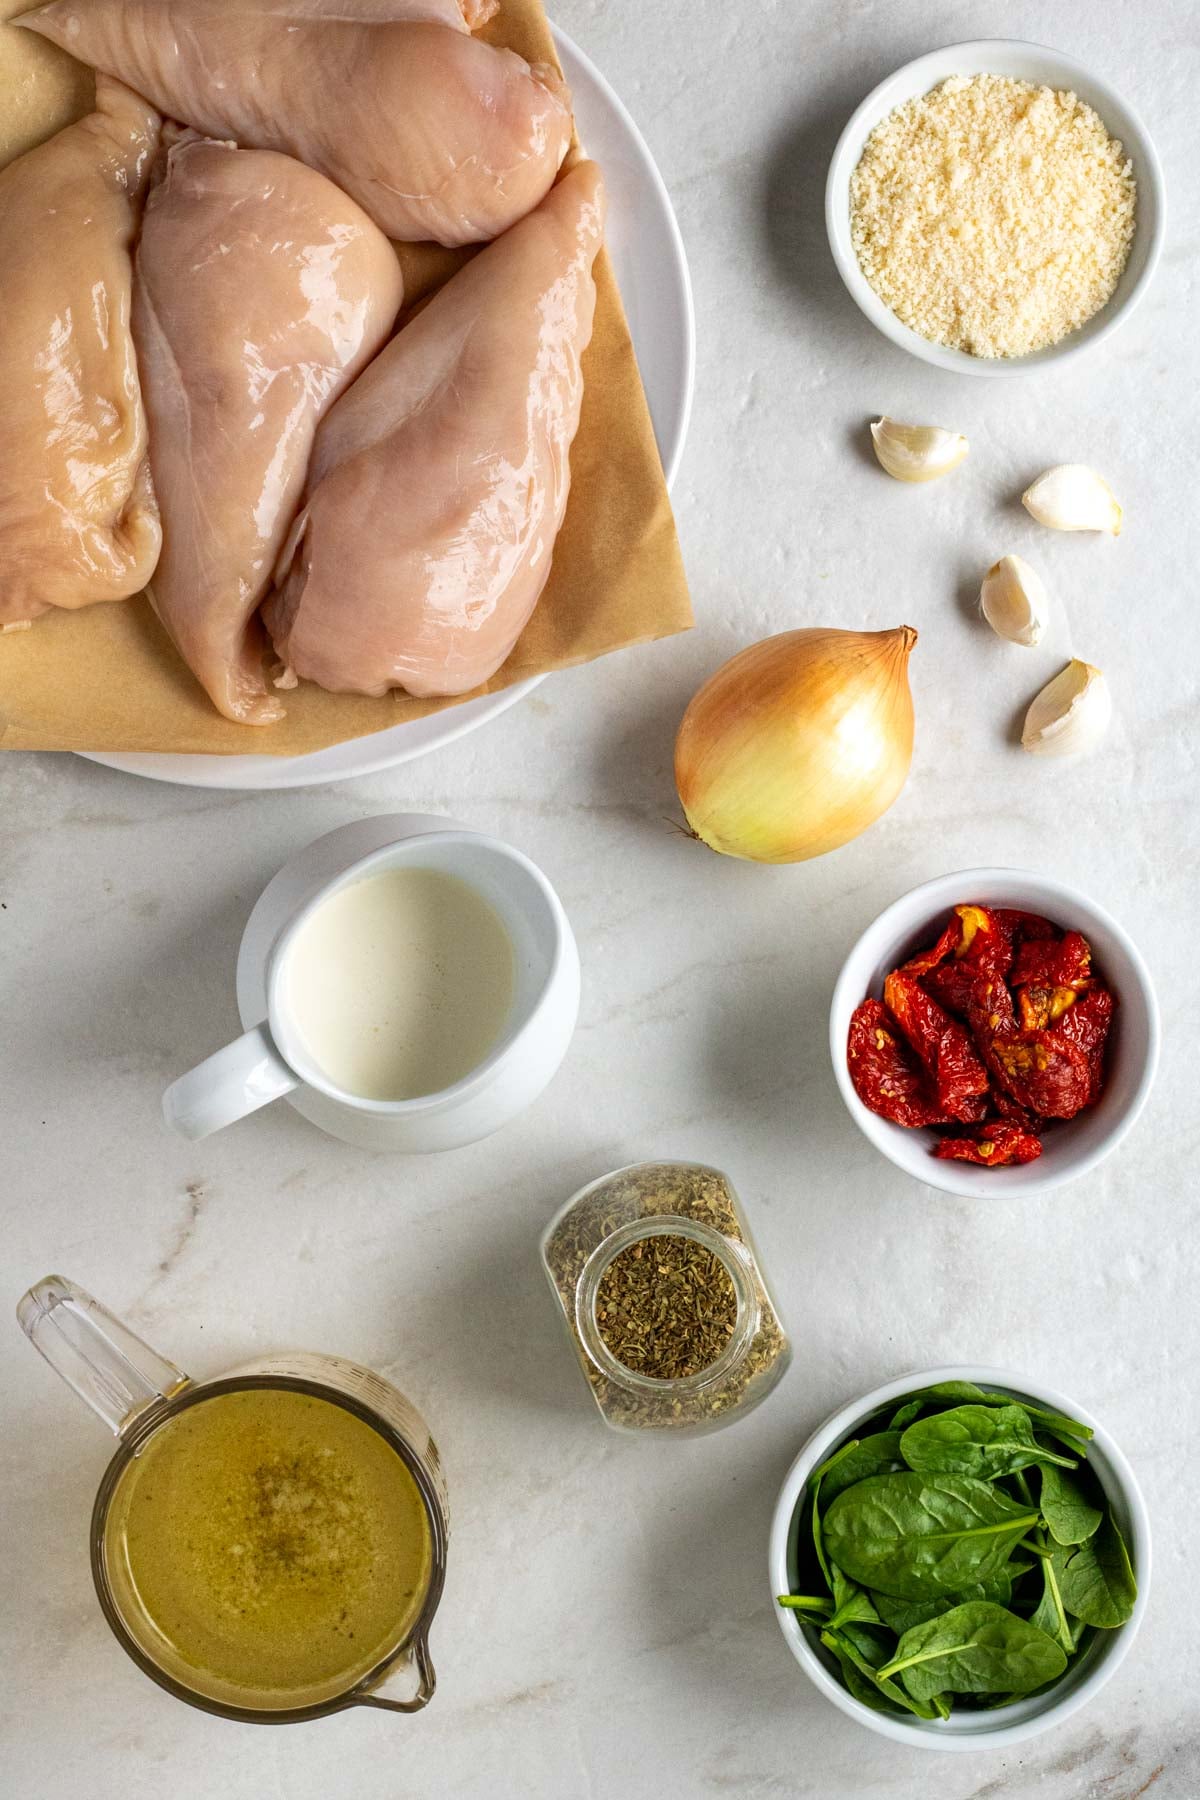
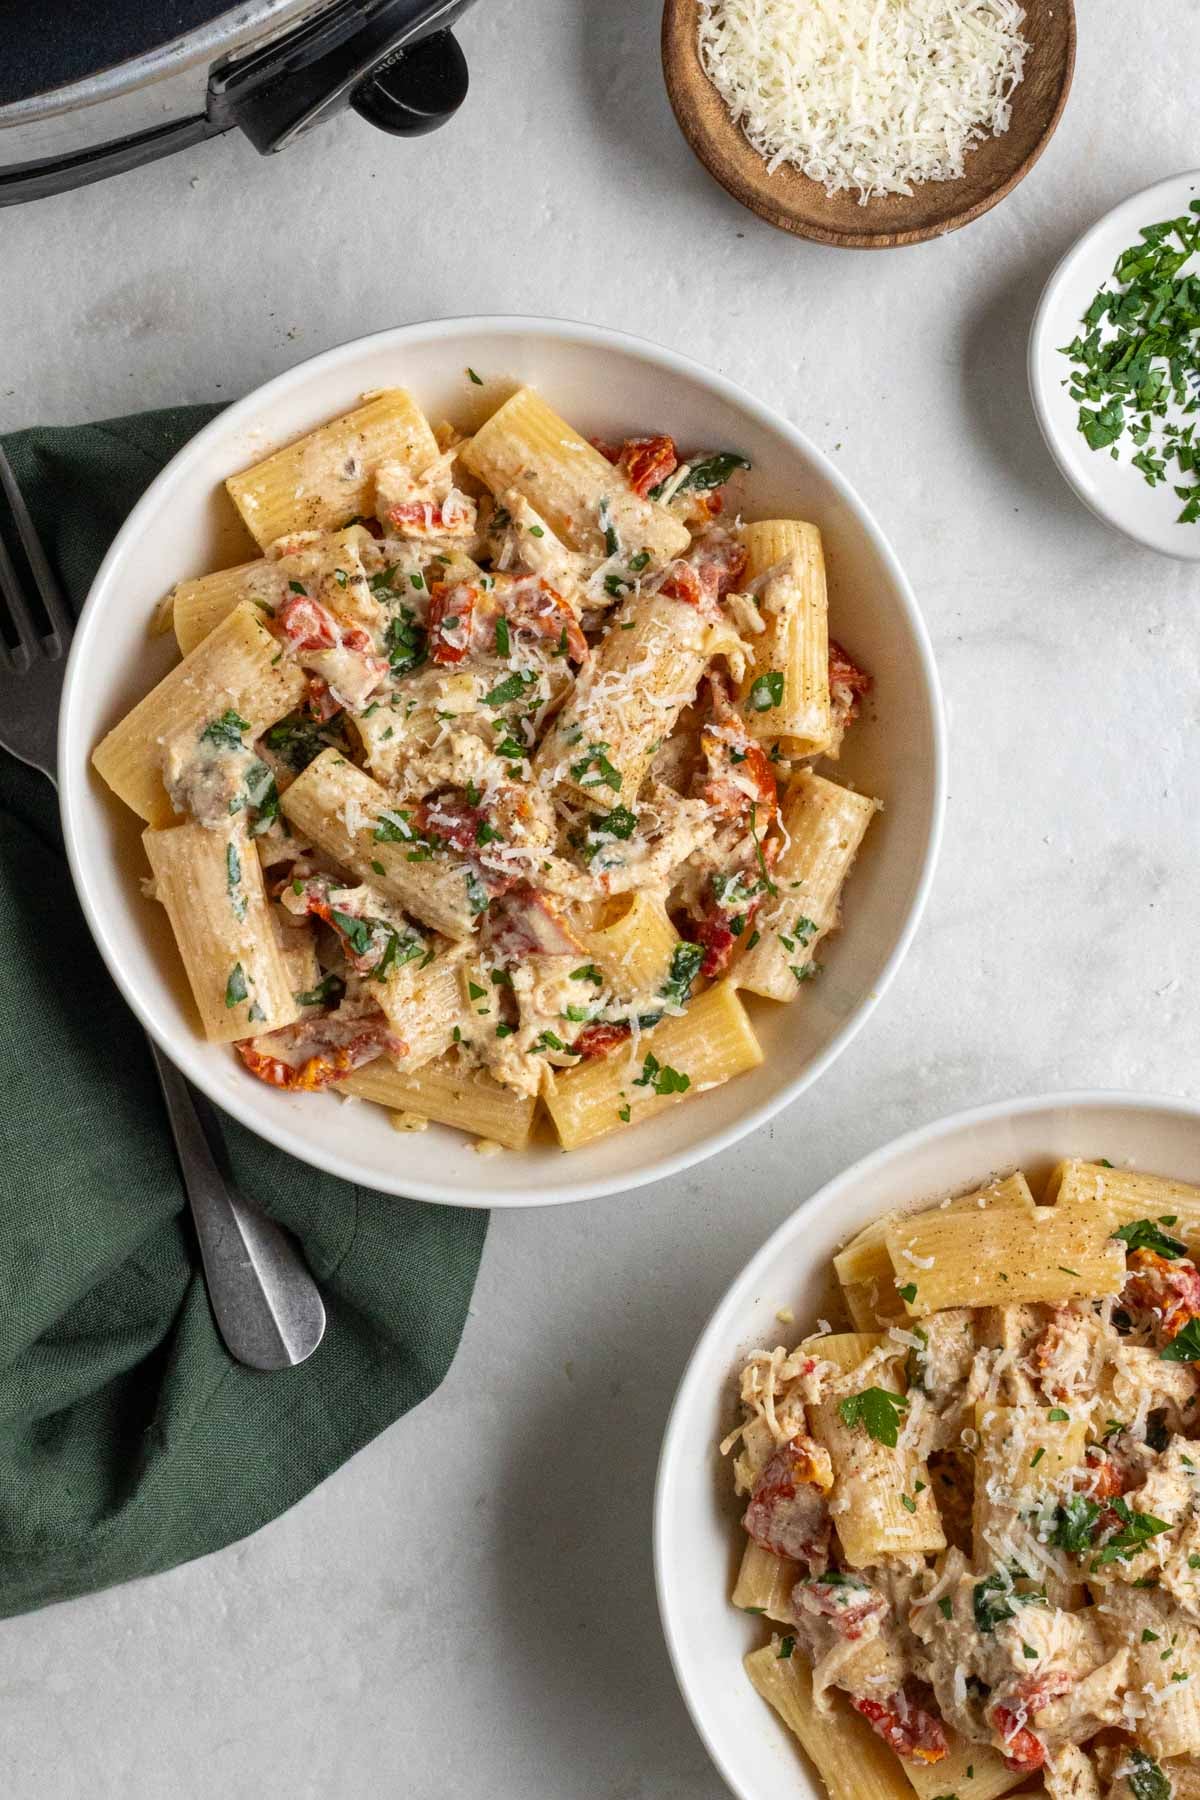
- To turn it into pasta, add a tablespoon of Italian seasoning and swap the broth for a 28-ounce jar of your favorite pasta sauce, and serve it over a 1-pound box of cooked pasta.
- To turn it into chicken salad, mix shredded chicken with mayonnaise, Dijon mustard, chopped celery, and dill.
Here is a collection of my favorite recipes with shredded chicken:
- Chicken Burrito Casserole
- Greek Chicken Casserole
- Chicken Salad Meal Prep Bowls
- Curried Chicken Salad
- Meal Prep Instant Noodle Cups
- Meal Prep Taco Salad
Storage + Reheating
To Refrigerate: Once cooled, transfer the shredded chicken to an airtight container and store it in the fridge for up to 4 days.
To Freeze: Transfer the cooled shredded chicken to an airtight container and store it in the freezer for up to 3 months.
To Reheat: Once thawed, add the chicken to a plate or bowl and warm it in the microwave for 30-second increments until warm. Be careful not to overheat it, as it will dry out the chicken.
More Slow Cooker Chicken Recipes:
- Slow Cooker Chicken Stew
- Slow Cooker Tuscan Chicken
- Slow Cooker Butter Chicken
- Slow Cooker Chicken Tacos
- Slow Cooker Moroccan Chicken
Slow Cooker Shredded Chicken
This slow cooker shredded chicken turns chicken breasts into tender chicken that can be used in tacos, salads, sandwiches, soups, and casseroles.
-
 Prep Time: 10 minuts
 -
Cook Time: 4 hours
-
Total Time: 0 hours
-
Yield: 16 servings 1x
-
Category: Meal Prep
-
Method: Slow Cooker
Ingredients
- 3 pounds chicken breast, boneless, skinless
- 1 teaspoon onion powder (optional)
- 1 teaspoon garlic powder (optional)
- 2 teaspoons salt
- 1/2 teaspoon black pepper
- 1 cup chicken broth, vegetable broth, or water
Instructions
- Place the chicken breasts in a large slow cooker and sprinkle the onion powder, garlic powder, salt, and pepper evenly across the top.
- Pour the chicken broth into the slow cooker.
- Cover the slow cooker with a lid and cook on high for 3-4 hours or on low for 6-8 hours until the chicken is fork tender.
- Once cooked, transfer the chicken breasts to a cutting board and, using two forks, shred them into bite-sized pieces. (You can also shred the chicken in a stand mixer by adding the cooked chicken to the bowl fitted with the paddle attachment on low speed for 30 to 60 seconds.) Discard the excess liquid.
- Once shredded, the chicken can be eaten immediately or cooled and stored in an airtight container in the fridge for up to 4 days or in the freezer for up to 3 months.
Notes
To Use Frozen Chicken Breasts: Thaw overnight before adding them to the recipe in step #1.
To Use Chicken Thighs: Swap the chicken breasts for 3 pounds of boneless, skinless chicken thighs.
Nutrition
- Serving Size: 3 ounces
- Calories: 103 calories
- Sugar: 0 grams
- Fat: 2 grams
- Carbohydrates: 0 grams
- Fiber: 0 grams
- Protein: 19 grams


