
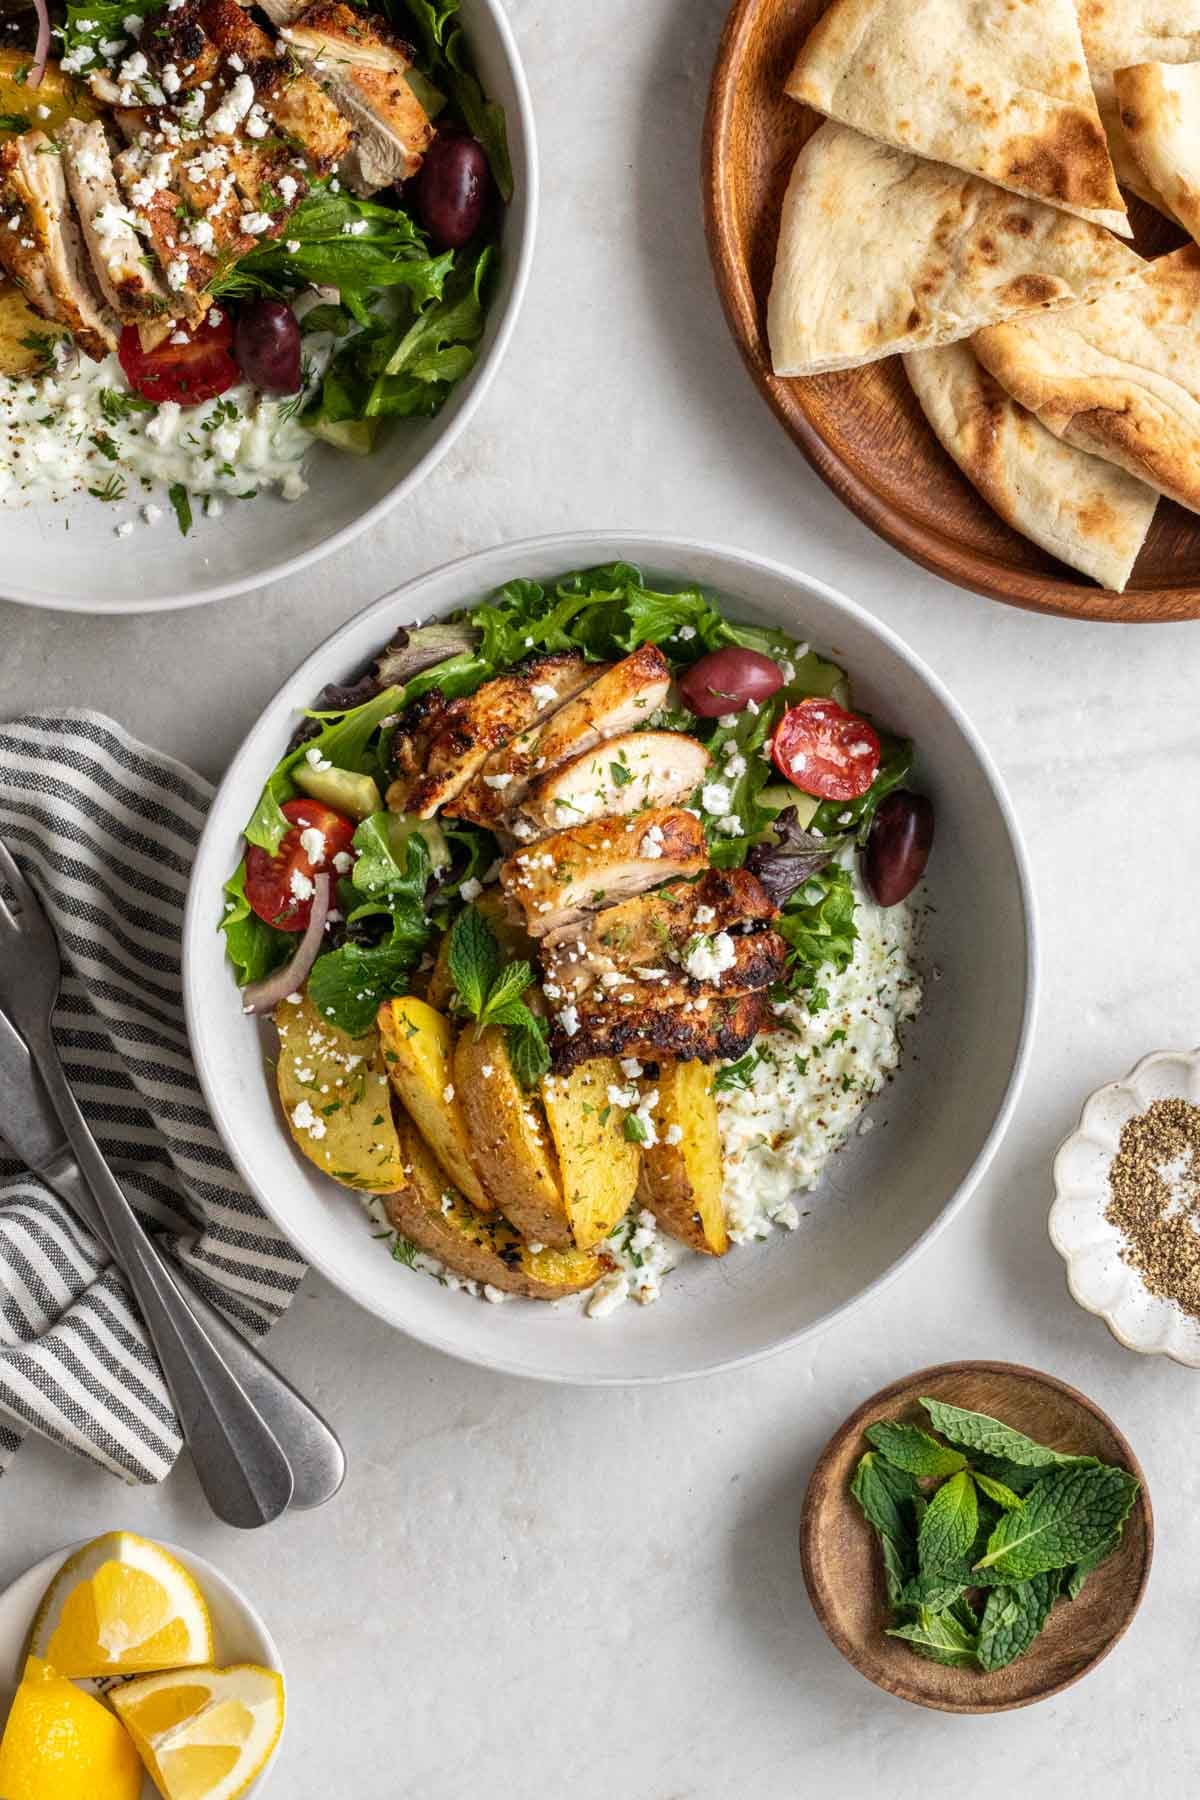
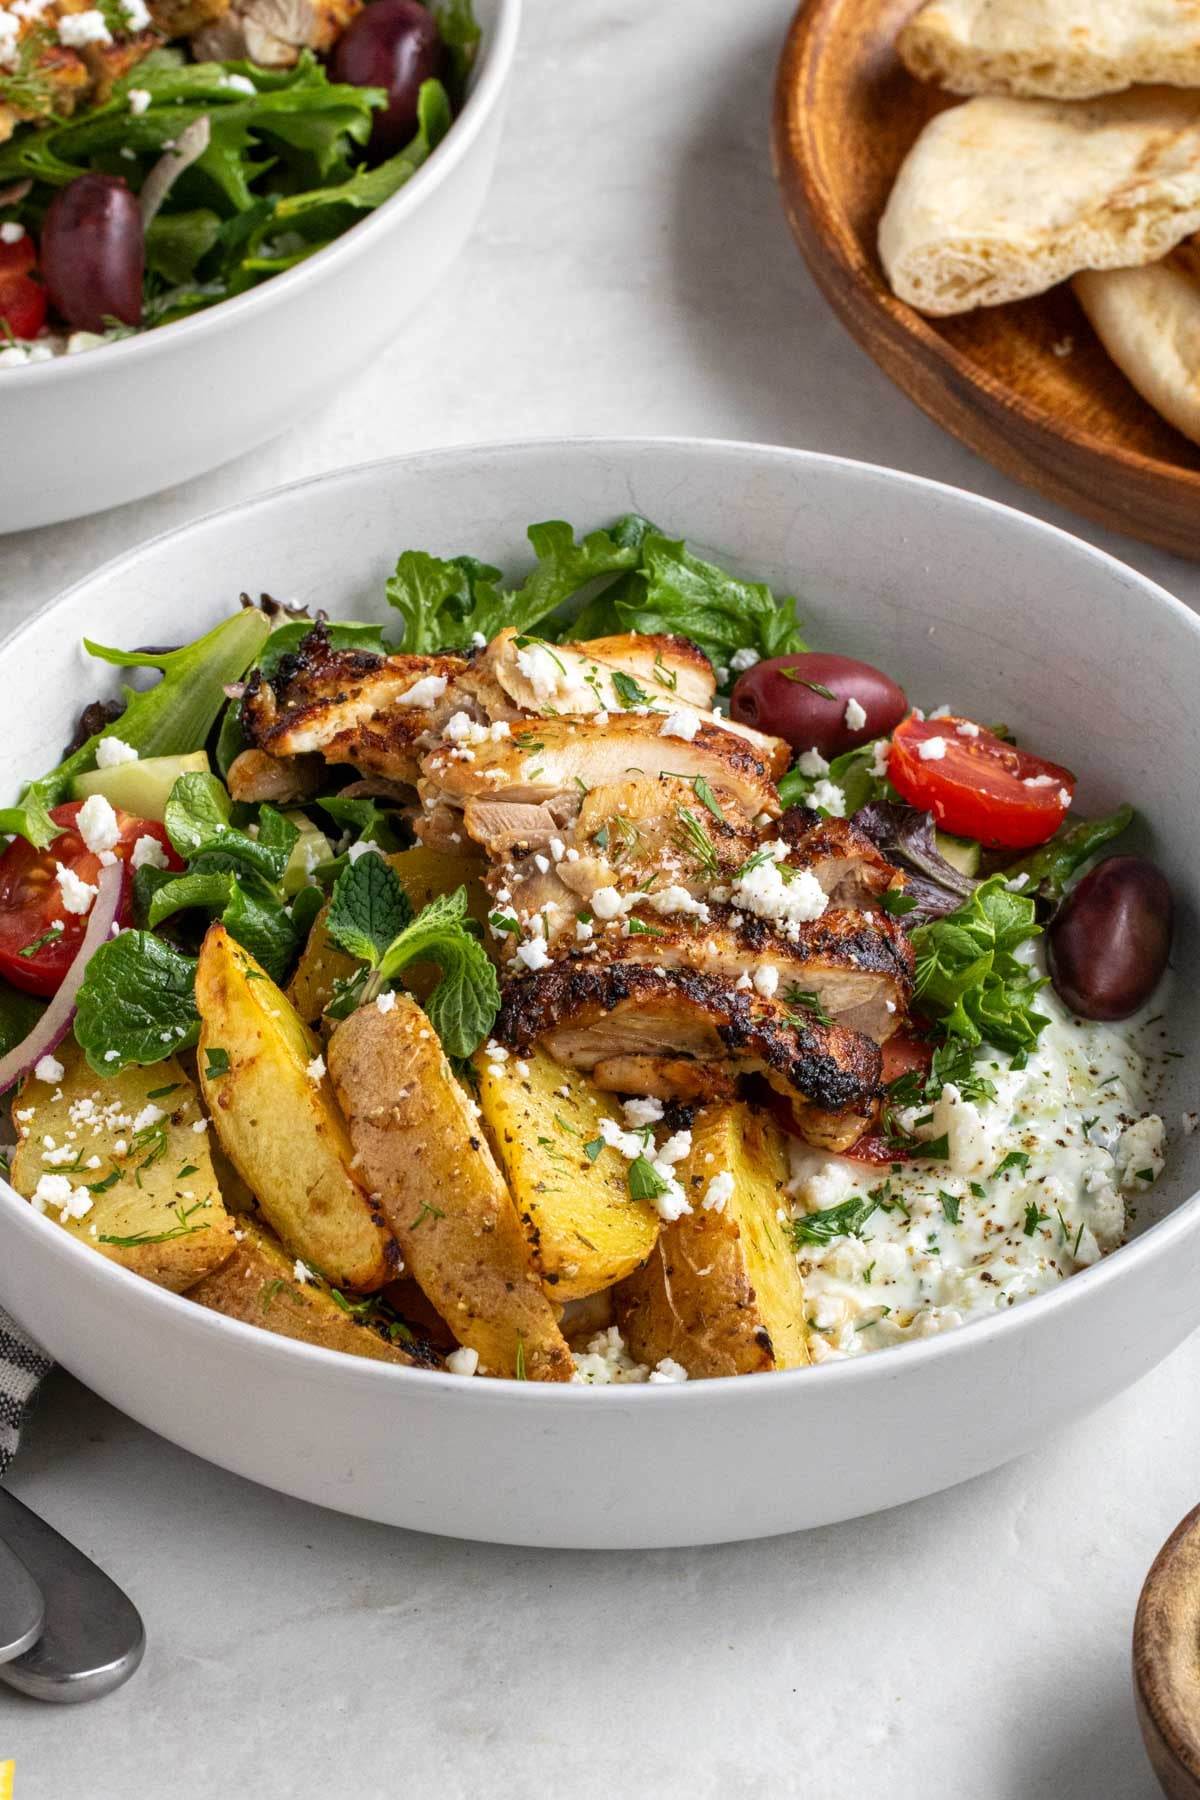
Made on one pan with minimal ingredients, this lemon roasted chicken and potatoes is a quick, easy, and healthy recipe that serves a crowd. Plus, it’s high in protein, and leftovers keep well in the fridge and freezer!

One-pan meals are one of my go-to dinner options when I want to minimize effort without compromising flavor. Just add some protein and carbs to a sheet pan, cover in a tasty sauce, pop it in the oven, and – voilà – you’ve got yourself a delicious meal!
Fortunately, this lemon-roasted chicken and potatoes recipe is absolutely delicious and does exactly that. It’s easy to make and quick enough for a weeknight dinner that the whole family can enjoy.

Why You’ll Love It
- Made on One Pan – This one pan meal keeps prep and cleanup to a minimum.
- High in Protein – With over 30 grams of protein per serving, it’s a healthy and filling meal.
- Full of Flavor – The simple combination of ingredients packs a ton of flavor in every bite.
- Serves a Crowd – This lemon roasted chicken and potatoes is a great meal idea for a large group, as you can easily double or triple the recipe without much effort.

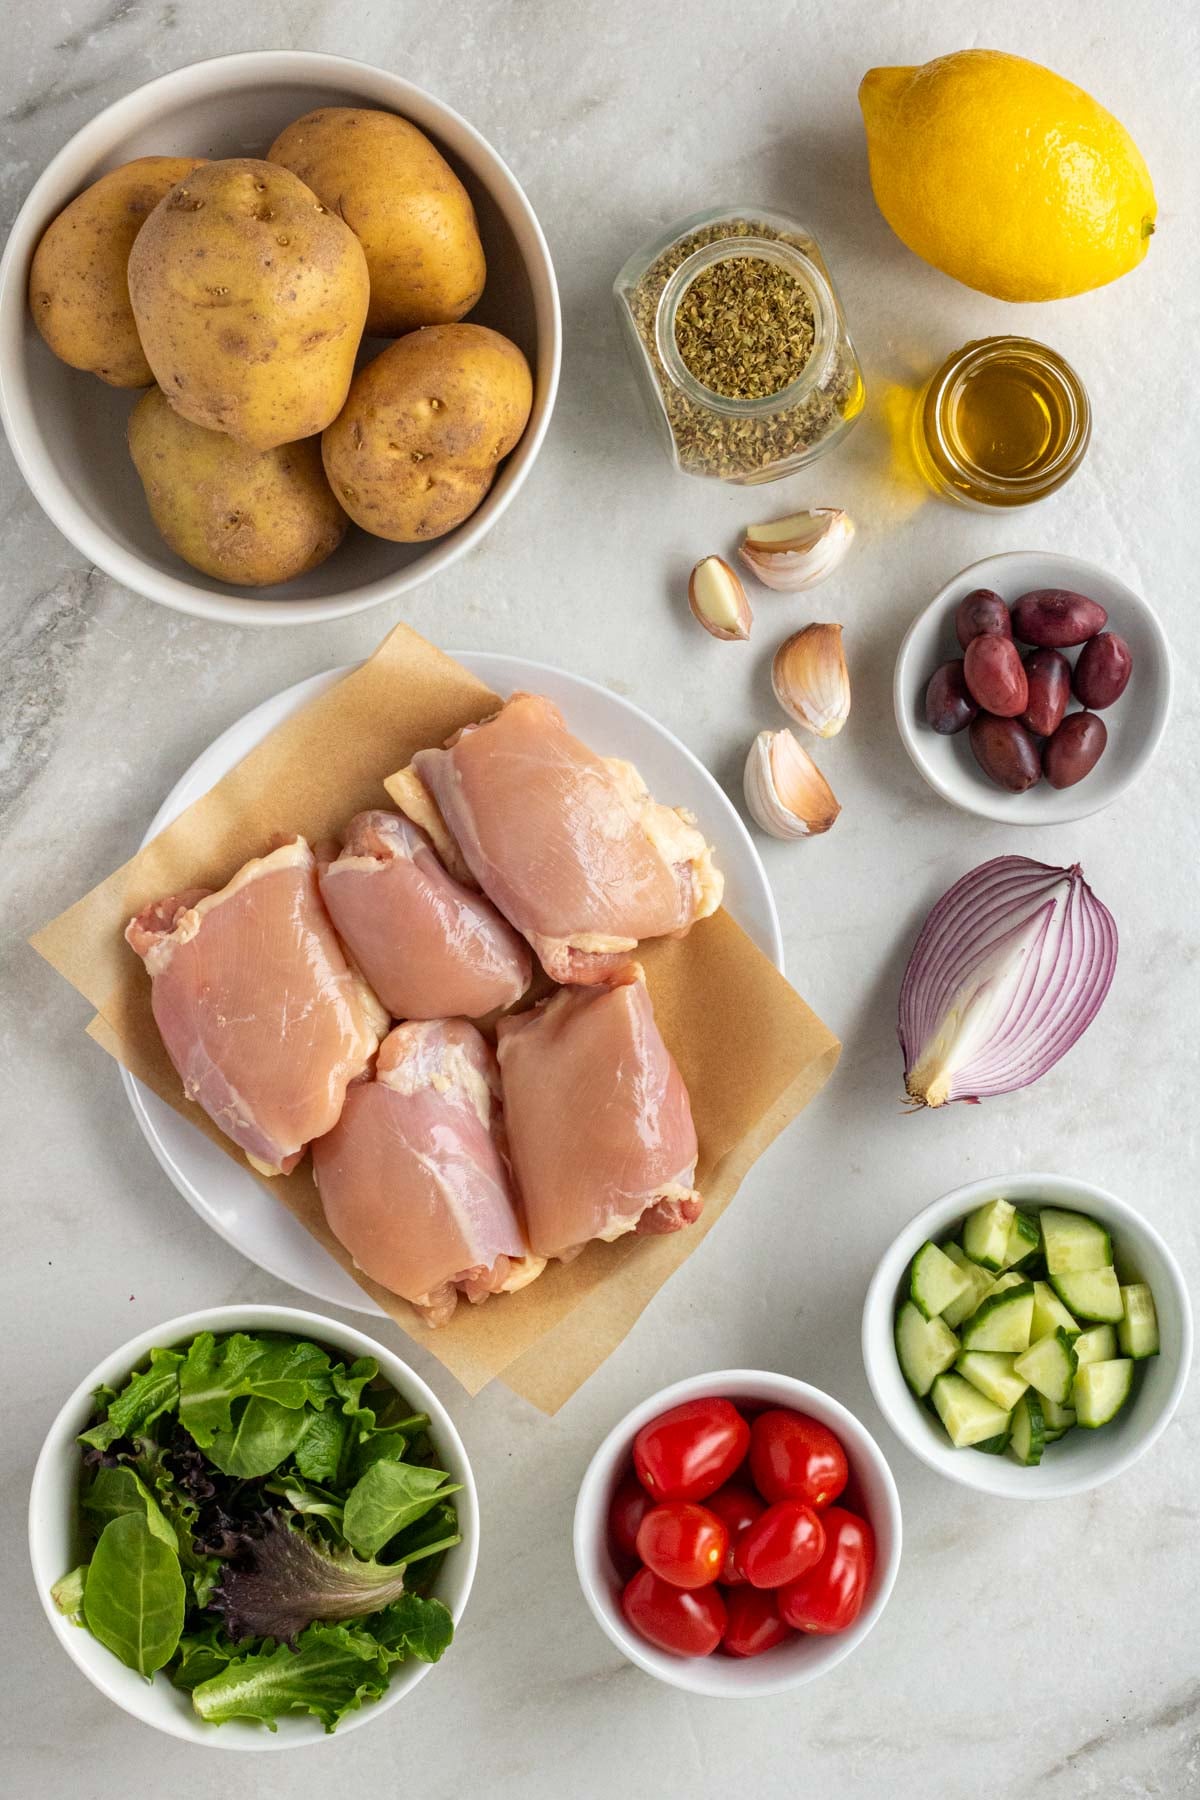
Ingredients + Substitutions
- Chicken – To add some protein. The recipe calls for bone-in chicken thighs, as I think they provide the best flavor, but you can use boneless chicken thighs, or chicken breast is preferred. See the notes section of the recipe card for details.
- Potatoes – To add some complex carbohydrates. While you can use any type of potato, I think Yukon gold potatoes or yellow potatoes work best.
- Lemons – To flavor the chicken and potatoes. The recipe calls for whole lemons, but you can use bottled lemon juice if preferred. See the notes section of the recipe card for details.
- Olive Oil – To add some healthy fats and make the marinade.
- Garlic – To flavor the marinade. The recipe calls for garlic cloves, but you can use garlic powder if preferred. See the notes section of the recipe card for details.
- Oregano – To flavor the potatoes. The recipe calls for dried oregano, but you can use fresh oregano if preferred. See the notes section of the recipe card for details.
- Paprika – To flavor the chicken thighs. I used smoked paprika, but sweet paprika will also work.
- Salt and Pepper – To season.
- Parsley – To serve, although optional.


Dietary Adaptions
To Make it Gluten-Free: No adaptations are needed; this recipe is gluten-free.
To Make it Dairy-Free: No adaptations are needed; this recipe is dairy-free.

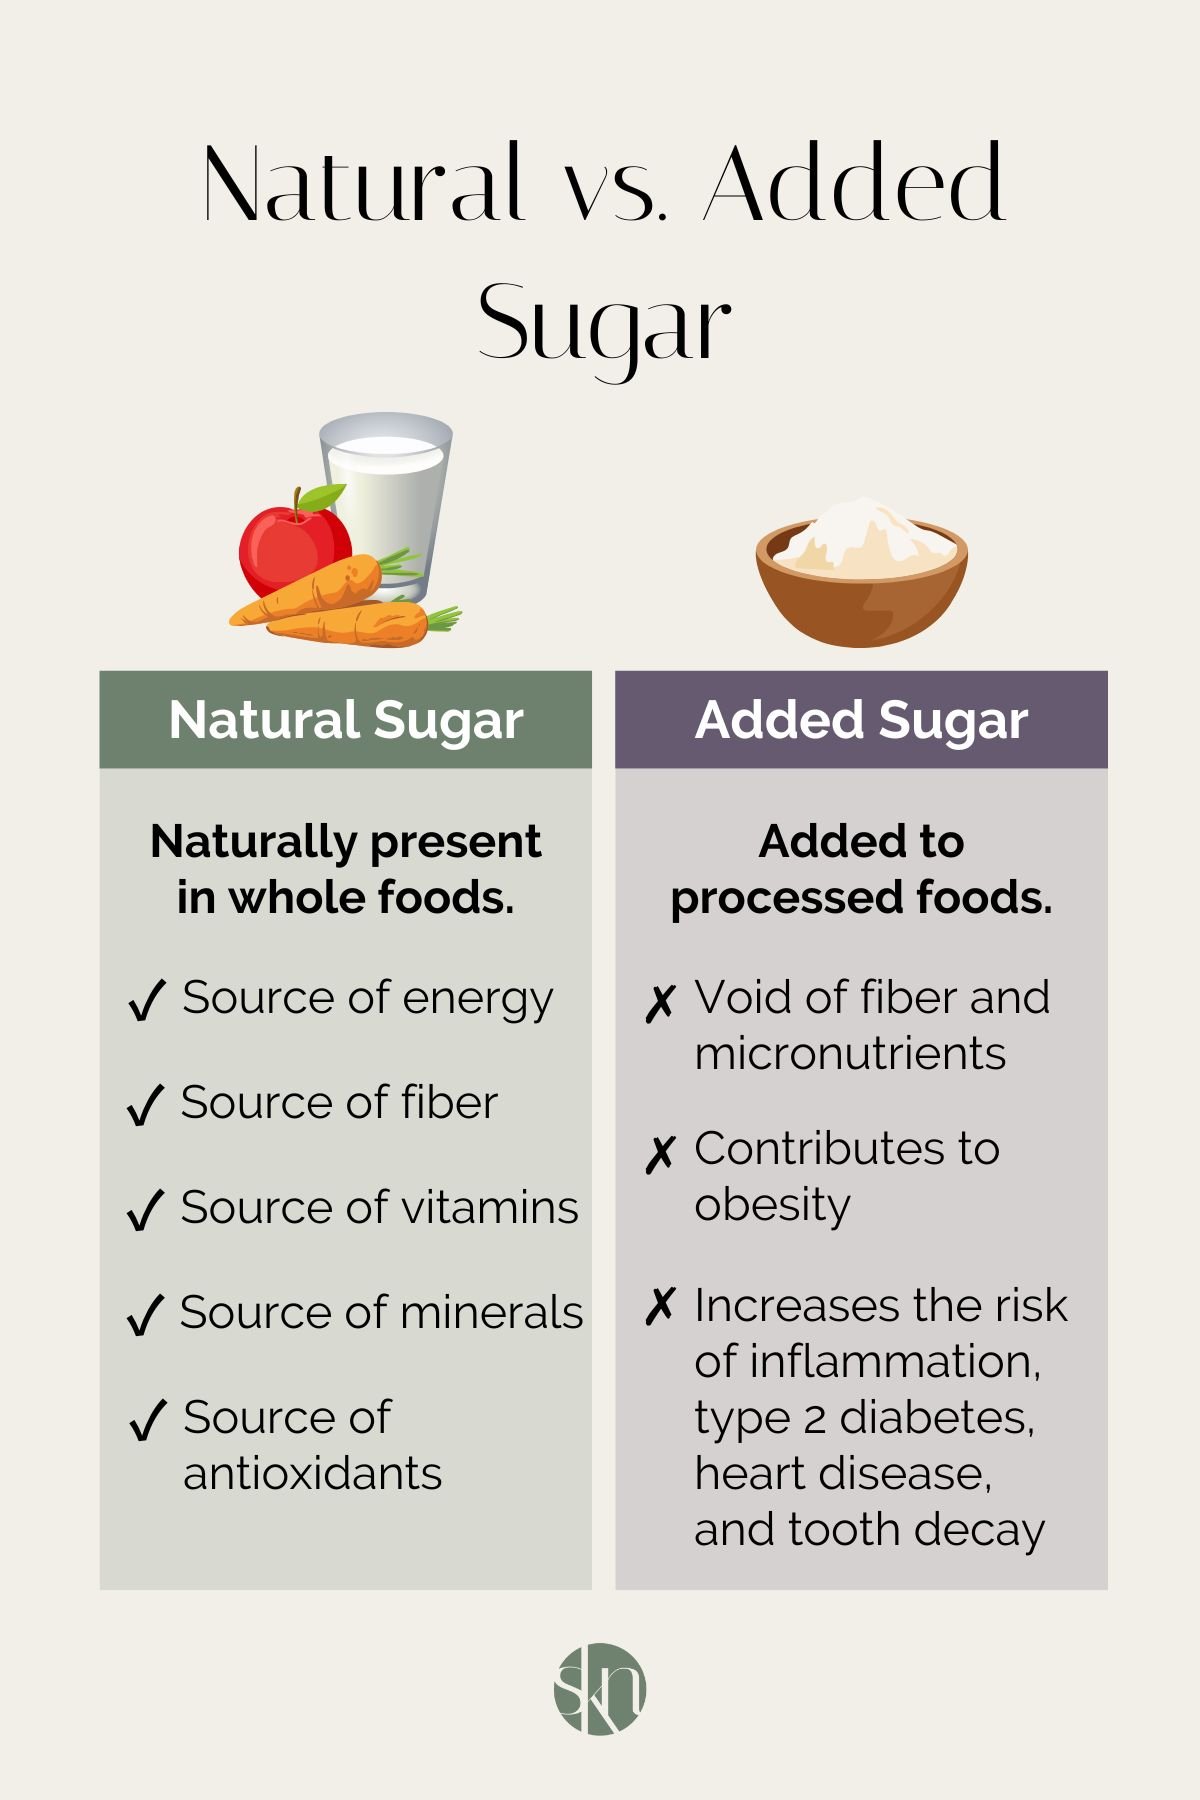
Red’s Nutrition Tip
For this Greek lemon chicken and potatoes recipe, I opted to use bone-in chicken thighs because I think they have better flavor, but you can use boneless chicken thighs or chicken breasts if preferred. Although chicken thighs are thought to be a less healthy cut of chicken, the nutritional value of chicken breasts and chicken thighs is very similar.
Serving Suggestions
This lemon garlic chicken and potatoes recipe is a good source of protein, carbohydrates, and fats. To make it a more balanced meal, I would suggest serving it with some vegetables to increase the fiber content, such as:
- Green beans
- Broccoli
- Asparagus
- Brussels sprouts
- Green salad

Storage + Reheating
To Refrigerate: Allow the chicken and potatoes to cool completely, then add them to an airtight container and store them in the refrigerator for up to 4 days.
To Freeze: Once cooled, you can freeze cooked chicken and potatoes by adding them to an airtight container and storing them in the freezer for up to 3 months.
To Reheat: Once thawed, the chicken and potatoes can be reheated in the oven in a baking dish at 300°F for 10-15 minutes or reheated in the microwave for 2-3 minutes or until warm.

More One-Pan Dinner Recipes:
- Sheet Pan Greek Chicken and Potatoes
- Sheet Pan Chicken and Broccoli
- Sheet Pan Bruschetta Chicken
- Sheet Pan Turmeric Chicken

Lemon Roasted Chicken and Potatoes
Serve this one-pan lemon roasted chicken and potatoes with a side of steamed vegetables or salad for a quick, easy, and tasty family meal.
-
 Prep Time: 10 minutes
 -
Cook Time: 50 minutes
-
Total Time: 1 hour
-
Yield: 6 servings 1x
-
Category: Dinner
-
Method: Baked
Ingredients
- 2 pounds bone-in chicken thighs (6-8 chicken thighs)
- 6 large potatoes, cut into wedges
- 1/4 cup olive oil
- 1/4 cup lemon juice (about 2 lemons)
- 4 cloves garlic, minced
- 1 teaspoon salt
- 1 pinch black pepper
- 1/2 teaspoon dried oregano
- 1/2 teaspoon paprika
- 1 lemon, thinly sliced, to serve
- Parsley, finely chopped, to serve
Instructions
- Preheat the oven to 425°F and grab a large baking sheet, baking dish, or roasting pan.
- In a large bowl, add the olive oil, lemon juice, minced garlic, salt, black pepper, and dried oregano (do NOT add the paprika), and whisk until well combined.
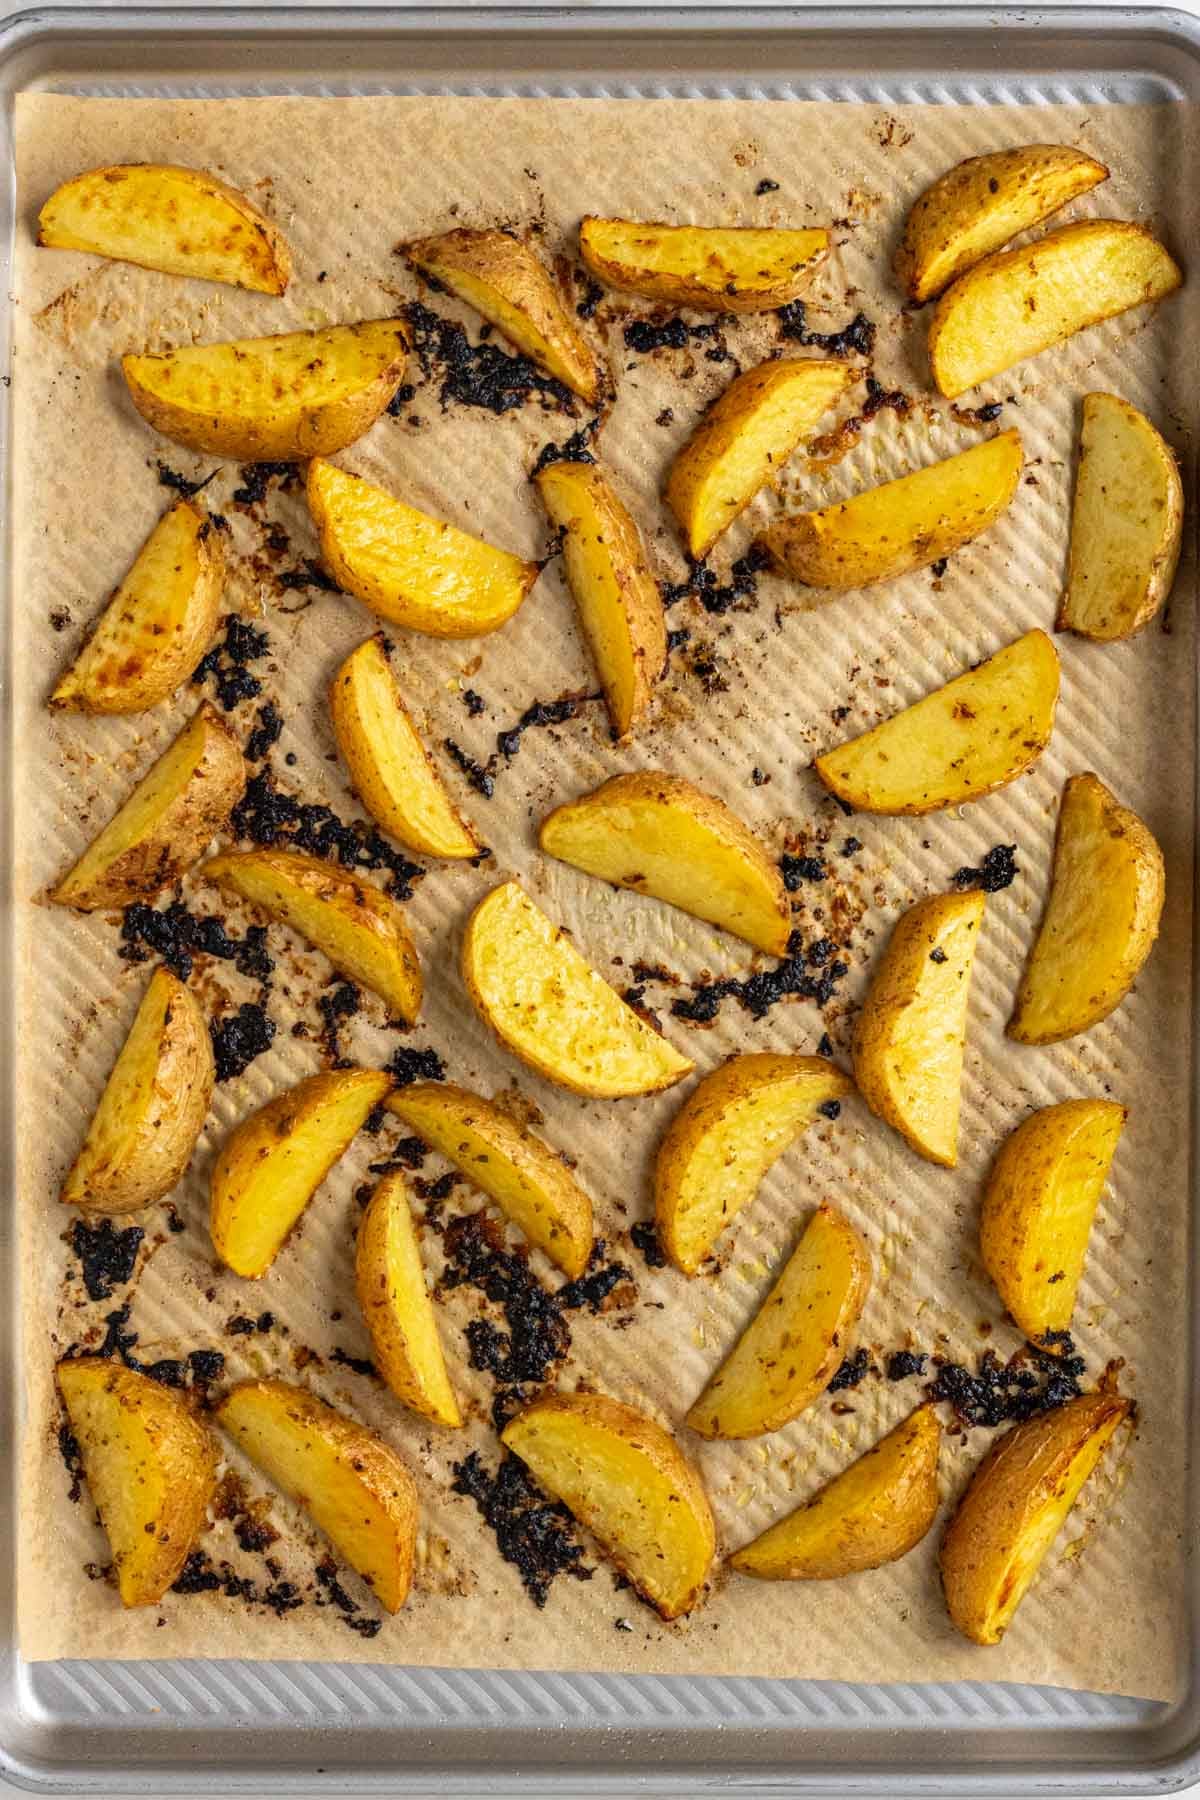
- Add the potato wedges to the bowl and toss until well coated in the marinade, then transfer the potato wedges to the baking sheet, spreading them evenly across the pan. Be sure to keep the remaining marinade in the bowl.
- Add the paprika to the bowl with the remaining marinade and whisk until well combined, then add the chicken thighs and toss until well coated in the marinade.
- Transfer the chicken thighs to the baking sheet, skin side up, nestling them between the potato wedges across the pan.
- Transfer the baking sheet to the oven to cook for 40-50 minutes until the chicken thighs are golden brown and cooked through to an internal temperature of 165°F with a meat thermometer, and the potatoes are tender. To make the chicken skin extra crispy, you can turn the oven to broil for a final 3-5 minutes.
- The chicken and potatoes can be served immediately with a drizzle of pan juices on top and a sprinkle of chopped parsley and sliced lemon.
- Any leftovers can be cooled and stored in an airtight container in the fridge for up to 4 days or in the freezer for 3 months.
Notes
To Use Boneless Chicken Thighs: Swap the bone-in chicken thighs for boneless chicken thighs and reduce the cooking time by 10 minutes.
To Use Boneless Chicken Breasts: Swap the bone-in chicken thighs for boneless chicken breasts. Prepare the ingredients as per instructions, but allow the potatoes to cook for 20 minutes before adding the boneless chicken breast for the final 25 minutes.
To Use Bone-In Chicken Breasts: Swap the bone-in chicken thighs for bone-in chicken breasts and follow instructions as outlined.
To Use Garlic Powder: Swap the garlic cloves for 2 teaspoon of garlic powder.
To Use Fresh Oregano: Swap the dried oregano for 1 tablespoon of fresh oregano.
Nutrition
- Serving Size: 1 serving
- Calories: 676 calories
- Sugar: 5 grams
- Fat: 34 grams
- Carbohydrates: 60 grams
- Fiber: 9 grams
- Protein: 31 grams


