
This grilled Jamaican jerk chicken recipe is fiery, smoky, hot, and incredibly fragrant, and a simple take on a classic Jamaican dish.

Ok, so I can’t promise that this is 100% authentic Grandma-style jerk chicken, but I still think it is pretty darn tasty! I grew up in a tiny town of 5,000 people in eastern Quebec, so the Caribbean, let alone international, the cuisine was not aplenty when I was a kid. It was not until I went away to university that I really began to open my culinary palette trying everything from Greek to Thai to Indian and Caribbean food. To this day I still remember my first time visiting a Caribbean restaurant and eating jerk chicken. I had (clearly) never tried it before but it was love at first bite; the blend of fragrant, fiery, and smoky flavors made me an instant fan of jerk chicken.
The term jerk refers to a spice rub made of two primary ingredients; allspice berries and scotch bonnet peppers. Jerk is a dish that is common in many areas of the Caribbean but is best known for its roots in Jamaican cuisine. Classic jerk chicken is grilled over pimento wood, which comes from the tree that also produces allspice berries, and calls for bone-in, skin-on cuts of chicken as they provide the deepest and richest flavors.
Contrary to popular belief, these fattier and richer cuts of meat are actually incredibly nutritious, not to be feared, and should be eaten more frequently. Cuts such as legs, thighs, and wings, are rich in fat-soluble vitamins, more nutrient-dense than the leaner chicken breast, and arguably better tasting too.
More Healthy Grilled Chicken Recipes:

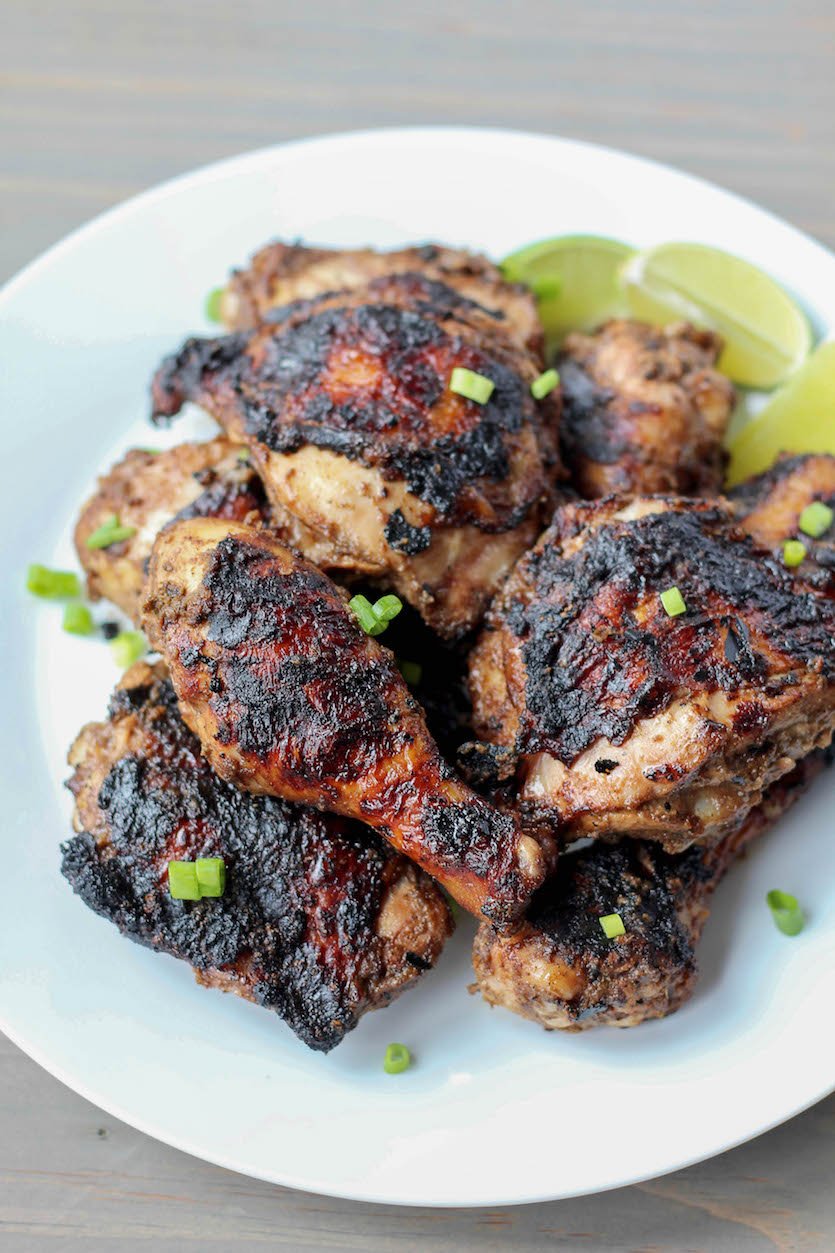
Grilled Jamaican Jerk Chicken
This grilled Jamaican jerk chicken recipe calls for bone-in, skin-on chicken thighs, and drumsticks, but full legs would work just as well.
-
 Prep Time: 2 hours
 -
Cook Time: 30 minutes
-
Total Time: 2 hours 30 minutes
-
Yield: 8 servings 1x
-
Category: Mains
-
Method: Grill
-
Cuisine: Jamaican
Ingredients
- 8 pieces skin-on, bone-in, chicken thighs and drumsticks (about 2.5lbs)
- 1 small onion, roughly chopped
- 2 scallions, ends removed and roughly chopped
- 2 cloves garlic
- 1-2 scotch bonnets or habanero peppers*, stem and seeds removed
- 1 1/2 teaspoon allspice, ground
- 1/2 tablespoon dried thyme
- 1 teaspoon ground cinnamon
- 1/2 teaspoon ground nutmeg
- 1/4 teaspoon ground cloves
- 1 teaspoon black pepper
- 1/2 teaspoon sea salt
- 3 tablespoon soy sauce
- 1 lime, juiced
- Olive oil, for the grill
- Scallions and limes to serve
Instructions
- Combine all of the ingredients (except the chicken) in a blender or food processor and blend on high until a thick marinade forms.
- Place chicken pieces into a large bowl or plastic bag, cover with marinade and place in the fridge for a minimum of 1-2 hours, preferably overnight. (The longer you leave the chicken to marinade, the more it will take on the flavours.)
- When you are ready to cook, take the chicken out of the fridge at least 30 minutes before cooking. (Bringing it to room temperature helps for an even cooking process.)
- Preheat a grill to medium-high heat, and lightly brush with oil to help chicken from sticking to the grill.
- Place the chicken, skin-side down, on the grill over a medium heat and cook for 25 to 35 minutes, turning often, until cooked through (internal temperature of 165°F).
- Transfer chicken to a plate and allow to rest 10 minutes before serving.
- Dress chicken with scallions and extra lime wedges to serve.
- Enjoy!
Notes
*Scotch bonnet peppers are incredibly hot, so handle them with care, and be sure to wash your hands after working with them.
Nutrition
- Serving Size: 1 serving
- Calories: 304 calories
- Sugar: 2 grams
- Fat: 21 grams
- Carbohydrates: 6 grams
- Fiber: 1 gram
- Protein: 25 grams


