Ready in 30 minutes, these spicy peanut chicken noodles are a quick, easy, and tasty recipe that is perfect for a weeknight dinner.

If you like spicy noodles, you’re going to love these spicy peanut noodles with chicken! The combination of peanut butter, soy sauce, and chili paste creates a delicious peanut sauce that adds flavor, protein, and healthy fats to noodles in a matter of minutes.
Plus, this recipe is super versatile. You can use different types of noodles and different ground meats, and mix and match vegetables to create endless variations of these spicy peanut noodles for a nutritious and delicious meal.

Why You’ll Love Them
- Quick and Easy – These spicy chicken peanut noodles are ready in under 30 minutes making them perfect for a fast dinner idea.
- Full of Flavor – The combination of peanut butter, soy sauce, and chili paste creates a delicious, creamy, and spicy peanut sauce without much effort.
- High in Protein – With 30 grams of protein per serving, these spicy peanut chicken noodles are a protein-packed meal.
- Great for Meal Prep – These noodles are a great meal prep idea as they keep well in the fridge and freezer for months.

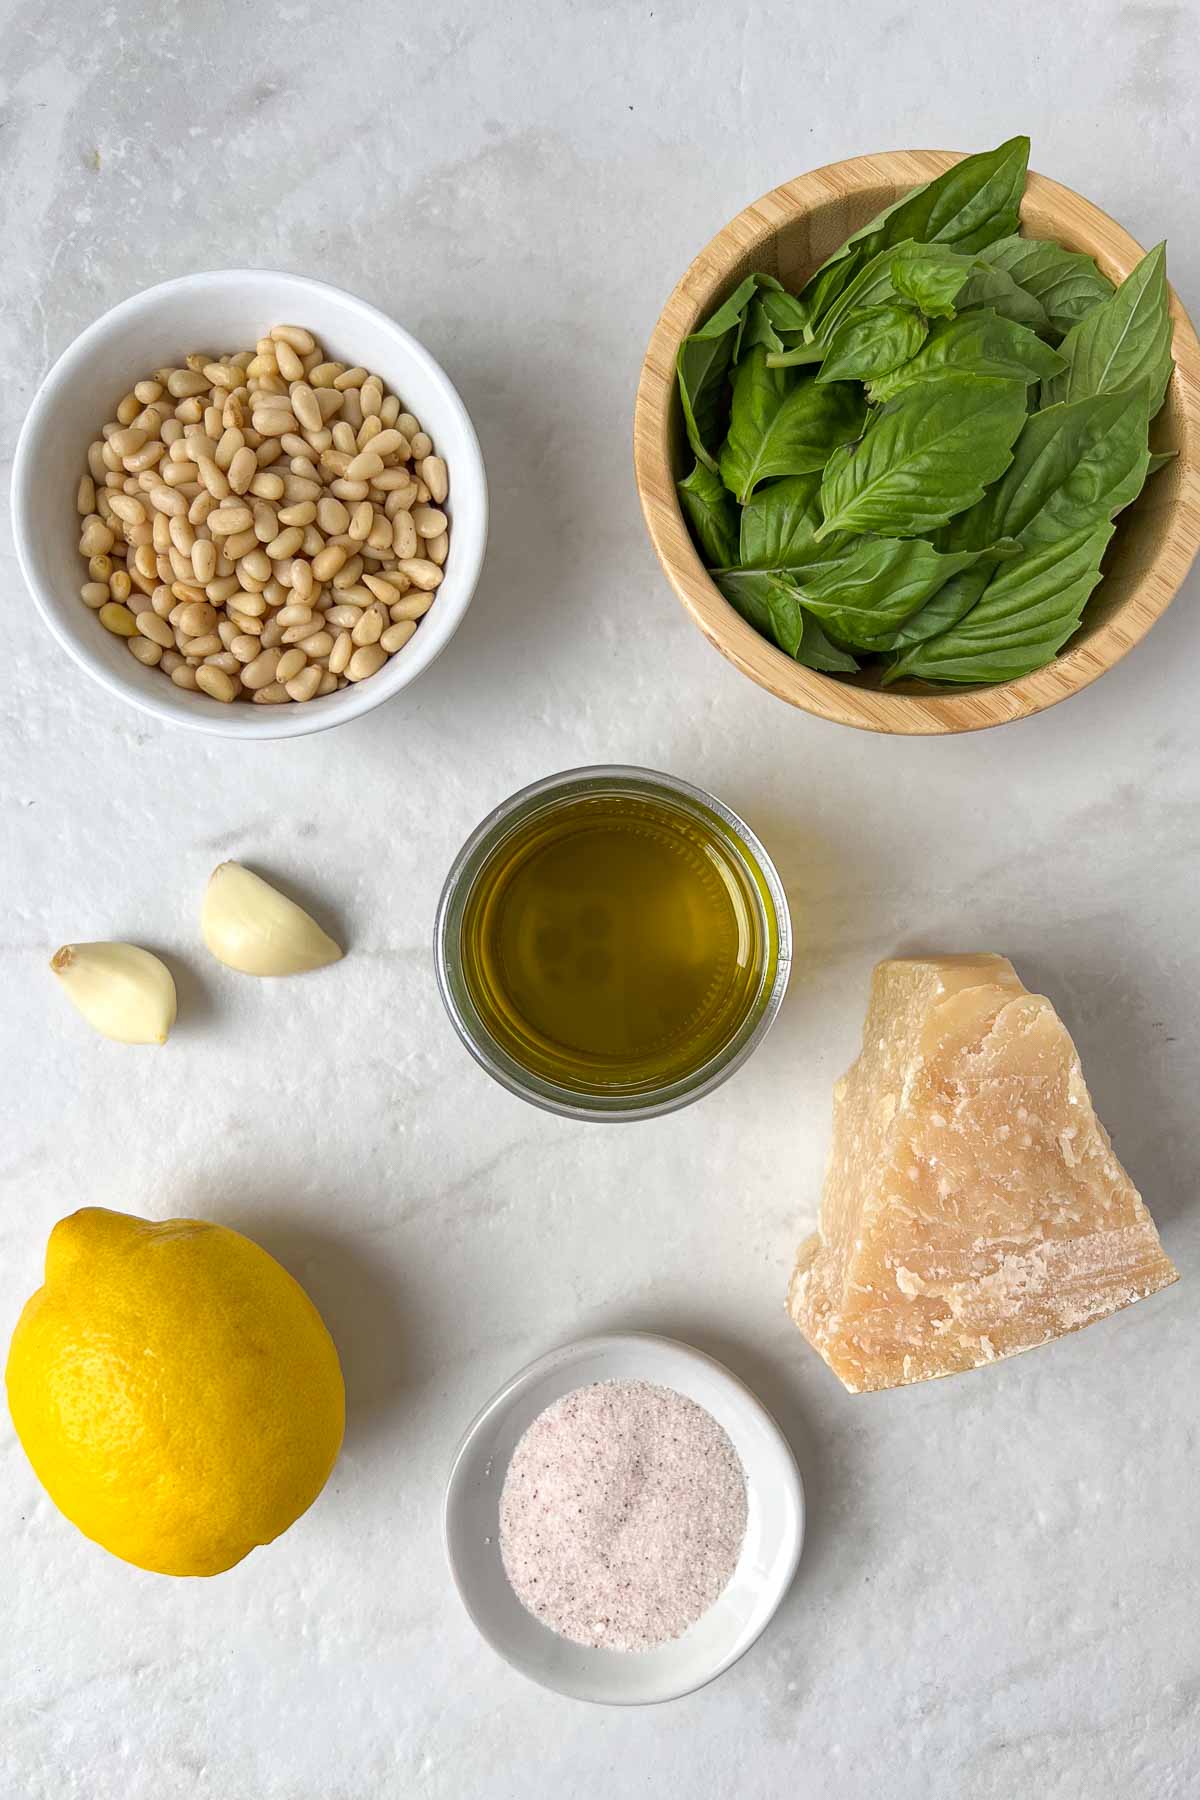
Ingredients + Substitutions
- Rice Noodles – The recipe calls for Thai rice noodles, but you could also use brown rice noodles, buckwheat noodles, soba noodles, udon noodles, ramen noodles, chow mein noodles, or egg noodles.
- Ground Chicken – To add a source of lean protein. You can also use ground turkey, beef, or pork.
- Peanut Butter – To make the spicy peanut sauce. I used creamy peanut butter in my recipe, but you can use crunchy peanut butter if needed, and almond butter will also work.
- Soy Sauce – To add some saltiness to the sauce. You can use regular or low-sodium soy sauce, tamari, or coconut aminos.
- Chili Paste – To ensure the peanut sauce is spicy. You can use chili garlic sauce, gochujang, sambal, or sriracha. You can find a form of chili paste in most major grocery stores or an Asian grocery store, but if you can’t find chili paste, you can use Frank’s hot sauce or add some red pepper flakes instead.
- Honey – To balance the sauce with a touch of sweetness. You can also use maple syrup or brown sugar.
- Carrots – To add some color, crunch, and veggies. I used shredded carrots but you can use sliced or diced if preferred.
- Red Bell Pepper – To add some more veggies.
- Onion and Garlic – To add flavor.
- Sesame Oil – To cook the chicken and add flavor. You can use peanut oil or olive oil if preferred.
- Rice Vinegar – To balance the spicy peanut sauce with some acid. You can also use red wine vinegar or apple cider vinegar.
- Peanuts – Some chopped peanuts to serve. Toasted sesame seeds will also work.

Dietary Adaptions
To Make them Gluten-Free: Swap the soy sauce for tamari or coconut aminos.
To Make them Dairy-Free: No adaptations are needed, this recipe is dairy-free.
To Make them Peanut-Free: Swap the peanut butter for almond butter and peanuts for almonds.
To Make the Dish Vegetarian: Swap the ground chicken for one block of firm tofu and crumble it into small pieces before cooking it as per the instructions.


How to Make Spicy Peanut Noodles
- Boil the rice noodles. Bring a large pot of salted water to a boil, add the rice noodles, and cook as per package instructions.
- Make the peanut sauce. In a small bowl, add the peanut butter, soy sauce, water, chili paste, honey, and rice vinegar, and whisk until well combined.
- Cook the chicken. In a large skillet, warm the sesame oil, then add the ground chicken and cook for 4-5 minutes until partially cooked through. Add the green onions, garlic, red bell pepper, and shredded carrots, and cook for an additional 2-3 minutes until the vegetables are tender and the chicken is fully cooked through.
- Add the noodles. Once cooked, strain the rice noodles, and then add them to the pan with the cooked ground chicken mixture.
- Add the spicy peanut sauce. Pour the peanut sauce over the noodles and then gently toss to combine until well the noodles are well coated with the chicken, vegetables, and sauce.
- Serve and enjoy! The noodles can be served immediately with a sprinkle of chopped peanuts and sliced green onion.
You can find the detailed instructions in the recipe card below.

Red’s Nutrition Tip
This recipe is a well-balanced meal that is high in protein, full of healthy fats, and complex carbohydrates. You increase the fiber content of the meal by adding broccoli or kale, decrease the carbohydrate content by swapping the noodles for zucchini noodles, and decrease the calorie density of the meal by using ground chicken breast and low-fat peanut butter.
Variations + Serving Suggestions
Use different proteins. You can easily mix up these spicy peanut noodles by using different sources of protein. In addition to ground chicken, ground turkey or ground pork would also work very well, or you could swap the ground chicken for chicken breast, sliced steak, or shrimp.
Make it vegetarian. You can make this recipe vegetarian by swapping the ground chicken for tofu. Simply use extra-firm tofu and, using your hands, crumble it into small pieces before adding it to the pan as per the recipe instructions in place of the chicken.
Add more veggies. You can increase the vegetable and fiber content of this recipe by adding extra vegetables such as broccoli florets, snap peas, bean sprouts, bell peppers, shredded cabbage, or edamame.

Storage + Reheating
To Refrigerate: Allow the noodles to cool completely, then transfer them to an airtight container and store them in the fridge for up to 4 days.
To Freeze: Place the cooled noodles in an airtight container and store them in the freezer for up to 3 months.
To Reheat: To reheat the noodles on the stovetop, add the thawed noodles to a pan with two tablespoons of water (this helps to rehydrate the noodles) and cook on medium heat, tossing the noodles frequently, until warmed through. To reheat the noodles in the microwave, place the noodles in a microwave-safe container with 2 tablespoons of water and heat for 1-minute increments, tossing the noodles in between, for a total of 2-3 minutes.

More Healthy Noodle Recipes:
Print
Spicy Peanut Chicken Noodles
These 30-minute spicy peanut noodles with chicken are a quick and easy meal that is high in protein and full of flavor. Enjoy them as a healthy lunch or dinner and enjoy leftovers for days to come.
-
 Prep Time: 10 minutes
 -
Cook Time: 15 minutes
-
Total Time: 25 minutes
-
Yield: 4 servings 1x
-
Category: Dinner
-
Method: Stovetop
-
Cuisine: Asian
Ingredients
- 12 ounces rice noodles
- 2 teaspoons sesame oil
- 1 pound ground chicken
- 2 green onions, thinly sliced, white and green parts separated
- 4 cloves garlic, minced
- 1 red bell pepper, thinly sliced
- 1 cup shredded carrots
- 1/4 cup natural peanut butter
- 1/4 cup soy sauce
- 1/4 cup water
- 2 tablespoons chili paste
- 1 tablespoon honey
- 1 tablespoon rice vinegar
- 1/4 cup peanuts, roughly chopped, to serve (optional)
Instructions
- Bring a large pot of water to a boil. Once boiling, add the rice noodles and cook them as per package instructions until tender.
- In a small bowl, add the peanut butter, soy sauce, water, chili paste, honey, and rice vinegar and whisk until well combined, then set aside. (Optional: For a creamier sauce, you can add the mixture to a small food processor or blender and purée until smooth.)
- In a large skillet, warm the sesame oil on medium-high heat, add the ground chicken, and cook for 4-5 minutes, breaking it up with a wooden spoon or spatula, until partially cooked through.
- Add the sliced green onion (white parts only), minced garlic, sliced bell pepper, and shredded carrots to the pan and cook for and additional 2-3 minutes until the chicken is cooked through and the vegetables are tender.
- When the rice noodles are cooked, strain them, transfer them to the pan with the chicken, and turn down the heat to low.
- Pour the peanut butter mixture over the noodles, and gently toss the noodles until well combined with the cooked chicken, vegetables, and spicy peanut sauce. (Depending on the thickness of your peanut butter, you may need to add a couple more tablespoons of water to help the sauce coat the noodles.)
- Taste and adjust the seasoning with additional soy sauce and/or chili paste as desired.
- The noodles can be served immediately with a sprinkle of chopped peanuts and remaining green onions. Any leftovers can be cooled and stored in an airtight container in the fridge for up to 4 days or in the freezer for up to 3 months.

Notes
To Use Onion Powder: Swap the green onions for 1 teaspoon of onion powder. Instead of adding it to the chicken in step #4, add it directly to the sauce mixture as per step #2.
To Use Garlic Powder: Swap the green onions for 1 teaspoon of garlic powder. Instead of adding it to the chicken in step #4, add it directly to the sauce mixture as per step #2.
Nutrition
- Serving Size: 1 serving
- Calories: 593 calories
- Sugar: 11 grams
- Fat: 20 grams
- Carbohydrates: 73 grams
- Fiber: 4 grams
- Protein: 30 grams