Made in one pot, this chickpea chicken soup is everything you want in a weeknight dinner. It’s high in protein and full of veggies while being quick and easy to make. Plus, it’s a great way to turn leftover chicken into a delicious and nutritious meal.

I don’t know about you, but I love a hearty soup. In my opinion, the best soup is chunky, flavorful, and filling, and that’s exactly what this chickpea chicken soup is.
The combination of chicken, chickpeas, and veggies, ensures that this Mediterranean-inspired chicken and chickpea soup is a well-balanced meal complete with protein, carbohydrates, fats, and fiber. And the best part is, it keeps well in the fridge and freezer so you can make a double batch and enjoy this delicious soup for days and weeks to come.

Why You’ll Love It
- Made in One Pot – This chickpea and chicken soup recipe is as quick to make as it is to clean up.
- High Protein – With over 25 grams of protein per serving, this soup is a protein-packed meal.
- Full of Fiber – The combination of chickpeas and vegetables ensures that this soup has 12 grams of fiber per serving.
- Great for Meal Prep – This soup keeps well in the fridge and freezer making it a great make-ahead meal.

Ingredients and Substitutions
- Chicken – To add some protein. The recipe calls for raw chicken breasts, however, you can use cooked chicken thighs, leftover chicken, or rotisserie chicken if preferred, see the notes section of the recipe for details.
- Chickpeas – To add some plant-based protein and fiber. The recipe calls for canned chickpeas, but you can use dried chickpeas if preferred, see the notes section of the recipe for details. If you’re not a fan of chickpeas white beans, such as cannellini beans, would also work well.
- Onion and Garlic – To create the base of the soup, add flavor, and fragrance.
- Carrots and Celery – To add some vegetables to the soup.
- Bell Pepper – To add some more veggies, color, and texture.
- Tomatoes – A mixture of diced canned tomatoes and tomato paste to thicken the soup. You can use fresh tomatoes if desired, see the notes section of the recipe card for details.
- Spinach – To add some leafy greens. You can use kale or collard greens if preferred.
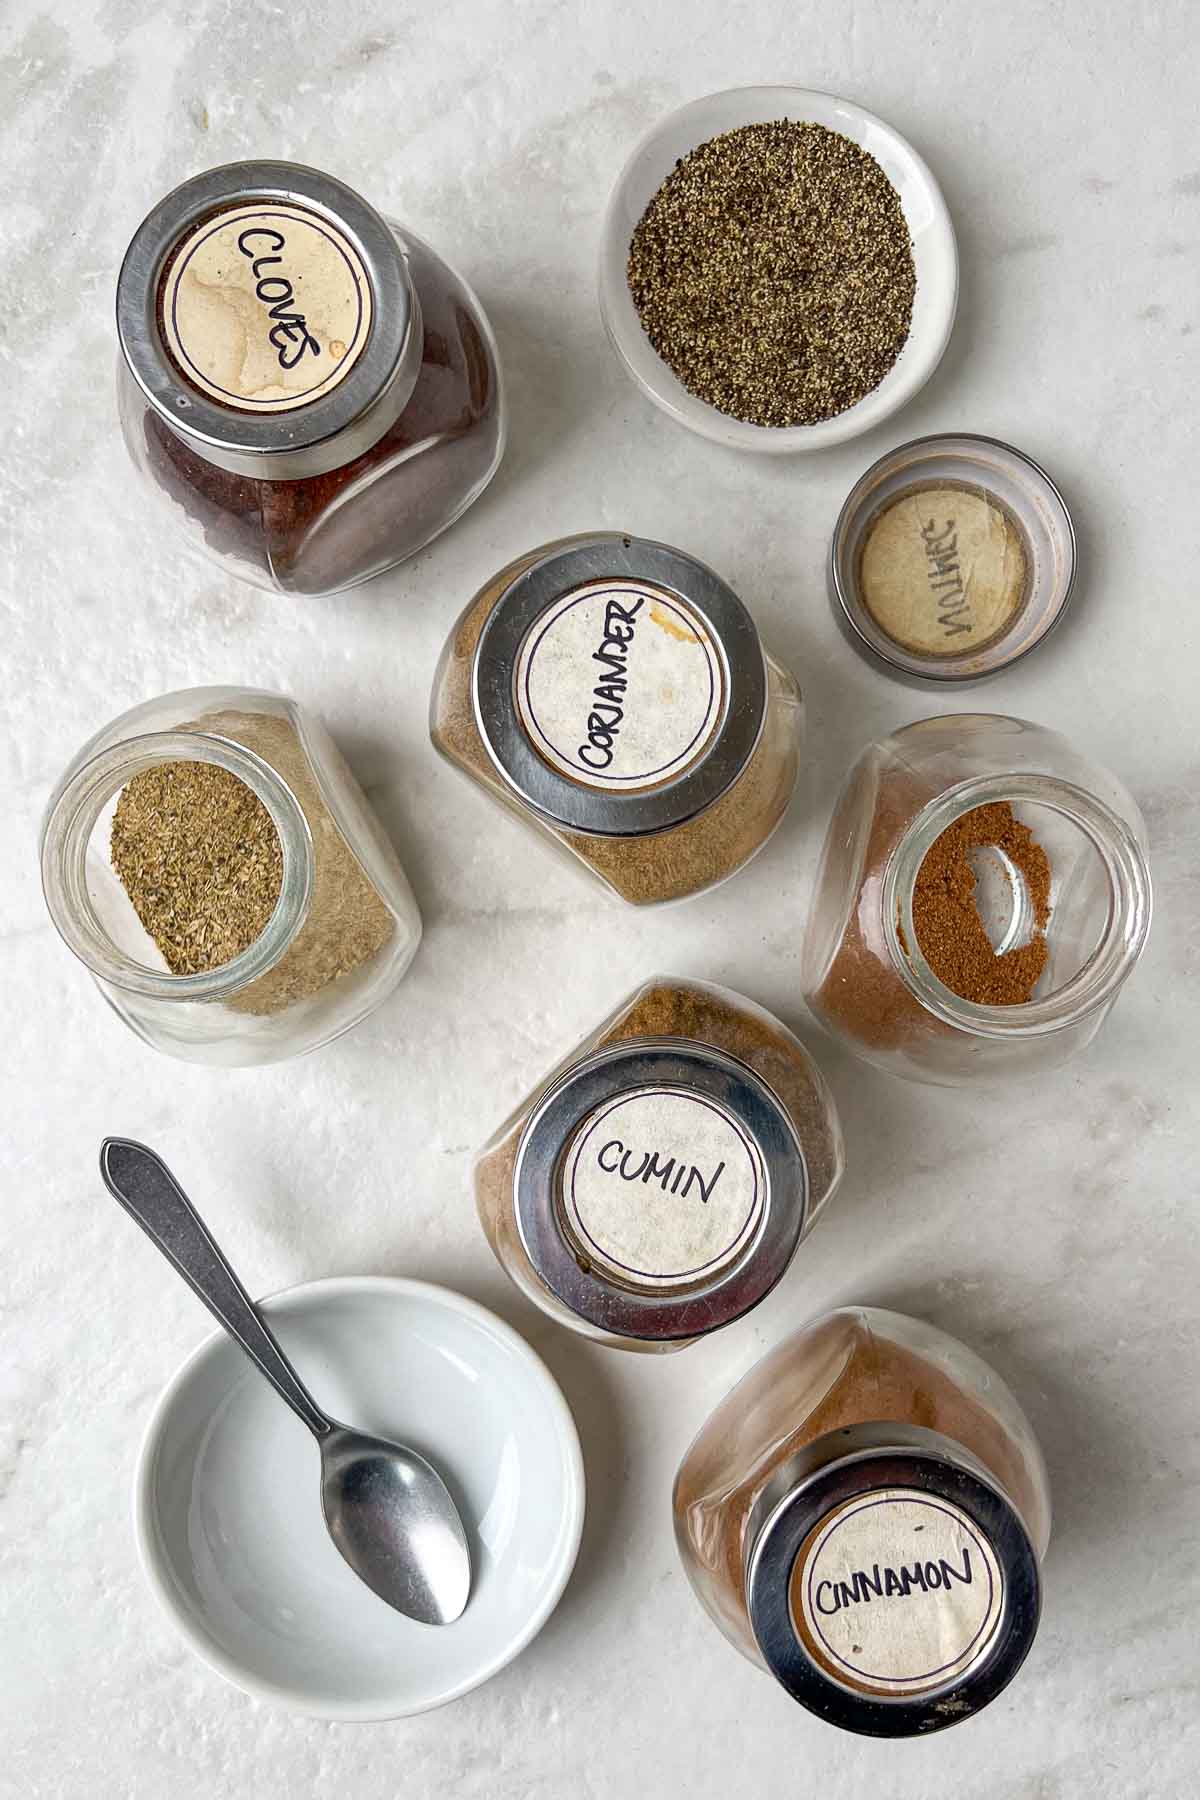
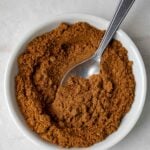
- Herbs and Spices – A mixture of dried oregano, paprika, and red pepper flakes to add some Mediterranean seasoning to the soup, and some fresh parsley to serve.
- Broth – You can use store-bought or homemade chicken broth. Chicken stock, vegetable broth, or water will also work.
- Olive Oil – To add some healthy fats and cook the vegetables.
- Lemon – To balance the flavors.
- Salt and Pepper – To season the soup.


Dietary Adaptions
To Make it Gluten-Free: Use certified gluten-free chicken broth.
To Make it Dairy-Free: No adaptations are needed, this recipe is dairy-free.


How to Make Chickpea and Chicken Soup
- Sauté the vegetables. In a large pot on medium-high heat, warm the olive oil, then add onion, celery, and carrots and sauté for 3-4 minutes until tender. Add the diced bell pepper and garlic and cook for an additional minute.
- Add the spices. Sprinkle the paprika, oregano, red pepper flakes, and salt into the pot, and stir to coat the vegetable mixture.
- Add the tomatoes and broth. Pour in the tomatoes, add the tomato paste, pour in the broth, and stir to combine.
- Add the chicken breasts. Place the chicken breast into the pot, submerging them in the broth.
- Simmer the soup. Reduce the heat to low and cook the soup for 20-25 minutes until the chicken breasts are fully cooked through.
- Shred the chicken. Once the chicken is cooked, remove them from the pot, place them on a cutting board, and shred them into bite-sized pieces using two forks. Return the shredded chicken to the pot.
- Add the chickpeas and spinach. Pour in the strained chickpeas, chopped spinach, and lemon juice, stir to combine, and simmer for a final 5-10 minutes until the chickpeas are warm and the spinach is wilted.
- Serve and enjoy. Taste the soup, season with additional salt and pepper as needed, and serve immediately with a slice of lemon and fresh parsley.
You can find the detailed instructions in the recipe card below.


Red’s Nutrition Tip
While I used chicken breasts in this recipe, skinless chicken thighs would also work very well. Contrary to popular belief, the nutritional differences between chicken thighs and chicken breasts are minimal and chicken thighs are far more flavorful. See the notes section of the recipe card for details on how to make this substitution.
What to Serve with Chickpea Chicken Soup
This chickpea chicken soup is a balanced meal on its own, however, to make it a heartier meal or stretch the soup into more portions, it would pair well with crusty bread, crackers, cheese, and/or a big green salad.

Can you make it in a slow cooker?
Yes! To make this chickpea chicken soup in a slow cooker, add all of the ingredients to a slow cooker, except the chickpeas, spinach, and lemon juice, and cook on high for 3-4 hours or on low for 6-7 hours. Once cooked, remove the chicken from the slow cooker, place it on a cutting board, and shred it into bite-sized pieces using two forks. Return the shredded chicken to the slow cooker, along the with strained and rinsed chickpeas, chopped spinach, and lemon juice, give everything a good stir, and cook on high for a final 15-20 minutes until the chickpeas are warm and the spinach is wilted.

Storage + Reheating
To Refrigerate: Allow the chickpea chicken soup to cool completely and then transfer to an airtight container in the fridge for up to 5 days.
To Freeze: Transfer the cooled chicken and chicken soup to an airtight container and freeze for up to 3 months. To make grab-and-go meals and reheating easier, you can freeze the soup in individual portion-sized containers.
To Reheat: To reheat from the fridge, place the soup in a pot on the stovetop on medium heat and warm for 5 minutes or until heated through. To reheat from frozen, thaw the soup overnight in the fridge and then place the soup in a pot on the stovetop on medium heat and warm for 5 minutes or until heated through. To reheat the soup in the microwave, place thawed soup in a microwave-safe bowl and warm for 1-2 minutes, with 30 additional 30-second increments as needed depending on the strength of your microwave.

More Chickpea and Chicken Soup Recipes:
- Chicken and Rice Soup
- Golden Lentil Chicken Soup
- Mushroom Wild Rice Chicken Soup
- Chicken Tortilla Soup
- Turmeric Chicken Stew
- Chicken Broccoli Cheddar Soup
- Chicken Peanut Stew

Chickpea Chicken Soup
Made in one pot, this chickpea and chicken soup is a delicious and nutritious meal that is quick and easy to make. Serve it on its own or with a side of crusty bread for a healthy lunch or dinner.
-
 Prep Time: 10 minutes
 -
Cook Time: 45 minutes
-
Total Time: 55 minutes
-
Yield: 6 servings 1x
-
Category: Soup
-
Method: Stovetop
Ingredients
- 2 tablespoons olive oil
- 1 onion, diced
- 2 carrots, peeled and sliced
- 2 stalks celery, sliced
- 1 red bell pepper, diced
- 4 cloves garlic, minced
- 2 teaspoons paprika
- 1 teaspoon dried oregano
- 1/2 teaspoon red pepper flakes
- 1/2 teaspoon salt
- 1 can (14 oz.) diced tomatoes
- 2 tablespoons tomato paste
- 4 cups chicken broth, or water
- 2 chicken breasts, boneless and skinless
- 2 cans (14 oz.) chickpeas, strained and rinsed
- 1 cup spinach, roughly chopped
- 1 tablespoon lemon juice
- Fresh parsley, chopped, to serve
- Lemon wedges, to serve
Instructions
- In a large pot or Dutch oven, warm the olive oil on medium-high heat, then add the chopped onion, carrots, and celery and cook for 3-4 minutes until tender.
- Add the diced red bell pepper and garlic and cook for an additional 2-3 minutes until tender. Add the paprika, oregano, red pepper flakes, and salt, and cook for an additional minute until fragrant.
- Pour in the diced tomatoes and tomato paste, break up any large tomato chunks with a wooden spoon, and stir to coat the vegetable mixture.
- Pour in chicken broth, stirring to combine with the vegetables, then add raw chicken breasts to the pot, gently submerging them in broth.
- Bring to a gentle boil, then reduce to a simmer and cook for 25-30 minutes, stirring occasionally, until the chicken is cooked through completely.
- Once cooked, remove the chicken breasts from the pot and place them on a cutting board, while continuing to cook the soup on a simmer. Using two forks, shred the chicken breasts into bite-sized pieces.
- Return the shredded chicken to the pot, along with the chickpeas, chopped spinach, and lemon juice, and give everything a good stir. Cook the soup on a low simmer for a final 5 minutes until the spinach is wilted.
- Taste the soup and adjust the seasoning with additional salt and black pepper as needed. If you find the soup too thick for your liking, just thin it with a bit more broth or water.
- The finished soup can be served immediately with a sprinkle of fresh parsley or cooled and stored in the fridge for up to 5 days or in the freezer for up to 3 months.
Notes
To Make it in a Slow Cooker: Add all of the ingredients to a slow cooker, except the chickpeas, spinach, and lemon juice, and cook on high for 3-4 hours or on low for 6-7 hours. Once cooked, remove the chicken from the slow cooker, place it on a cutting board, and shred it into bite-sized pieces using two forks. Return the shredded chicken to the slow cooker, along the with strained and rinsed chickpeas, chopped spinach, and lemon juice, give everything a good stir, and cook on high for a final 15-20 minutes until the chickpeas are warm and the spinach is wilted.
To Use Skinless Chicken Thighs: Swap the chicken breasts for 1 lb. boneless, skinless chicken thighs. Before step #1, place the chicken thighs on a cutting board and season both sides with salt and pepper. Warm the olive oil in the pot on medium-high heat, then add the chicken thighs and cook them for 3-4 minutes per side until lightly browned, then transfer them to a plate. Then proceed with the instructions as outlined, beginning with step #1, and return the chicken thighs to the pot as per step #4 in place of the chicken breasts. Once cooked, chop them into small pieces, instead of shredding them, as per step #6, then return them to the pot as per step #7.
To Use Leftover Chicken: Instead of adding the chicken breasts in step #4 and shredding them in step #6, simply add 4 cups of shredded chicken along with the chickpeas and spinach in step #7.
To Use Dried Chickpeas: Add 1 1/2 cups of dry chickpeas to a large bowl, cover with room temperature water, and soak overnight or for at least 8 hours. Once soaked, bring a large pot of salted water to a boil, add the soaked chickpeas, and cook them for 40 minutes to 1 hour until tender. Once cooked, strain and rinse the chickpeas and add them to the soup as per step #7.
To Use Fresh Tomatoes: Swap the canned crushed tomatoes for 4 ripe tomatoes, seeded and diced.
Nutrition
- Serving Size: 1 serving
- Calories: 368 calories
- Sugar: 12 grams
- Fat: 10 grams
- Carbohydrates: 46 grams
- Fiber: 12 grams
- Protein: 26 grams