Tracking calories is a common recommendation for weight loss, however, there are many ways to track what you eat. From journaling to photos to macros, there are many methods of tracking that can help you improve your eating habits and relationship with food. Here are some tips on how to track your food and some tools that can help you do so.

Table of contents
The Benefits of Tracking Food
Research shows that people often underestimate their food intake, sometimes by as much as 30 to 50 percent (1). While most people know an overflowing plate of food is high in calories, many people do not recognize that even whole foods can be high in calories and, therefore, often misjudge portions, which leads to consuming more calories than intended.
For this reason, food tracking is a great tool for weight loss, however, there are many uses for and benefits of food journaling beyond weight. In fact, tracking what you eat and drink can help to create awareness around your food choices, create accountability, show you what you are doing well, and identify areas of opportunity in your eating habits.
In addition to weight loss, tracking your food can help with gaining weight, maintaining weight, building muscles, improving athletic performance, identifying digestive issues, food allergies and intolerances, and identifying emotional eating behaviors and triggers.

How to Track Your Food
There are many ways to track your food intake, from journaling to digital apps, however, exactly what you track is important. Healthy eating is about more than simply what you eat; when, where, why, with whom, and how much you eat can have a massive impact on your eating habits.
Whether your goal is to lose weight, solve digestive issues, eat more intuitively, or become more aware of your food choices, the information you include in your food journal can have a major impact on your progress. Here are some things you should consider tracking:
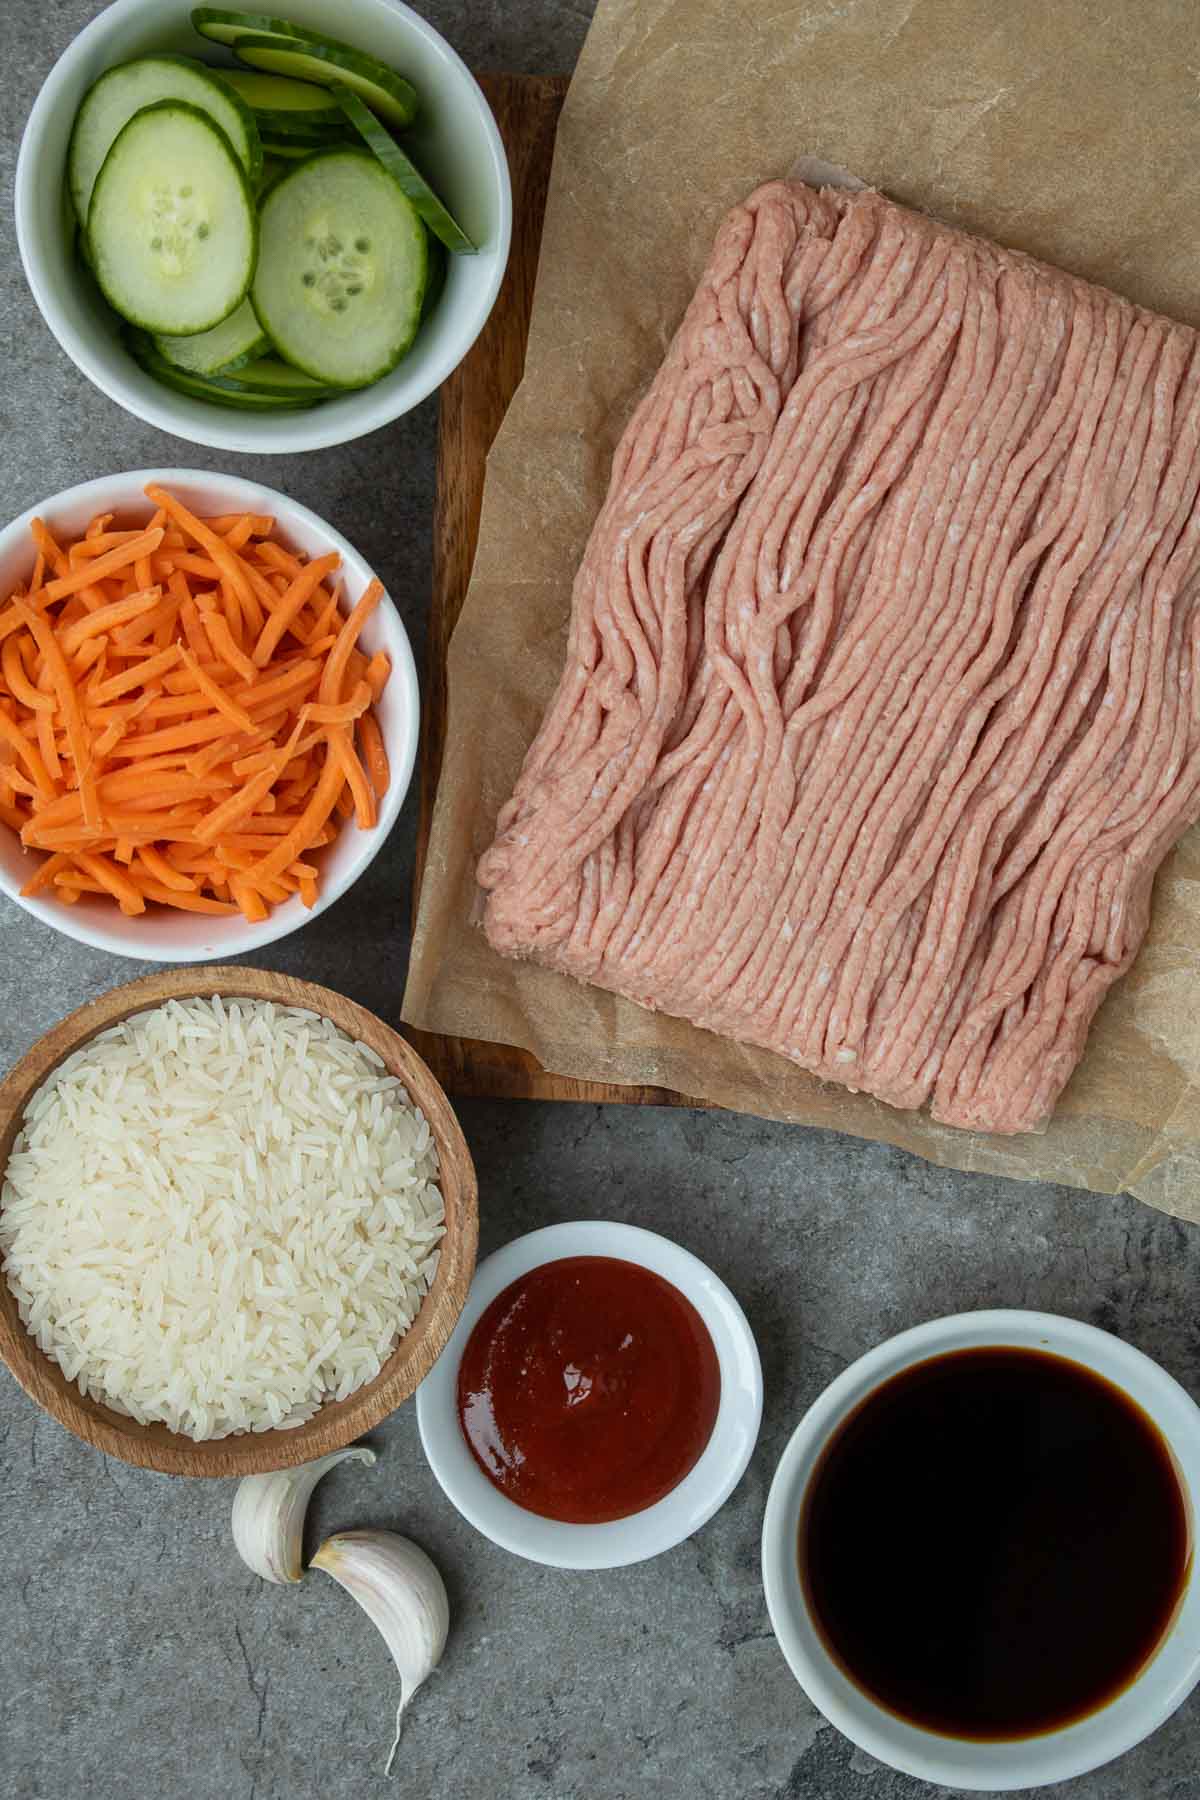
- What You Ate – Track exactly what you eat and drink throughout the day and be as detailed as possible. Track the primary ingredients, as well as cooking oils, sauces, condiments, and beverages.
- When You Ate – Track the time of day that you eat. Don’t forget to track snacks and nibbles, as well as meals.
- Where You Ate – Track where you eat your meals and snacks. Note whether you ate at the dinner table, on the couch, at your desk, or in the car.
- Who You Were With – Track whether you eat alone or with other people. If you were with others, list who you were with.
- How Much You Ate – Track how much you eat. This can be measured by the hand portion size method, by volume (e.g., 1/2 cup, 1 tablespoon, and 1 teaspoon), or by weight (e.g. 100 grams and 3 ounces).
- How You Felt Before and After – Track how you are feeling physically and mentally before and after you eat. How hungry are you? Are you happy, sad, stressed, or bored? How full are you? The hunger-fullness scale is a helpful tool for this and is particularly important for individuals working on mindful eating behaviors.
The more information you track the more data you will have to identify eating patterns and adjust your plan as needed to support your goals. In fact, you might be surprised to learn that when you eat, where you eat, and who you eat with can impact what and how much you eat.

6 Ways to Track What You Eat
Depending on your personal health goals, here are some different ways to track your food:
1. Journal
One of the simplest ways to track food is to use a pad of paper or notebook to keep a food journal. Much like a personal diary, using pen and paper, you can note down what, when, where, why, with whom, and how much you ate, and how you felt before and after. This method is simple to execute and easy to adhere to long term.
2. File or Spreadsheet
In addition to a paper food journal, you can use a Word document and Excel spreadsheet to track your food. This method is helpful for more digitally inclined individuals or people who find themselves on their computer or phone all day long.
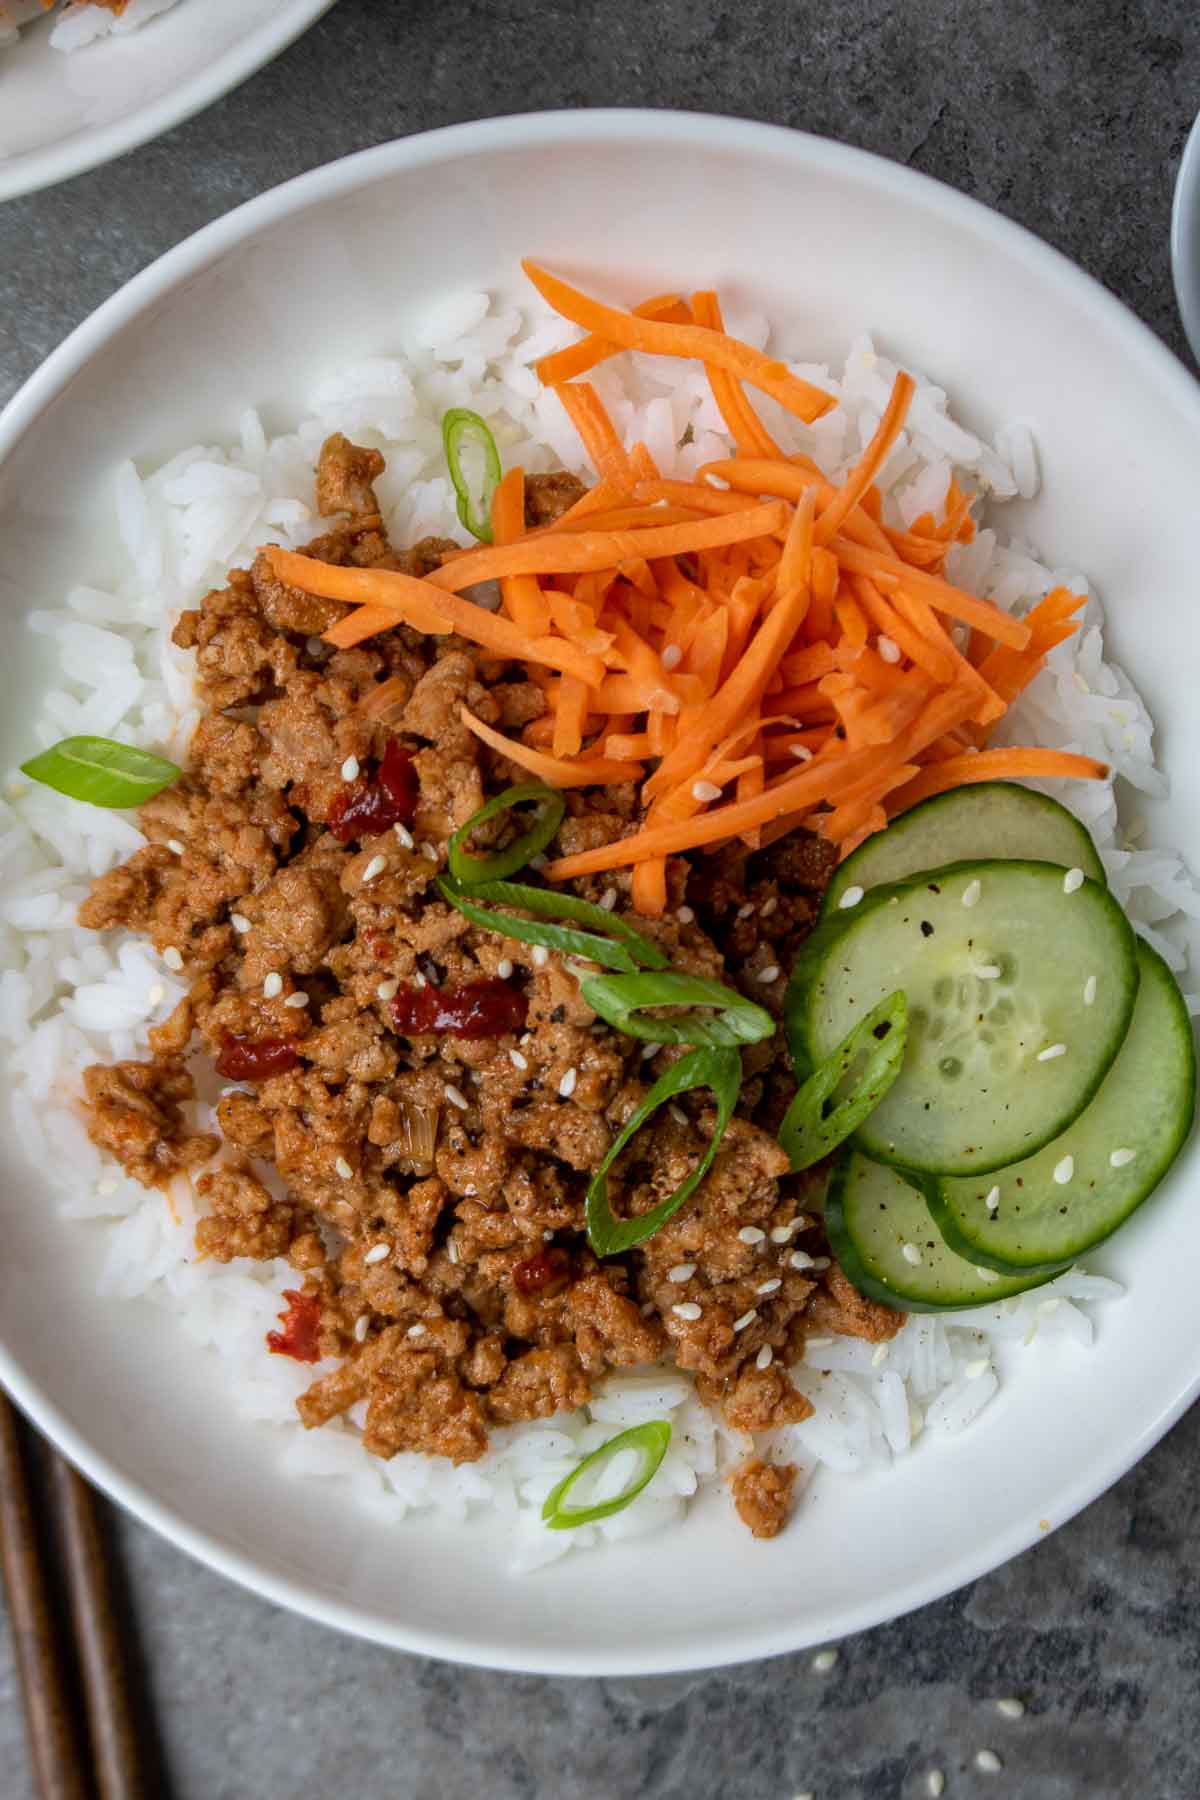
3. Pictures
If you’re more visual, taking a photo of your meals and snacks is another simple and effective way to track your food. With the snap of a button, you can create a visual food diary of what you ate, as well as when and where. While you can certainly keep these in your phone’s camera roll, there are also several food tracking apps that allow you to take and store pictures of your meals in a detailed manner.
4. Hand Portion Tracking
The hand portion size method is a food tracking method that allows you to roughly track how much you are eating without weighing or measuring your food. By using your hand as a guide for portion sizes, you can estimate your personal portion size and track how many portions of each macronutrient you eat per day. This method is simple to understand, easy to execute, can help with portion control, and even support a weight loss goal without counting calories.
5. Calorie Counting
The calorie counting method allows you to set and track a certain number of calories to eat each day based on your height, weight, age, activity level, and goal. Of all food tracking methods, calorie counting is the most accurate for creating a calorie deficit, as it requires that all food and drinks consumed be weighed or measured. While this allows for maximal precision and can be very educational for some, it can be stressful and can be too time-consuming for others. Most calorie tracking apps also track nutritional values and many can track physical activity if desired.
6. Macro Counting
Macro counting is a form of calorie counting where calories are divided between the three macronutrients: protein, carbohydrates, and fats. Rather than only counting calories, a set number of grams is attributed to each macronutrient. Macro counting is even more detailed than calorie counting and can be particularly helpful for athletes, to ensure they are properly fueling for their sport, or individuals with specific body composition goals, such as bodybuilders. This method of tracking also requires the weighing and measuring of all food and drinks, however, it allows the individual to track nutritional information most precisely, including total calorie, protein, carbohydrate, fat, fiber, sugar, and micronutrient intake.
What apps track what you eat?
There are hundreds of different apps you can use to track your food, however, these are my top recommendations:
- Ate – The Ate app is a food journaling app that allows you to take photos of your meals and add written notes. This app is great for individuals who have never tracked their food or individuals looking to prioritize mindful eating without tracking calories. By simply taking a photo of your meal, you can easily track what you ate, how much you ate, and when you ate, which can help to identify eating habits, increase mindful eating behaviors, and identify potential areas of opportunity.
- Tally – The Tally app is designed to track anything but can easily be used to track what you eat. By setting daily tallies to reflect portions of protein, carbohydrates, fats, fruits, and vegetables, you can track the number of portions you are consuming per day. This app is great for individuals looking to create more balanced meals and/or ensure they are consuming adequate amounts of each macronutrient. the Tally app is incredibly easy to use and can help to take the stress out of tracking your food.
- MyFitnessPal – The MyFitnessPal app is great for individuals looking to count calories and/or track macros. It has a barcode scanner and a large food database, allowing you to track almost any food on the market, and you can easily add your own recipes in a few simple steps. This app is particularly helpful for individuals looking to gain weight, lose weight, maintain weight, or gain muscle as it allows the user to track food in a more detailed manner. MyFitnessPal offers a free version, which includes ads, and a paid version, which is ad-free and includes additional premium features.
- Carbon – The Carbon app is more than a calorie counter, it’s an intuitive diet coaching app. Much like MyFitnessPal, Carbon utilizes an easy-to-use food tracker with a large database of foods and allows the user to create custom foods and recipes. However, unlike other calorie-counting apps, Carbon offers a science-based coaching system that analyzes the user’s weekly progress via scheduled check-ins and adjusts calorie and macro targets based on progress. Moreover, the app allows the user to dictate their desired rate of progress, as well as any dietary preferences. Although there is a monthly fee for this app, it comes at a fraction of the price of one-on-one coaching.

How to Select the Best Food Tracking Method For You
The “best” food tracking method is completely subjective; it depends on the individual and their goal. When selecting a tracking method, it is important to select a method that you understand and find informative, educational, and easy to adhere to. It’s also important to avoid methods that cause stress, you find overly time consuming, or trigger any emotional or disordered eating behaviors. In general:
A food journal is great for:
- Fostering a healthy relationship with food
- Focusing on hunger cues
- Identifying eating patterns
- Identifying food triggers
- Addressing digestive issues
- Long-term use
Hand portion tracking is great for:
- Ease and convenience
- Learning about portion sizes
- Estimating calorie intake
- On-the-go, busy people
- Most body composition goals
Calorie/macro counting is great for:
- Ensuring maximum precision
- Number-oriented individuals
- Athletes or individuals with advanced needs
- Learning about calories
- Short-term use
It should also be noted that you can stop tracking or switch tracking methods at any time. If you start tracking with a paper food diary and decide you want something more detailed, you can switch to calorie or macro counting at any time, and vice versa.
If you are unsure of what tracking method to use or how to track your food for your personal goals, it is best to work with a registered dietician to create a personalized plan.
The Bottom Line
Whether you’re trying to lose weight or determine the root cause of your digestive issues, there are many ways to track your food and the benefits of doing so. A food journal, calorie counting, and macro counting are all great ways to track food intake, support your health goals, and create better eating habits. The best approach to tracking your food is one that you feel comfortable doing, supports your mental health, and can easily adhere to.