Red meat is often said to be an unhealthy choice; however, it’s one of the most nutrient-dense whole foods, and moderate amounts of lean beef can easily be included in a healthy diet. Here is a ranking of the leanest cuts of beef.
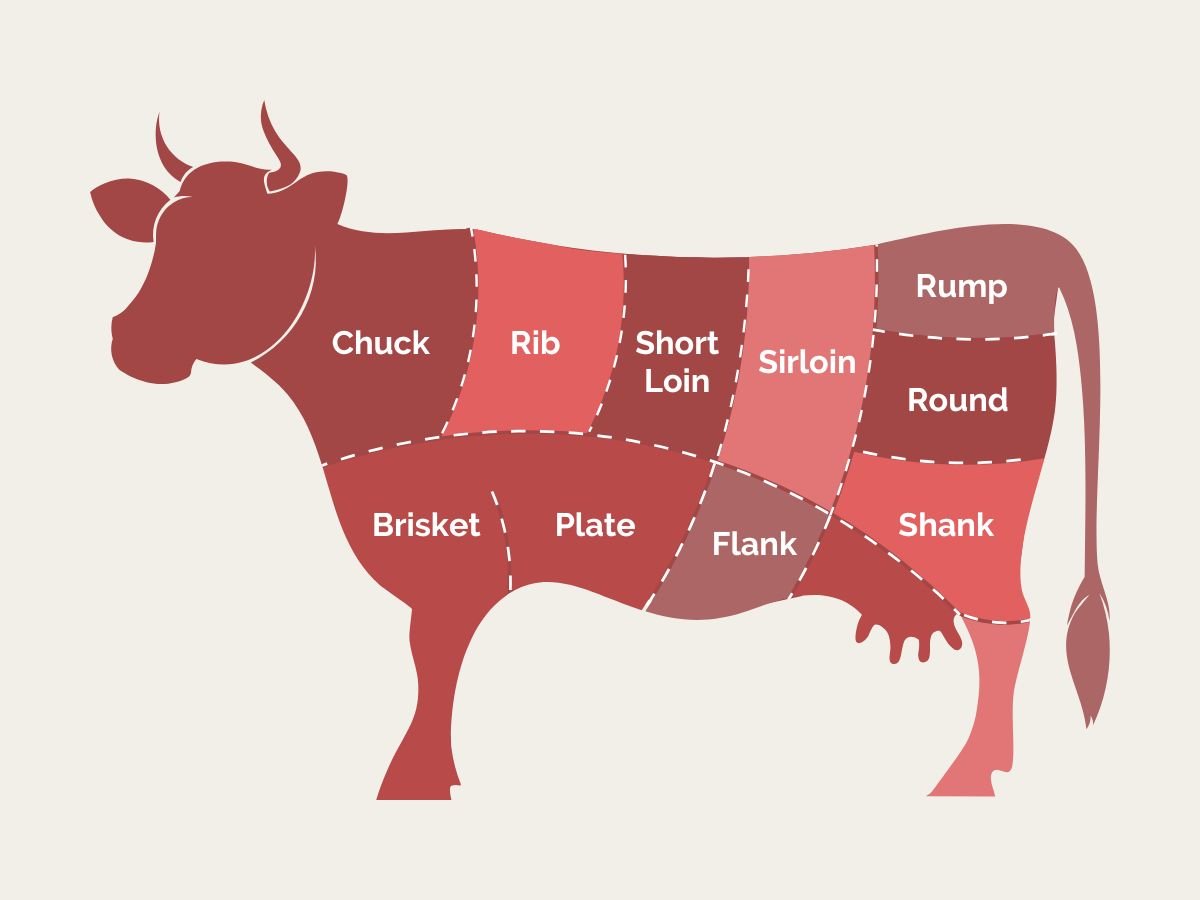
Table of contents
- What makes a cut of beef lean?
- Benefits of Lean Beef
- List of the Leanest Cuts of Beef
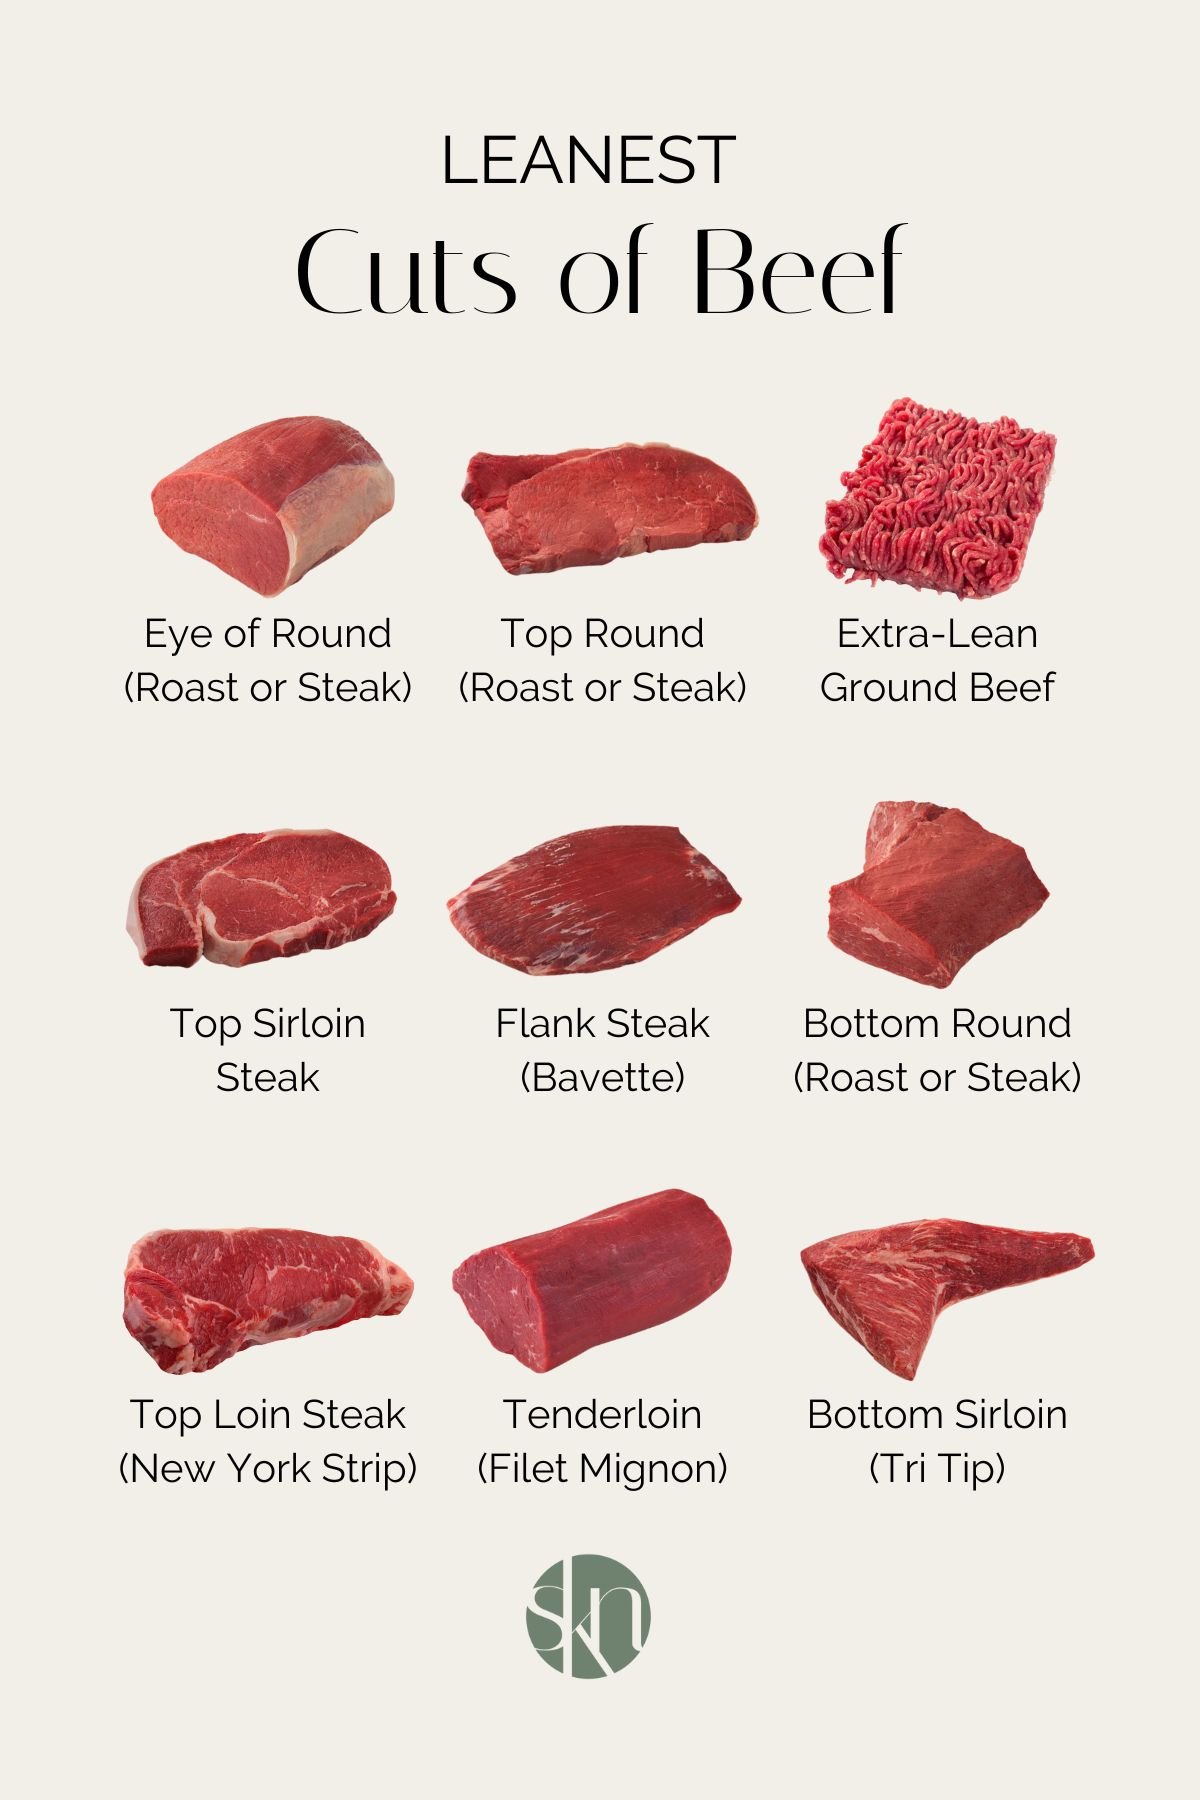
- 1. Eye of Round (Roast or Steak)
- 2. Top Round (Roast or Steak)
- 3. Extra-Lean Ground Beef
- 4. Top Sirloin Steak
- 5. Flank Steak
- 6. Bottom Round (Roast or Steak)
- 7. Top Loin Steak (New York Strip)
- 8. Tenderloin (Filet Mignon)
- 9. Bottom Sirloin (Tri Tip)
- Ranking of the Leanest Cuts of Beef
- What are the fattiest cuts of beef?
- Tips for Cooking Lean Beef Cuts
What makes a cut of beef lean?
Lean cuts of beef are cuts that are high in protein but low in fat, particularly saturated fat. The USDA defines “lean” and “extra lean” beef based on its fat and cholesterol content per 100-gram (3.5-ounce) serving, specifically (1):
- Lean Beef: Contains less than 10 grams of fat, less than 4.5 grams of saturated fat, and less than 95 milligrams of cholesterol.
- Extra-Lean Beef: Contains less than 5 grams of fat, less than 2 grams of saturated fat, and less than 95 milligrams of cholesterol.
Benefits of Lean Beef
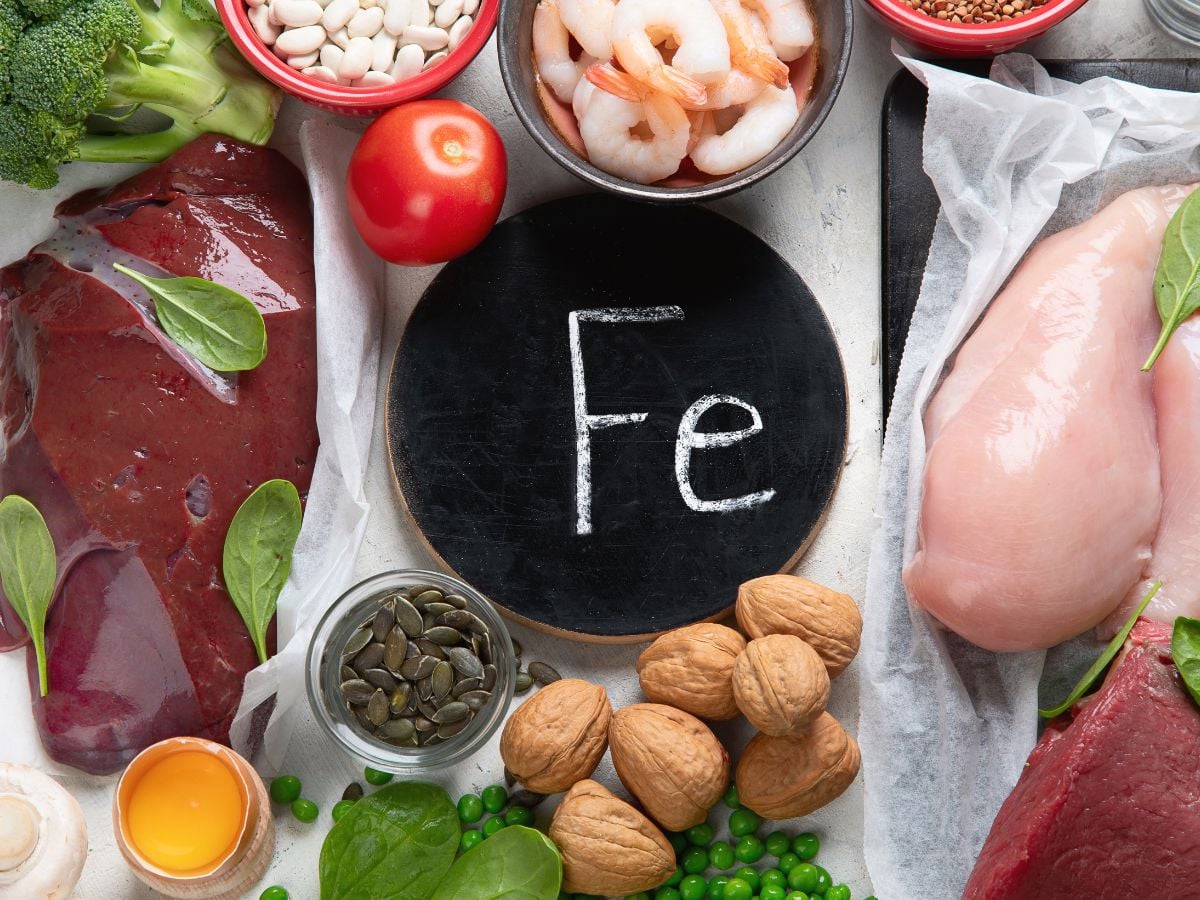
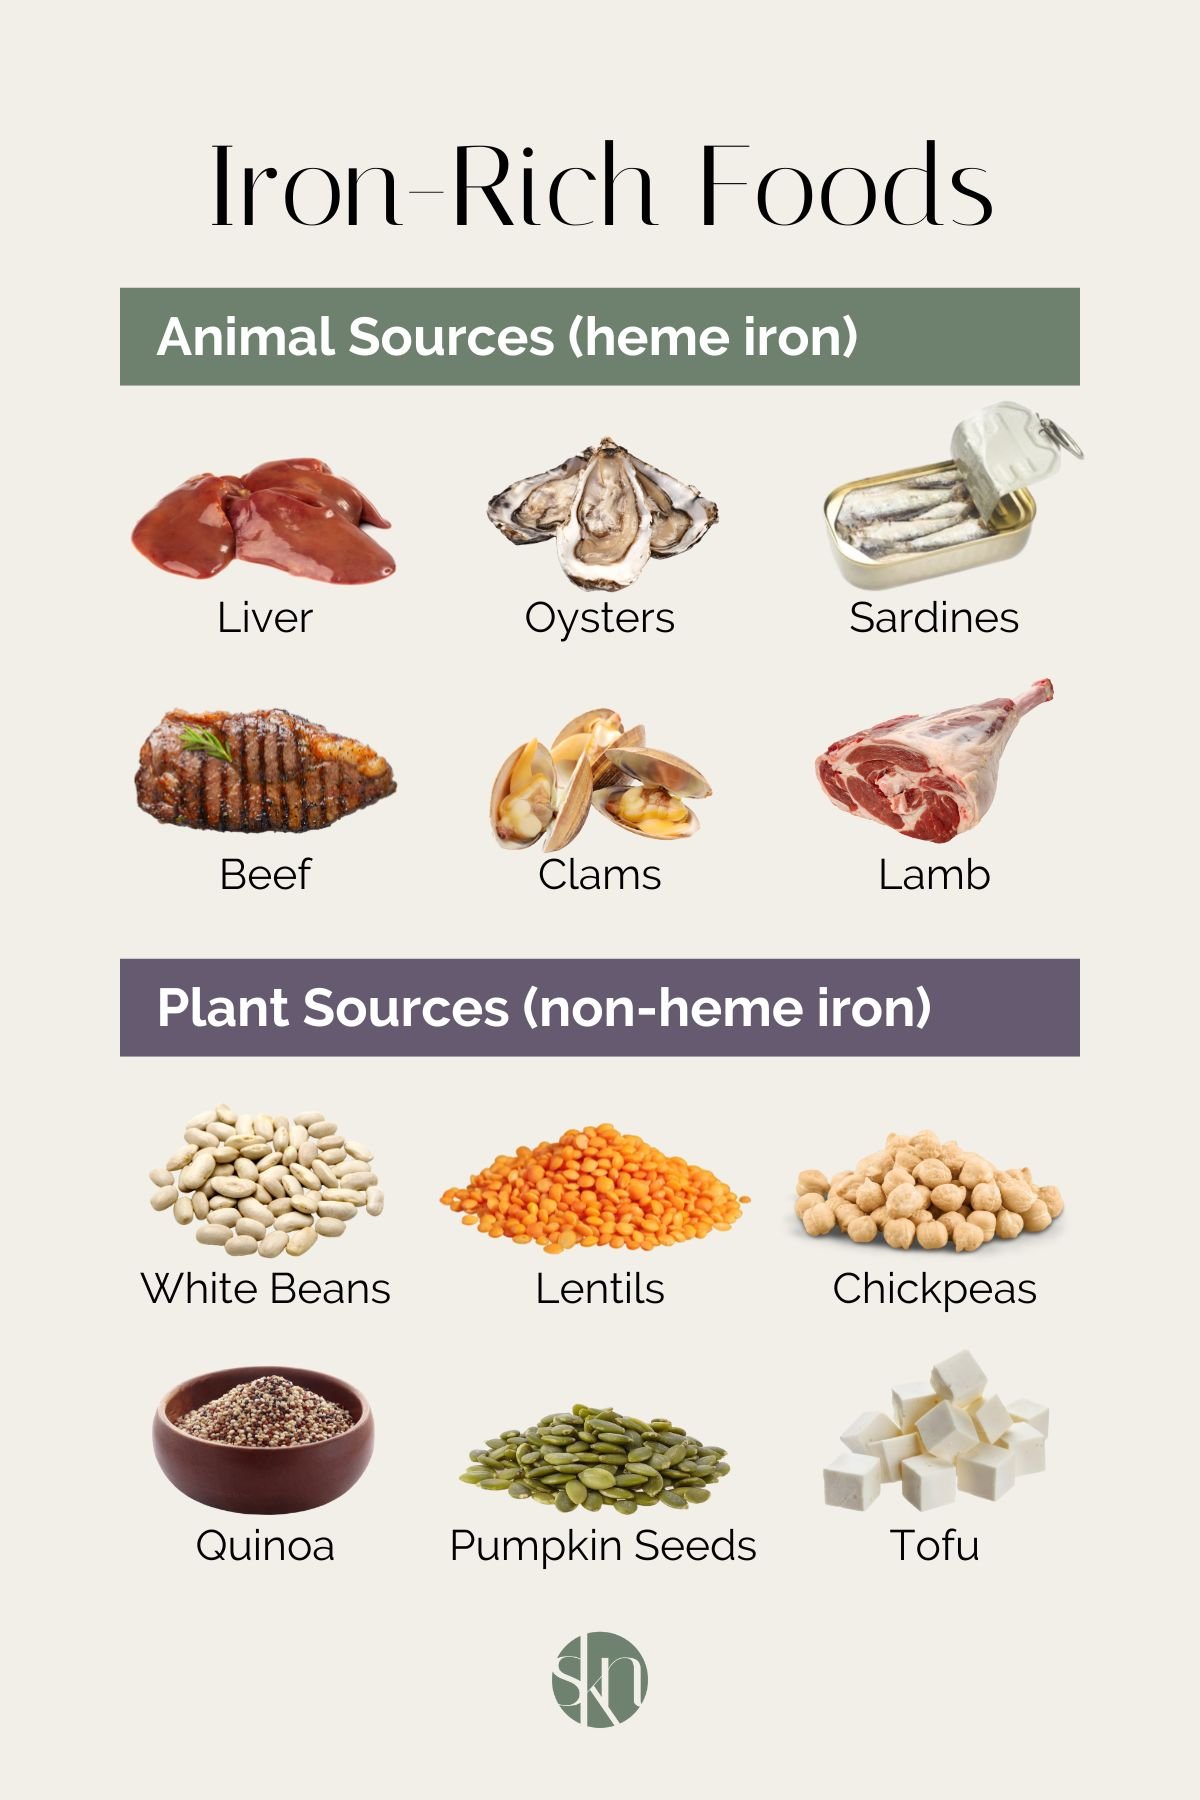
Lean cuts of beef, as well as other lean meats, are good sources of high-quality protein and rich sources of micronutrients. Beef is a good source of iron, particularly heme iron, which is easily absorbed, as well as zinc, phosphorus, and B vitamins (2).
Lean beef is also a good source of energy, and its protein content helps to promote muscle growth and maintenance, and support immune function (3). Its low-fat content also makes it a high-protein, low-calorie food that is ideal for increasing protein intake, without overly increasing calorie intake. This makes lean beef a great choice for a healthy diet or for individuals looking to cut calories to create a calorie deficit to support weight loss.
List of the Leanest Cuts of Beef
Here is a list of the leanest beef cuts, ranked by total fat content per 3-ounce serving.
1. Eye of Round (Roast or Steak)
The eye of round is the leanest cut of beef. This cut comes from the hind leg of the cow and is given the name “eye” as it’s located in the center of the round primal. It is similar in shape to the tenderloin, a long, tapered, and boneless muscle, but it is firmer and less juicy.
While sections can be cooked as steaks, the roast is best suited for low and slow cooking methods, such as braising or oven roasting, or can be sliced thin for deli-style sandwiches or stir-fries.
Nutrition per 3-ounce serving of eye round roast (4):
- Calories: 108
- Protein: 19.7 grams
- Fat: 3.18 grams
- Saturated Fat: 1.11 grams
2. Top Round (Roast or Steak)
The top round is another lean, inexpensive cut from the rump and hind legs of the cow. It’s given the name “top” because it is located directly above the eye and bottom round in the round primal. The muscles in this area of the cow are much leaner as they are used for movement.
The top round is commonly sold as roast, ideal for braising and sous vide, and is the most popular cut for thin slices of roast beef; however, it is also used in premium hamburger blends.
Nutrition per 3-ounce serving of top round roast (5):
- Calories: 109
- Protein: 20.0 grams
- Fat: 3.24 grams
- Saturated Fat: 1.27 grams
3. Extra-Lean Ground Beef
Extra-lean ground beef is made from the leanest primal cuts of the cow, which typically include the sirloin and round portions. It has a maximum fat content of 10%, often labelled as 90% lean meat / 10% fat, but also found in 93% lean meat / 7% fat, 95% lean meat / 5% fat, or 97% lean meat / 3% fat versions.
Extra-lean ground beef is ideal for recipes where you can’t drain off beef juices, such as burgers, meat sauces, or casseroles.
Nutrition per 3-ounce serving of extra-lean ground beef (95% lean meat / 5% fat) (6):
- Calories: 117
- Protein: 18.2 grams
- Fat: 4.25 grams
- Saturated Fat: 1.85 grams
4. Top Sirloin Steak
The top sirloin steak is a lean cut with a strong beef flavor. This cut is from the top part of the sirloin subprimal, located between the loin and round in the hindquarter. Given it comes from an exercised part of the animal, it’s leaner than ribeye or filet mignon; however, it’s the most tender cut from the sirloin.
The top sirloin steak cooks quickly and is great for grilling and pan-searing, but also works well broiled, stir-fried, or cooked via the sous vide method.
Nutrition per 3-ounce serving of top sirloin steak (7):
- Calories: 119
- Protein: 18.7 grams
- Fat: 4.86 grams
- Saturated Fat: 1.96 grams
5. Flank Steak
Flank steak is a long, flat cut of beef from the abdominal muscles of the cow. It’s a boneless cut and is one of the best lean cuts for taste and tenderness. Slicing beef cuts against the grain is particularly useful for thin cuts like flank steak, as it makes the meat more tender and easier to chew.
Flank steak is best when braised or marinated and grilled, but can be smoked or broiled, and is often used in dishes such as tacos, fajitas, stir-fries, pasta, and salad.
Nutrition per 3-ounce serving of flank steak (8):
- Calories: 123
- Protein: 18.0 grams
- Fat: 5.15 grams
- Saturated Fat: 2.13 grams
6. Bottom Round (Roast or Steak)
Much like the top round, the bottom round is a lean cut of beef from the hardworking rump and hind legs of the cow. Located at the bottom of the round, hence the name, this cut has very little marbling.
While it can be used for steak, it’s best slow-cooked by braising or roasted and thinly sliced, and is also sometimes used in ground meat. It’s also a great choice for budget-friendly stew meat.
Nutrition per 3-ounce serving of bottom round steak (9):
- Calories: 128
- Protein: 18.0 grams
- Fat: 5.60 grams
- Saturated Fat: 1.96 grams
7. Top Loin Steak (New York Strip)
The boneless top loin steak, more commonly known as the New York strip steak, is a lean and naturally tender cut of beef. It is from the short loin, which is part of the loin subprimal, located on the upper back behind the ribs of the cow.
The New York strip steak is one of the most popular, as its moderate internal marbling makes it a more flavorful cut than the tenderloin, but leaner than the ribeye. It’s best for high-heat cooking such as grilling or pan searing.
Nutrition per 3-ounce serving of top loin steak (10):
- Calories: 128
- Protein: 19.4 grams
- Fat: 5.67 grams
- Saturated Fat: 2.47 grams
8. Tenderloin (Filet Mignon)
The tenderloin is a long, narrow, and lean muscle located within the loin. As the name suggests, it’s the most tender beef roast and is the source of the tenderloin steak or filet mignon. The tenderloin is also part of the T-bone and porterhouse steaks; however, their other components are not as lean.
Because it’s so lean, tenderloin can easily overcook and become dry, so it’s best enjoyed rare or medium-rare, grilled or cooked under the broiler.
Nutrition per 3-ounce serving of tenderloin steak (11):
- Calories: 128
- Protein: 18.4 grams
- Fat: 6.04 grams
- Saturated Fat: 2.17 grams
9. Bottom Sirloin (Tri Tip)
The tri-tip roast is a triangular, boneless, and fairly lean cut of beef from the bottom sirloin. The cuts from the bottom sirloin have a similar taste and texture to the flank steak, being flavorful but containing a prominent grain. It’s moderate marbling offers a similar texture to ribeye, but at a fraction of the cost.
Bottom sirloin tip, or tri-tip roast, is best cooked using a reverse-sear method; cooked slowly on a low heat, and then the cooked meat is seared in a cast-iron skillet or on a grill to develop a rich exterior crust.
Nutrition per 3-ounce serving of tri-tip roast (12):
- Calories: 134
- Protein: 17.5 grams
- Fat: 6.53 grams
- Saturated Fat: 2.40 grams
Ranking of the Leanest Cuts of Beef
Here is a ranking of cuts of beef per 3-ounce serving size.
| Cut | Energy | Protein | Fat | Saturated Fat |
| Eye of Round | 108 calories | 19.7 grams | 3.18 grams | 1.11 grams |
| Top Round | 109 calories | 20.0 grams | 3.24 grams | 1.27 grams |
| Extra-Lean Ground Beef (95/5) | 117 calories | 18.2 grams | 4.25 grams | 1.85 grams |
| Top Sirloin Steak | 119 calories | 18.7 grams | 4.86 grams | 1.96 grams |
| Flank Steak | 123 calories | 18.0 grams | 5.15 grams | 2.13 grams |
| Bottom Round | 128 calories | 18.0 grams | 5.60 grams | 1.96 grams |
| Top Loin Steak | 128 calories | 19.4 grams | 5.67 grams | 2.47 grams |
| Tenderloin | 128 calories | 18.4 grams | 6.04 grams | 2.17 grams |
| Bottom Sirloin | 134 calories | 17.5 grams | 6.53 grams | 2.40 grams |
| Lean Ground Beef (90/10) | 150 calories | 17.0 grams | 8.50 grams | 3.34 grams |
All nutrition data is based on FoodData Central.
What are the fattiest cuts of beef?
The fattiest cuts of beef are those with the highest fat content and include ribeye steak, regular ground beef (80% lean meat / 20% fat), short ribs, T-bone steak, porterhouse steak, and brisket. These cuts are known for flavor and marbling and contain between 8-17 grams of fat and 3-7 grams of saturated fat per 3-ounce serving (13, 14, 15, 16, 17, 18).
Beef organ meats, which are known for being rich sources of protein, collagen, omega-3 fatty acids, and micronutrients such as iron and vitamin D, vary in fat content. While tongue and brain tend to be higher in fat, liver, kidney, heart, and tripe are relatively lean. Albeit, overall, eating organ meat provides numerous health benefits regardless of the cut.
Tips for Cooking Lean Beef Cuts
Lean cuts of beef are often less desirable because they tend to be dry and tough when cooked. The best way to prepare lean cuts of beef is to add moisture with marinades, sauces, or oils, and avoid overcooking by cooking them quickly on high heat, such as grilling, broiling, or stir-frying.
It is also best to rest lean cuts of beef after cooking and before slicing, as this helps the muscle fibers relax and allows the juices to reabsorb and redistribute throughout the cut to ensure the meat remains juicy, tender, and flavorful (19).
Finally, to ensure your cut of beef is extra lean, be sure to trim off any solid fat from roasts or steaks before cooking, and drain any rendered fat (grease) from ground beef once it’s browned.

The Bottom Line
Lean beef cuts are high in protein and low in fat, particularly saturated fat. The leanest cuts of beef include eye of round, top round, extra lean ground beef, top sirloin steak, and flank steak. If you’re unsure, look for cuts with the words “round” or “sirloin” in the name; these are always the leanest options.