Chia and flax seeds have become increasingly popular in the last decade, as they’ve been touted as superfoods providing numerous health benefits. While both are incredibly rich in essential nutrients, is one healthier than the other? Here is a breakdown and a nutrition comparison of chia seeds vs. flax seeds.
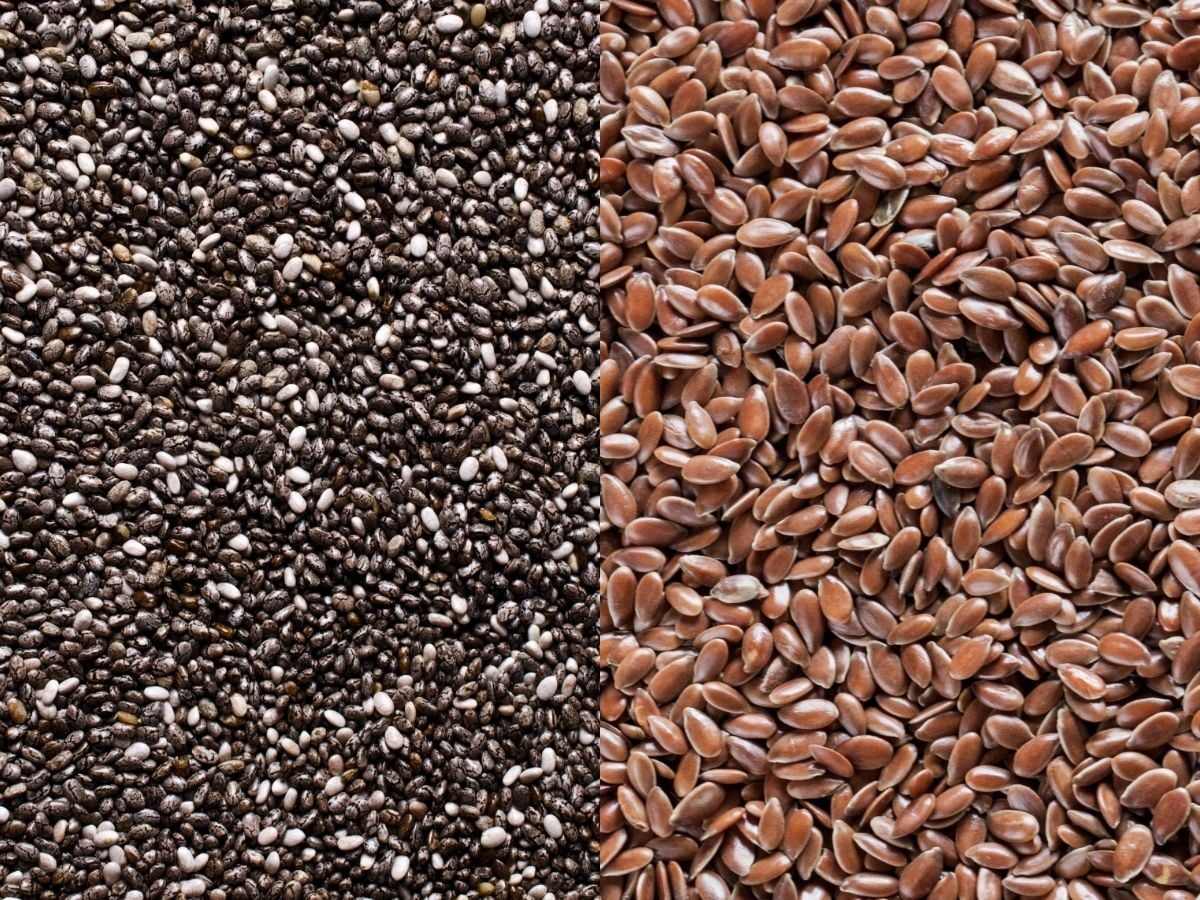
Table of contents
What’s the difference between chia seeds and flax seeds?
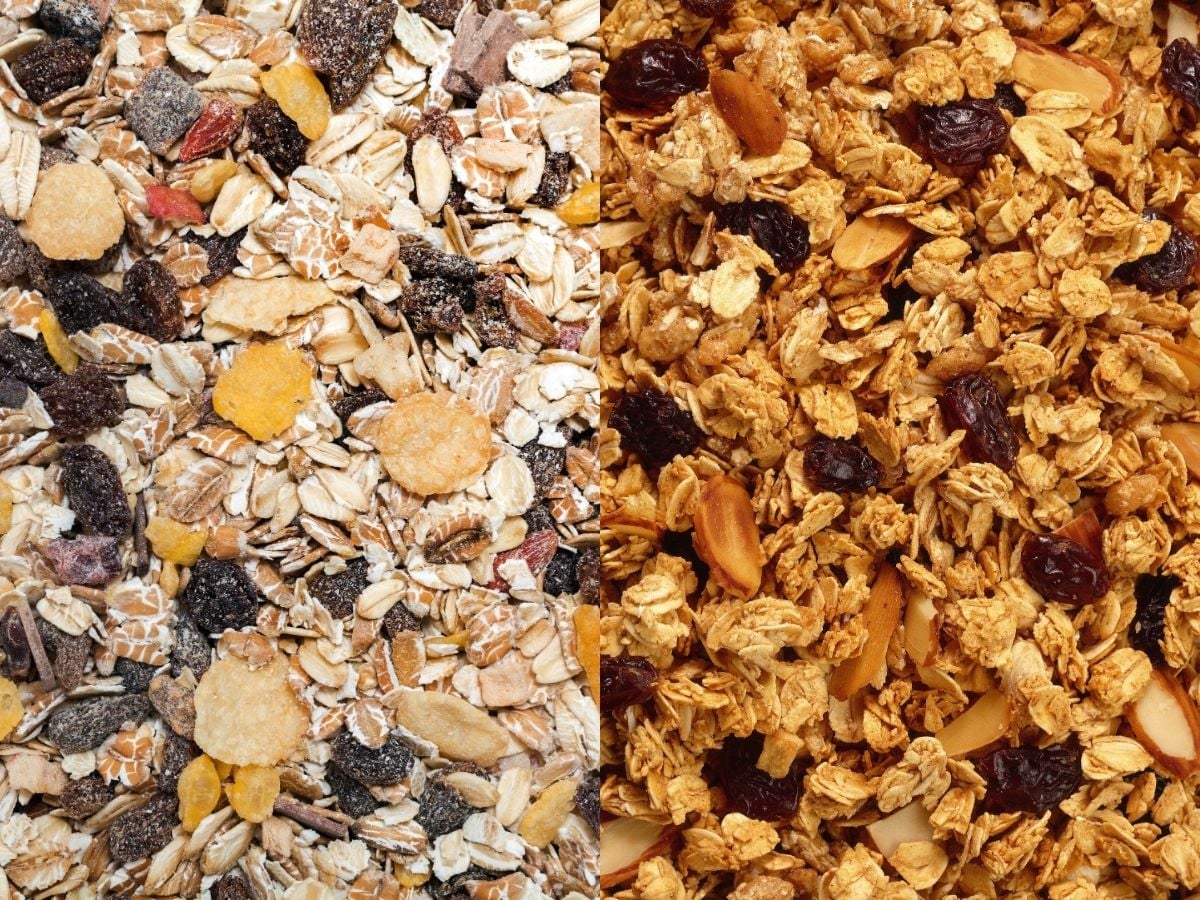
Chia seeds are tiny, round, oval-shaped edible seeds originating from the Salvia hispanica plant (1). They are found in black and white varieties and are usually found whole, but can also be found in ground form.
Flax seeds are small, flat, and slightly larger oval-shaped seeds originating from the Linum usitatissimum plant (2). They are found in brown and golden varieties and can be found in whole, ground, or flax meal form.
Both chia and flax seeds are considered “superfoods” due to their nutrient density; however, they vary slightly in their nutritional value.
Chia Seeds vs. Flax Seeds: Nutrition
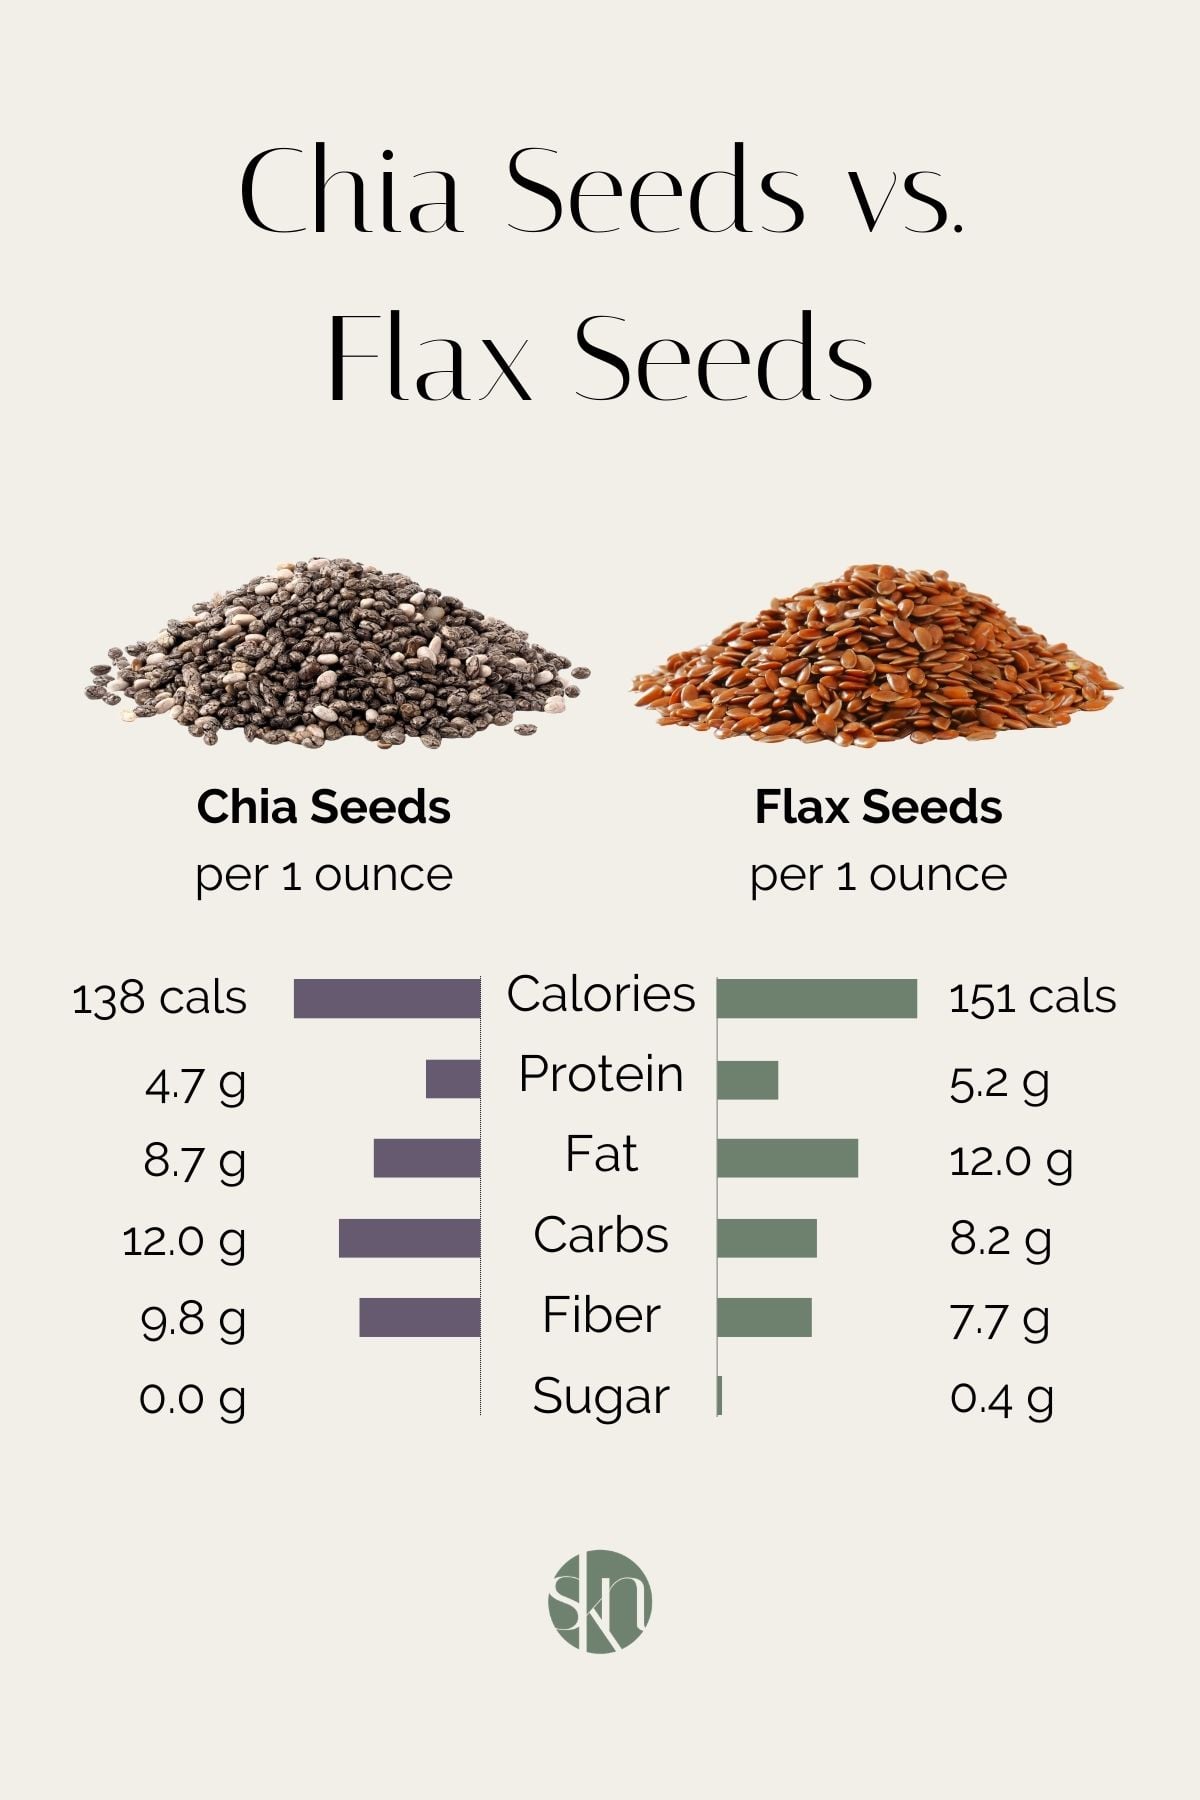
Here is a nutrition comparison of the calorie and macronutrient content of a 1-ounce (28-gram) or roughly 2-tablespoon serving of chia seeds and flax seeds (3, 4).
| Nutrition per 1 ounce | Chia Seeds | Flax Seeds |
| Calories | 138 calories | 151 calories |
| Protein | 4.68 grams | 5.19 grams |
| Fat | 8.70 grams | 11.96 grams |
| Carbohydrates | 11.94 grams | 8.19 grams |
| Fiber | 9.75 grams | 7.74 grams |
| Sugar | 0.00 grams | 0.44 grams |
Calories
Flax seeds contain slightly more calories than chia seeds. A 1-ounce serving of chia seeds contains 138 calories, while a 1-ounce serving of flax seeds contains 151 calories.
Protein
Chia seeds and flax contain a very similar amount of protein. A 1-ounce serving of chia seeds contains 4.68 grams of protein, while a 1-ounce serving of flax seeds contains 5.19 grams of protein.
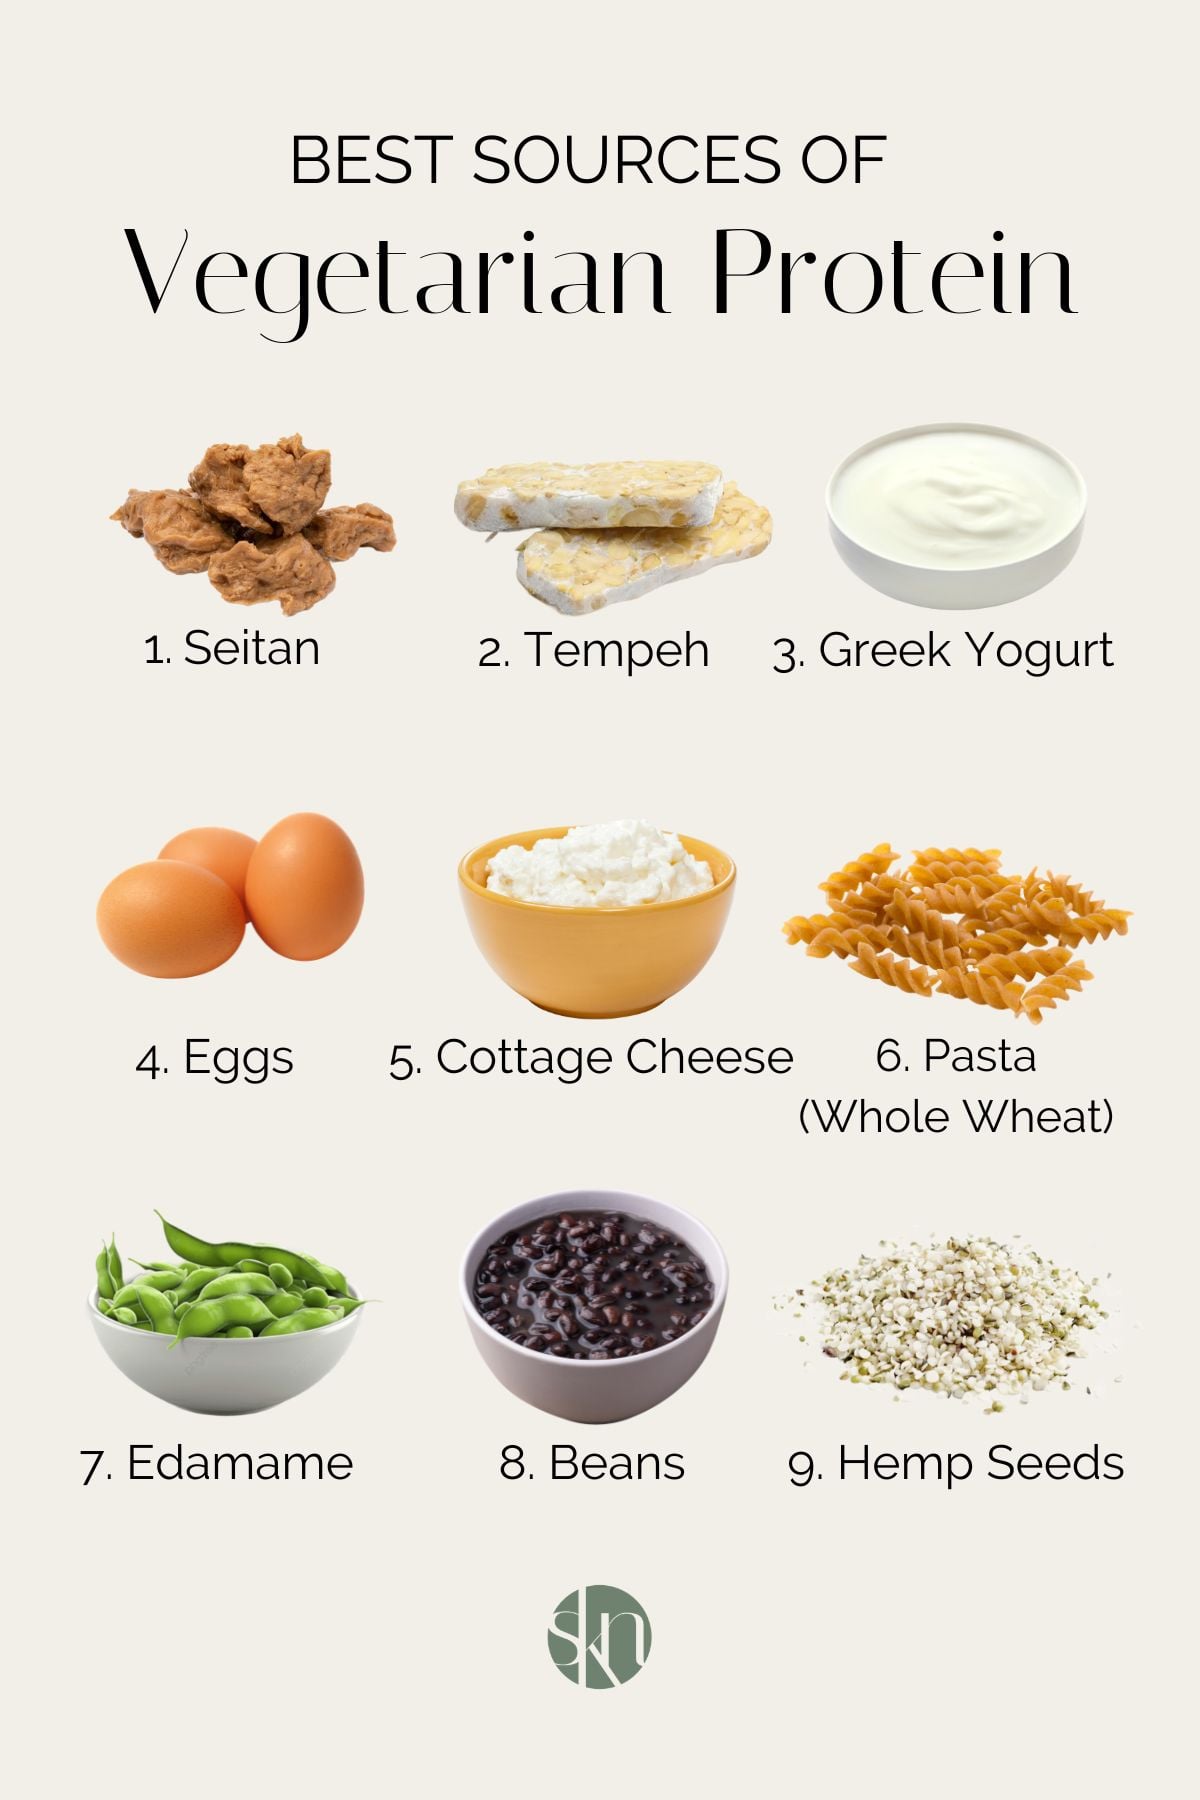
Along with hemp seeds, both chia and flax seeds are among the highest-protein seeds and are good sources of vegetarian protien and plant-based protein.
Fat
Flax seeds contain more healthy fat than chia seeds. A 1-ounce serving of chia seeds contains 8.70 grams of fat, while a 1-ounce serving of flax seeds contains 11.96 grams of fat.
While both chia seeds and flax seeds are good sources of omega-3 fatty acids, in the form of alpha-linolenic acid (ALA), flax seeds contain more per serving. A 1-ounce serving of chia seeds contains 5.05 grams of ALA, while a 1-ounce serving of flax seeds contains 6.40 grams of ALA.
Carbohydrates
Chia seeds contain more carbohydrates than flax seeds. A 1-ounce serving of chia seeds contains 11.94 grams of carbohydrates, while a 1-ounce serving of flax seeds contains 8.19 grams of carbohydrates.
However, neither is a particularly rich source of carbohydrates, specifically net carbs, since much of their carbohydrate content consists of fiber.
Fiber
Chia seeds contain more dietary fiber than flax seeds. A 1-ounce serving of chia seeds contains 9.75 grams of fiber, while a 1-ounce serving of flax seeds contains 7.74 grams of fiber.
While both chia seeds and flax seeds are high-fiber foods, they vary in their composition of soluble and insoluble fiber. Chia seeds are composed of 7-15% soluble fiber and 85-93% insoluble fiber, while flax seeds are composed of 25% soluble fiber and 75% insoluble fiber (5).
Soluble fiber dissolves in water and produces a sticky gel in the intestines, where bacteria ferment it into gases and by-products, which aids in gut health, reducing LDL “bad” cholesterol, and improving heart health (6). Insoluble fiber does not dissolve in water and, therefore, passes through the digestive tract undigested, which aids in digestion and regular bowel movements.
Sugar
Both chia seeds and flax seeds contain a negligible amount of sugar. A 1-ounce serving of chia seeds contains 0.00 grams of sugar, while a 1-ounce serving of flax seeds contains 0.44 grams of fat.
Note, the sugar in flax seeds is natural sugar, not added sugar.
Vitamins & Minerals
Here is a comparison of the micronutrient content of a 1-ounce (28-gram) or roughly 2-tablespoon serving of chia seeds and flax seeds (3, 4).
| Nutrition per 1 ounce | Chia Seeds | Flax Seeds |
| Thiamine | 0.18 mg | 0.46 mg |
| Calcium | 178.89 mg | 72.29 mg |
| Iron | 2.19 mg | 1.62 mg |
| Phosphorus | 243.81 mg | 182.00 mg |
| Magnesium | 94.97 mg | 111.13 mg |
| Zinc | 1.30 mg | 1.23 mg |
| Selenium | 15.65 µg | 7.20 µg |
| Copper | 0.26 mg | 0.35 mg |
| Manganese | 0.77 mg | 0.70 mg |
| Potassium | 115.38 mg | 230.48 mg |
Chia seeds contain more calcium, iron, phosphorus, zinc, selenium, and manganese, and flax seeds contain more thiamine, magnesium, copper, and potassium.
Both seeds also contain antioxidants, which are substances that protect cells from damage caused by free radicals in the body. However, flax seeds have particularly beneficial antioxidant properties, as they are the absolute best dietary source of lignans – a specific type of cancer-fighting antioxidant (7).
Other Factors to Consider
Here are some other factors to consider in the chia seeds vs. flax seeds debate.
| Feature | Chia Seeds | Flax Seeds |
| Shape | Tiny, round, oval-shaped | Small, flat, oval-shaped |
| Color | Black or white | Brown or golden |
| Taste | Neutral | Earthy, nutty |
| Texture | Hard and crunchy when raw, pudding-like when wet | Hard and crunchy when raw, jelly-like and gritty when wet |
| Cost | $0.40-$1.10/oz | $0.20-$0.80/oz |
Taste
Chia seeds have a relatively neutral taste, while flax seeds have a more earthy and nutty flavor.
Texture
Raw chia and flax seeds have a hard and crunchy texture. However, once wet, chia seeds create a thick “pudding” or “jelly” consistency, as they absorb up to 12 times their weight in water (8). Flax seeds also have gelling properties when exposed to liquid; however, they remain grittier than chia seeds.
Cost
Flax seeds are generally cheaper than chia seeds. Flax seeds range from $0.20 to $0.80 per ounce, while chia seeds range from $0.40 to $1.10 per ounce (9, 10).
Is it better to consume chia and flax seeds whole or ground?
For maximum nutrient absorption, it is best to consume chia seeds and flax seeds ground or soaked (11, 12). Due to their hard shell, both whole flax seed and chia seeds can pass through the digestive system intact, forcing the body to miss out on their essential nutrients.
Chia seeds are best consumed soaked or ground, while flax seeds are best consumed ground. Although you can grind your own using a coffee grinder, you can also purchase ground chia seeds and ground flax seeds (also known as flax meal) in most major grocery stores.
For a longer shelf life, it is best to store whole and ground chia and flax seeds in airtight containers in a dark pantry, fridge, or freezer.
So, which is healthier?
Overall, flax seeds and chia seeds are nutrient-dense foods with different strengths. While chia seeds are higher in fiber and calcium, flax seeds contain slightly more protein and are higher in healthy fats.
Both are healthy, whole foods that can help to increase fiber intake and improve digestive health and heart health. The “healthiest” or “best” option depends on personal preference, use, and health goals.
How to Use Chia Seeds and Flax Seeds
Here are some examples of the ways to eat chia and flax seeds
- Sprinkle chia seeds on top of your yogurt.
- Blend flax seeds into smoothies.
- Mix chia seeds with frozen berries to make chia jam.
- Add flax meal to your oatmeal.
- Soak chia seeds in milk to make chia pudding.
- Turn flax seeds into a flax egg and use it as an egg substitute in baked goods.
- Use ground flaxseed to thicken sauces.

The Bottom Line
While similar, the key differences between chia seeds and flax seeds are their size, shape, and nutrient profiles. Chia seeds are smaller, lower in calories, and higher in fiber, while flax seeds are slightly larger, higher in healthy fats, and lower in carbohydrates. Adding chia seeds and flax seeds to your meals can help to support a balanced diet, heart health, and digestion.