Concerned about the amount of sodium in your diet? You’re not alone. While this mineral is essential to health, excessive sodium can lead to a range of health issues. So here are some practical tips on how to reduce sodium intake to help ensure you’re consuming a heart-healthy diet.
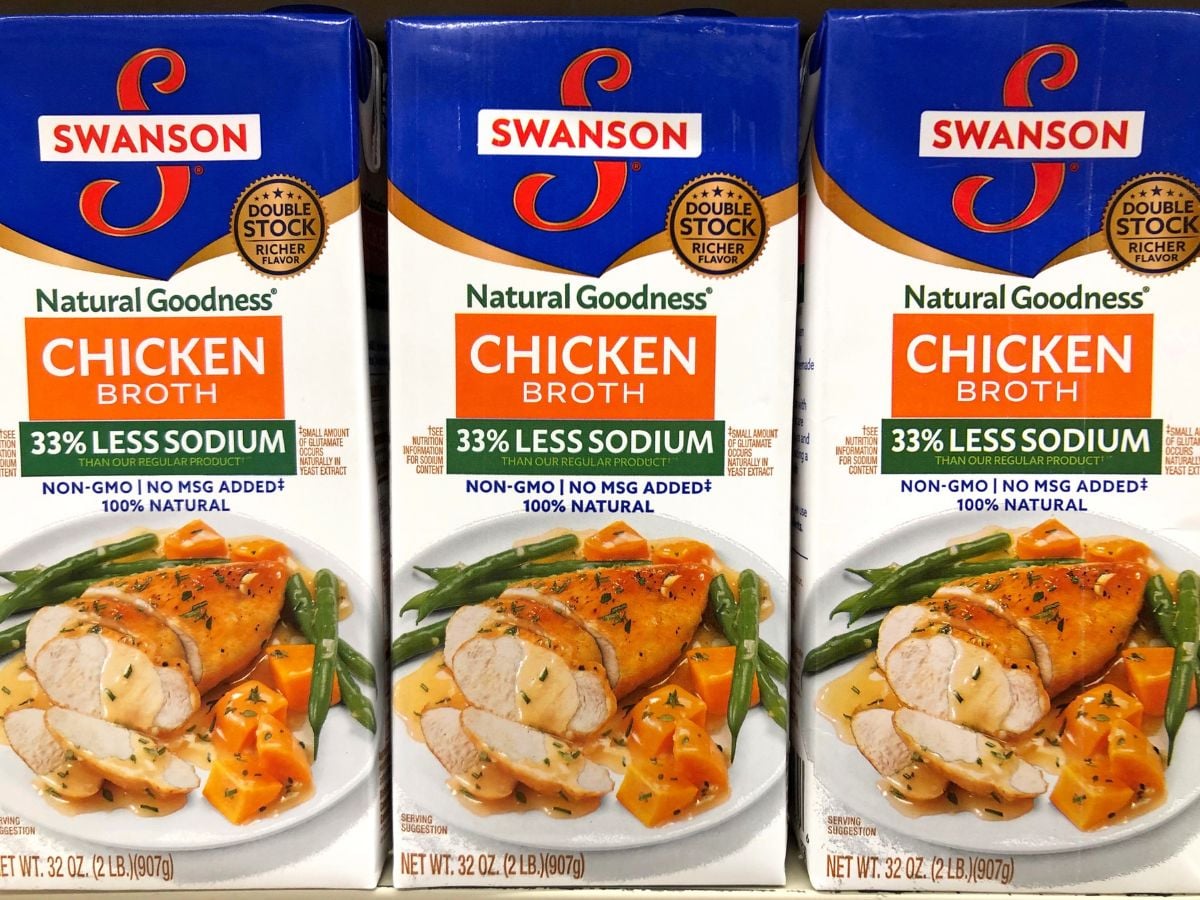
Table of contents
- Tips to Reduce Sodium Intake
- 1. Prioritize whole foods.
- 2. Cook your own meals.
- 3. Read food labels.
- 4. Use fresh or frozen meat.
- 5. Use low-sodium options.
- 6. Season with herbs and spices.
- 7. Select condiments with care.
- 8. Drain and rinse canned beans and vegetables.
- 9. Don’t overdo electrolyte supplements.
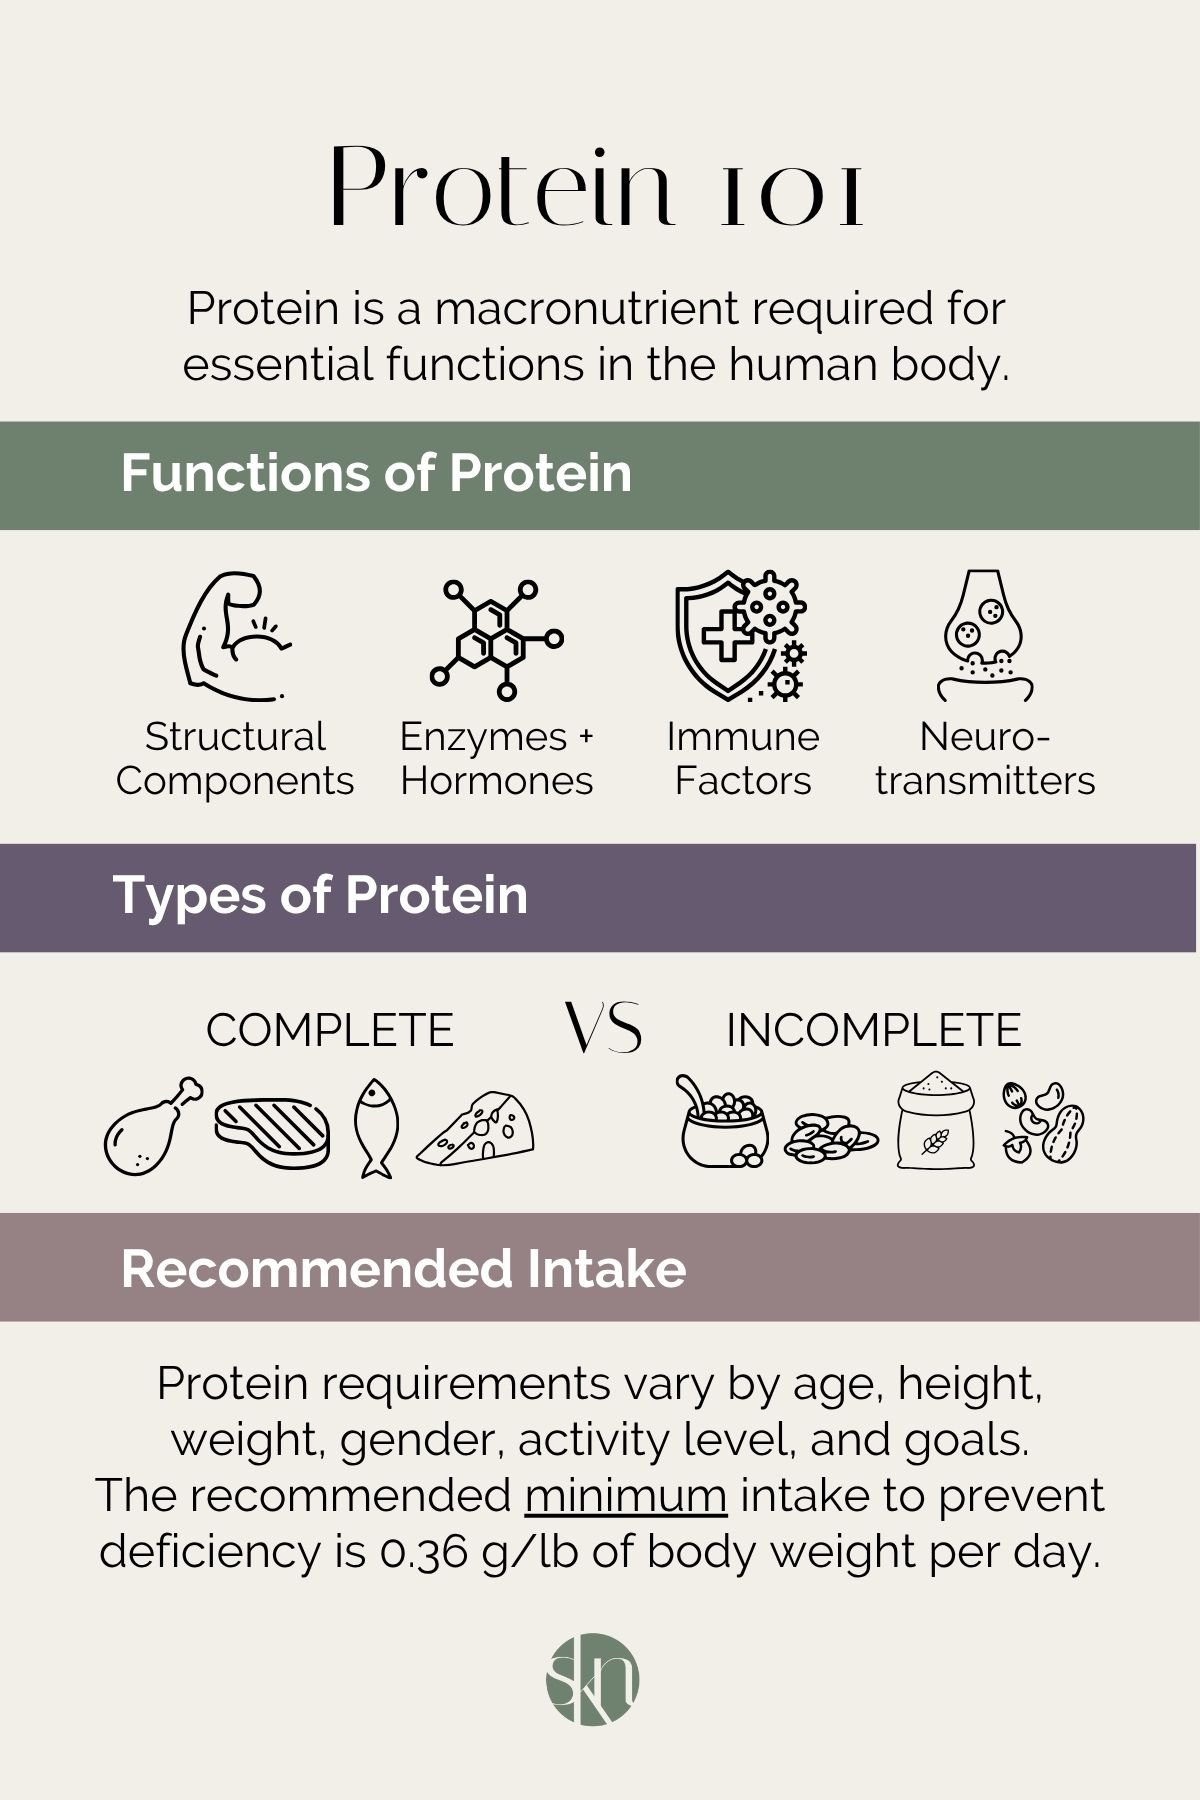
Sodium is a mineral, electrolyte, and essential micronutrient. Also known as sodium chloride (NaCl), it plays numerous critical roles in the human body, including maintaining normal cellular homeostasis, regulating fluids, electrolyte balance, and blood pressure, as well as nerve and muscle function (1, 2).
Exactly how much sodium you need per day will vary slightly by individual; however, the recommended daily intake of sodium is 2,300 mg per day for adults and children 14 years and older, which is equivalent to roughly 1 teaspoon of table salt (3).
While sodium is essential to life, too much sodium can be dangerous and be a major risk factor for high blood pressure, heart disease, stroke, kidney disease, and more (4).
Tips to Reduce Sodium Intake
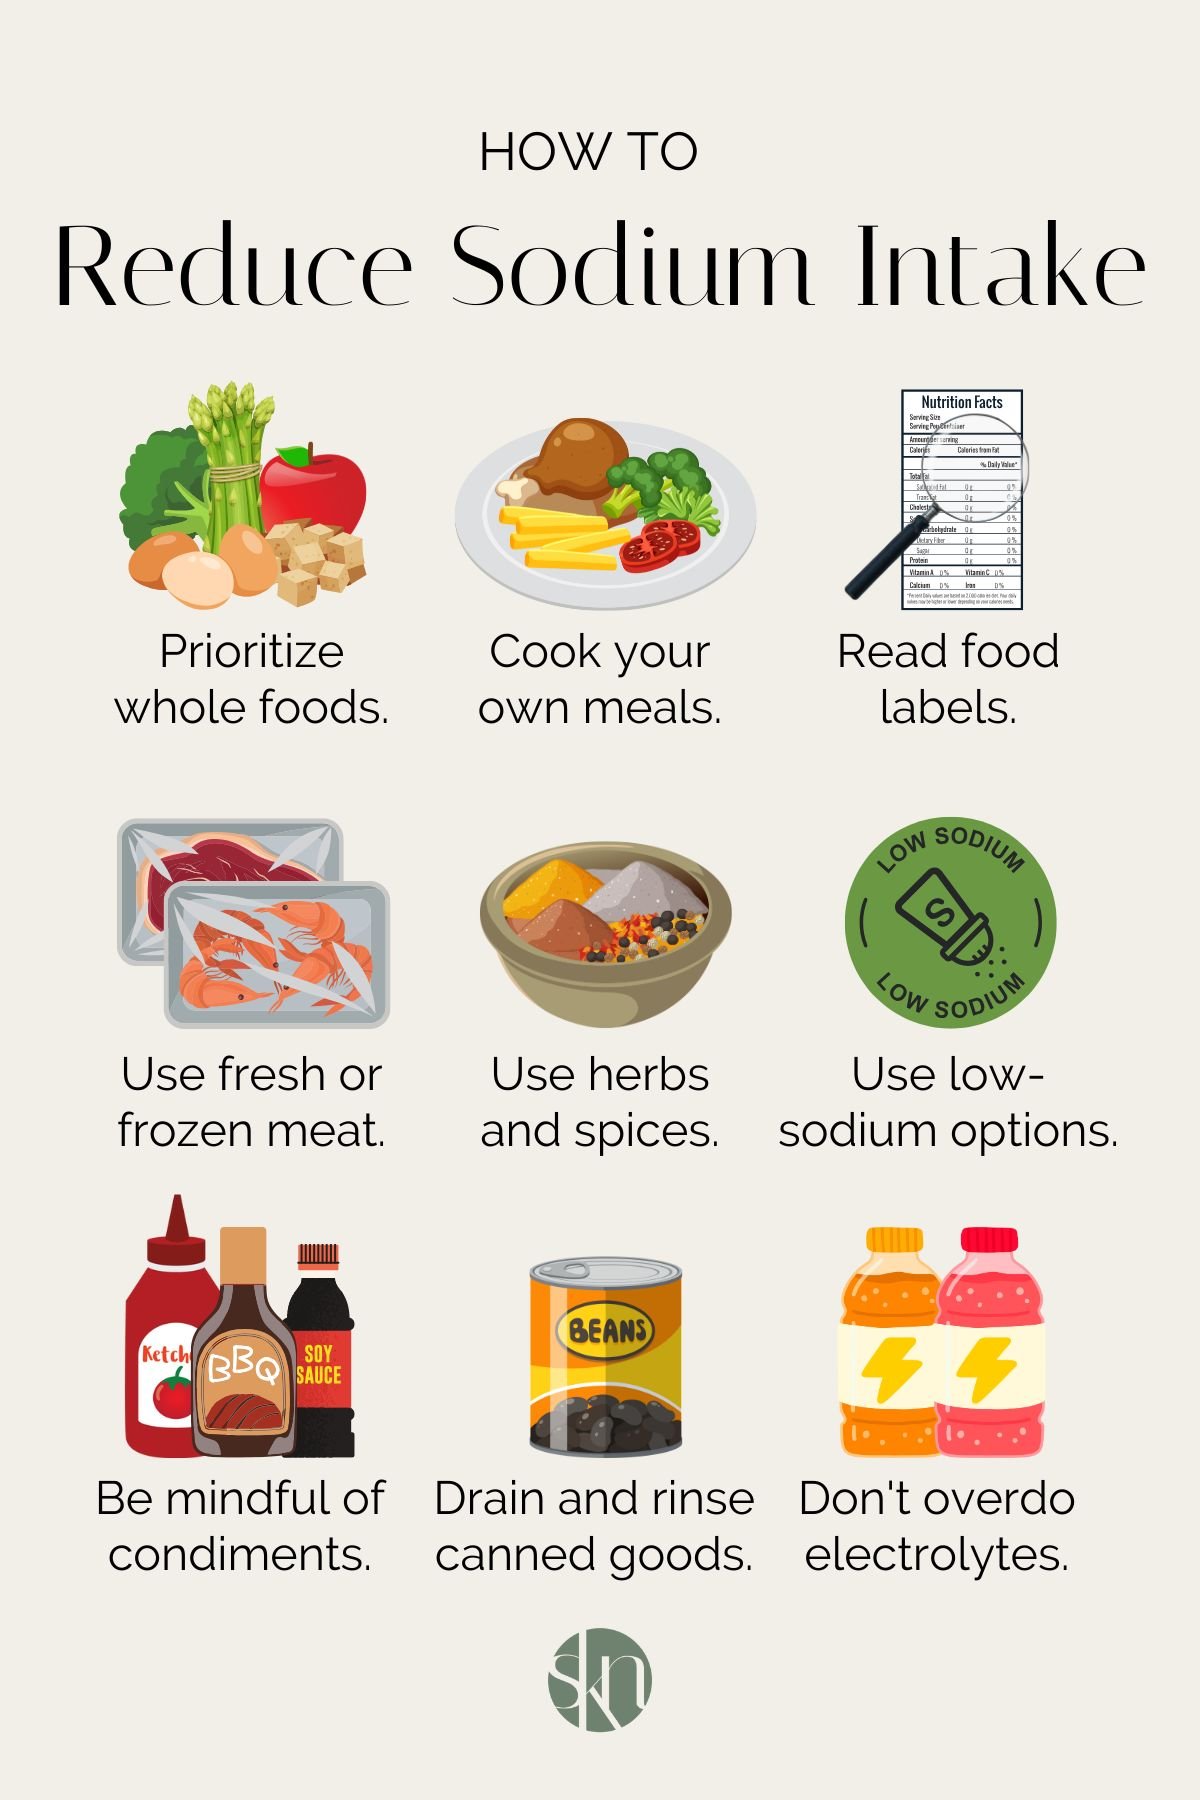
Here are 9 tips to help you reduce your sodium intake.
1. Prioritize whole foods.
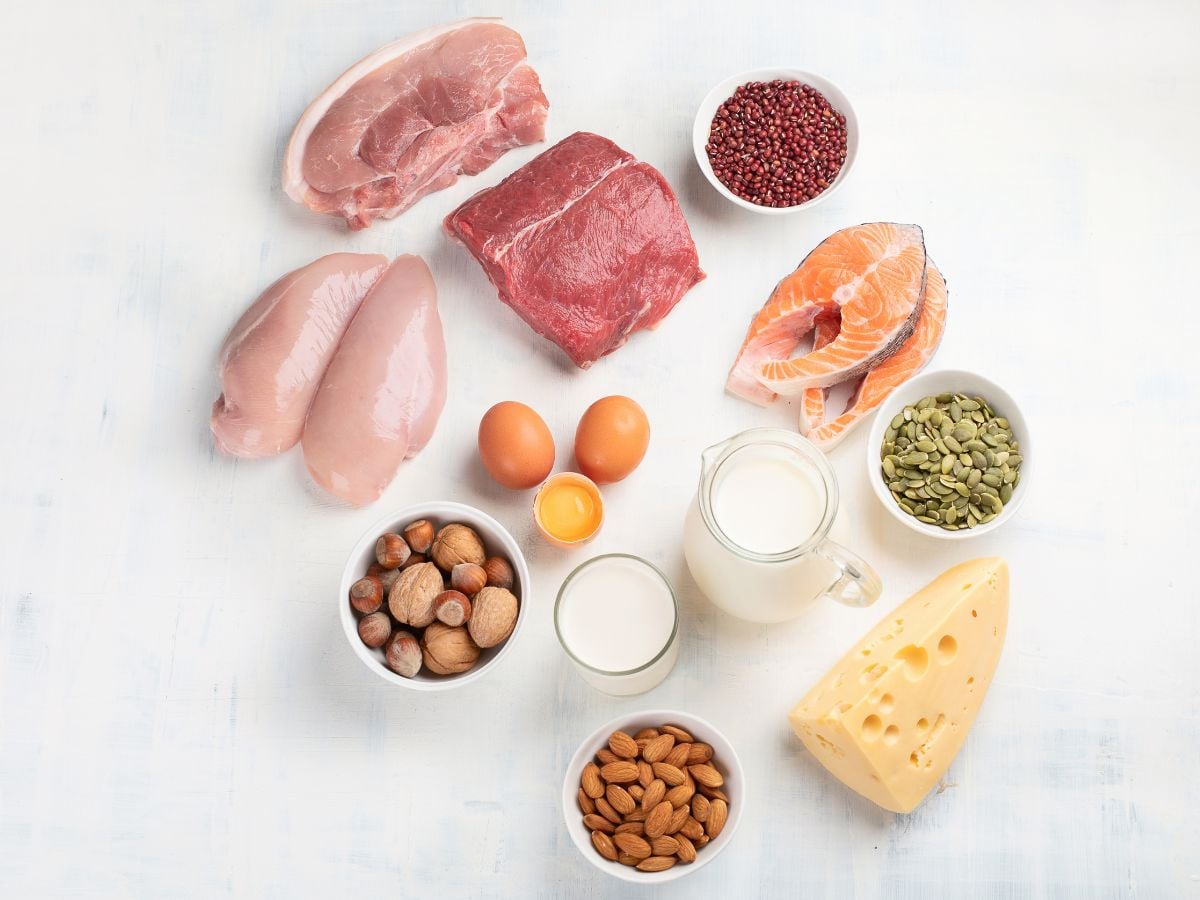
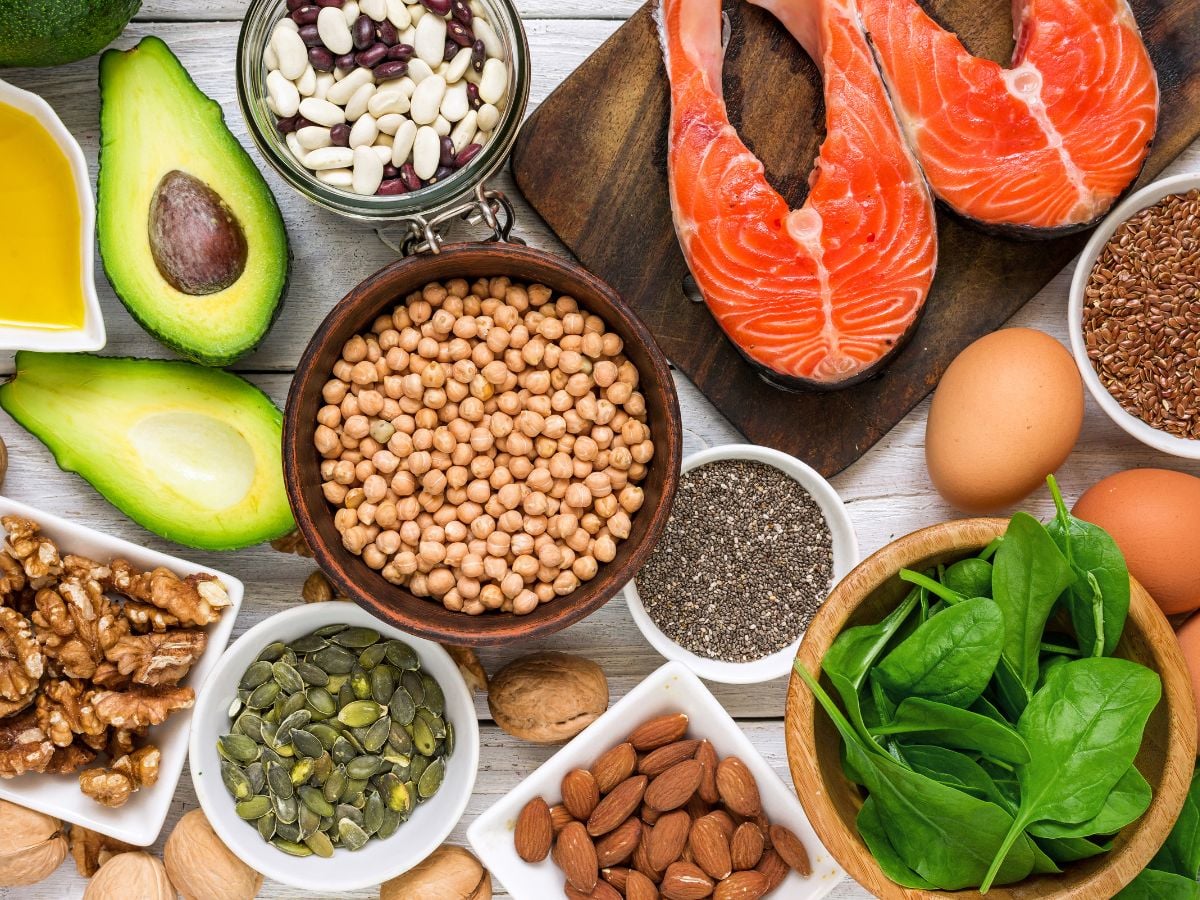
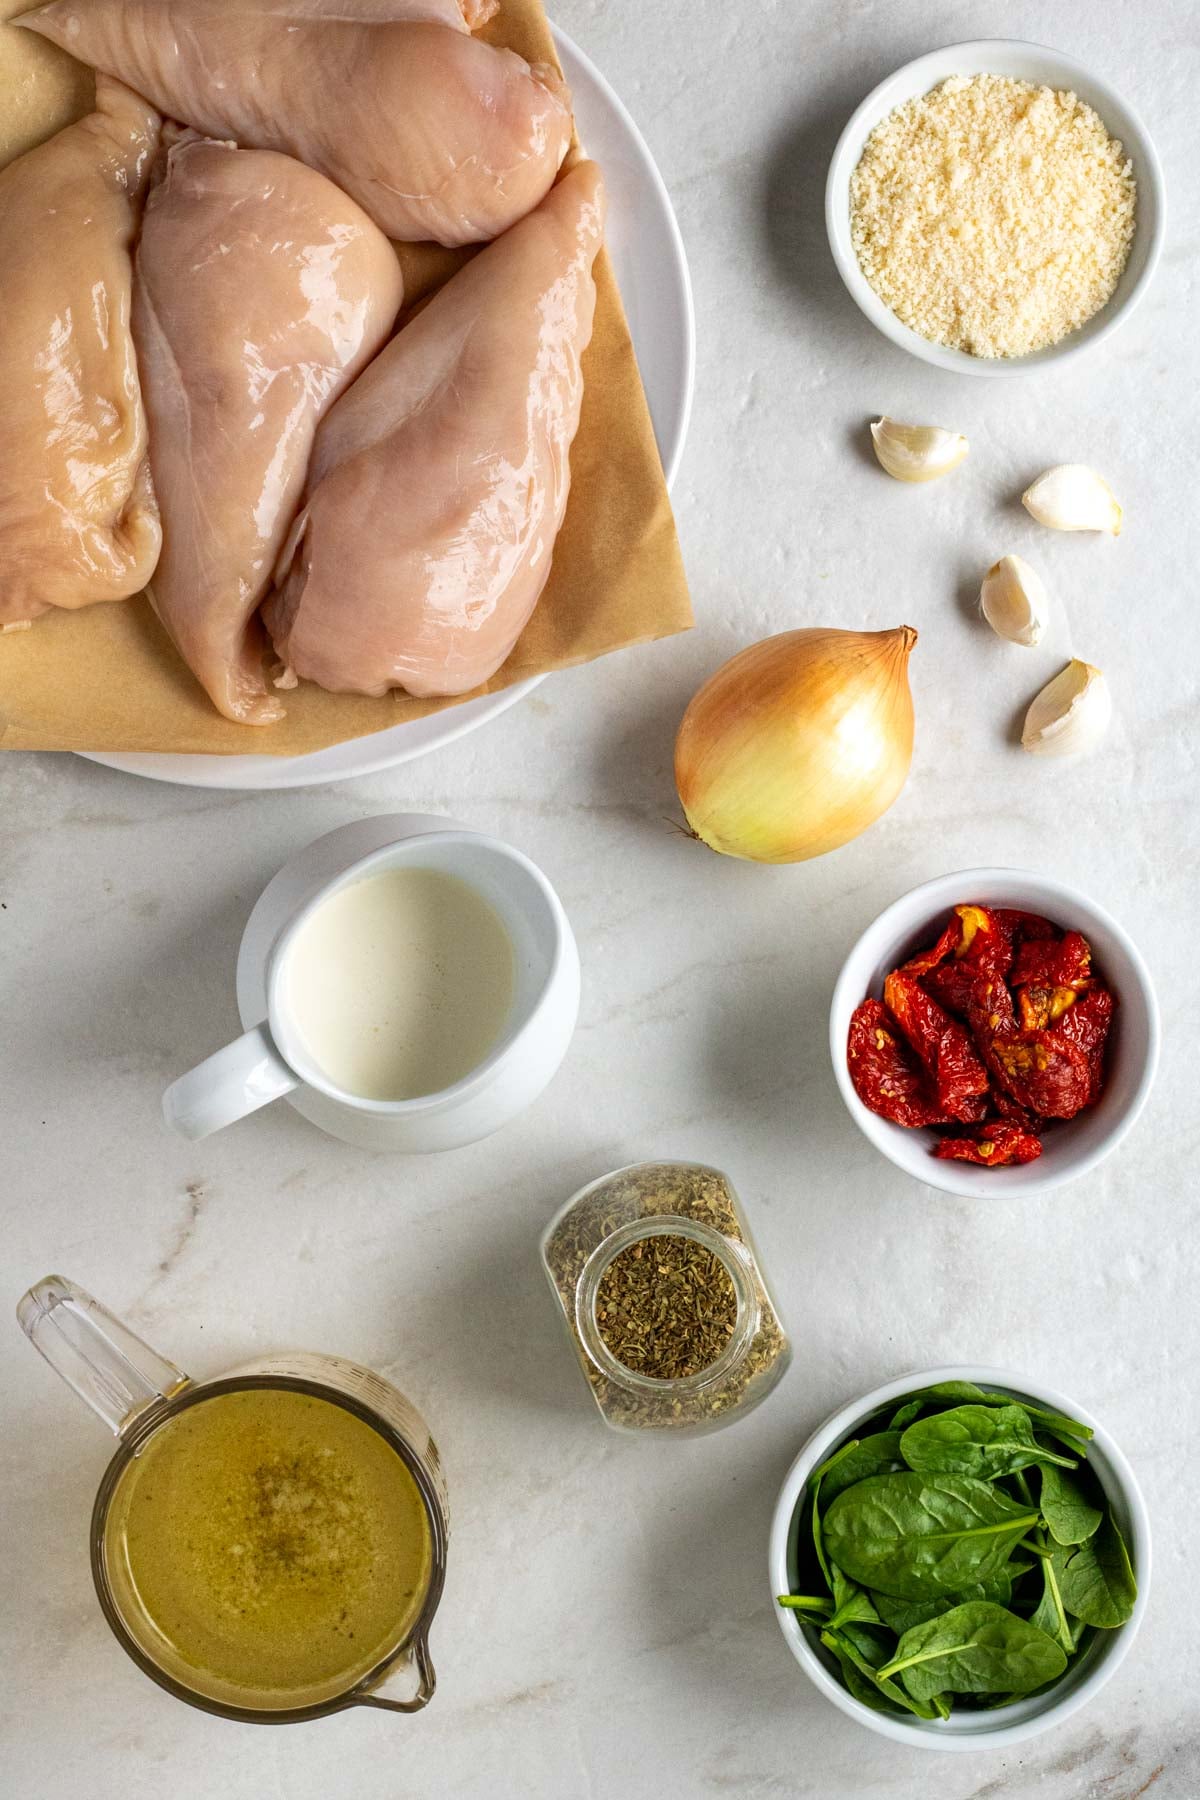
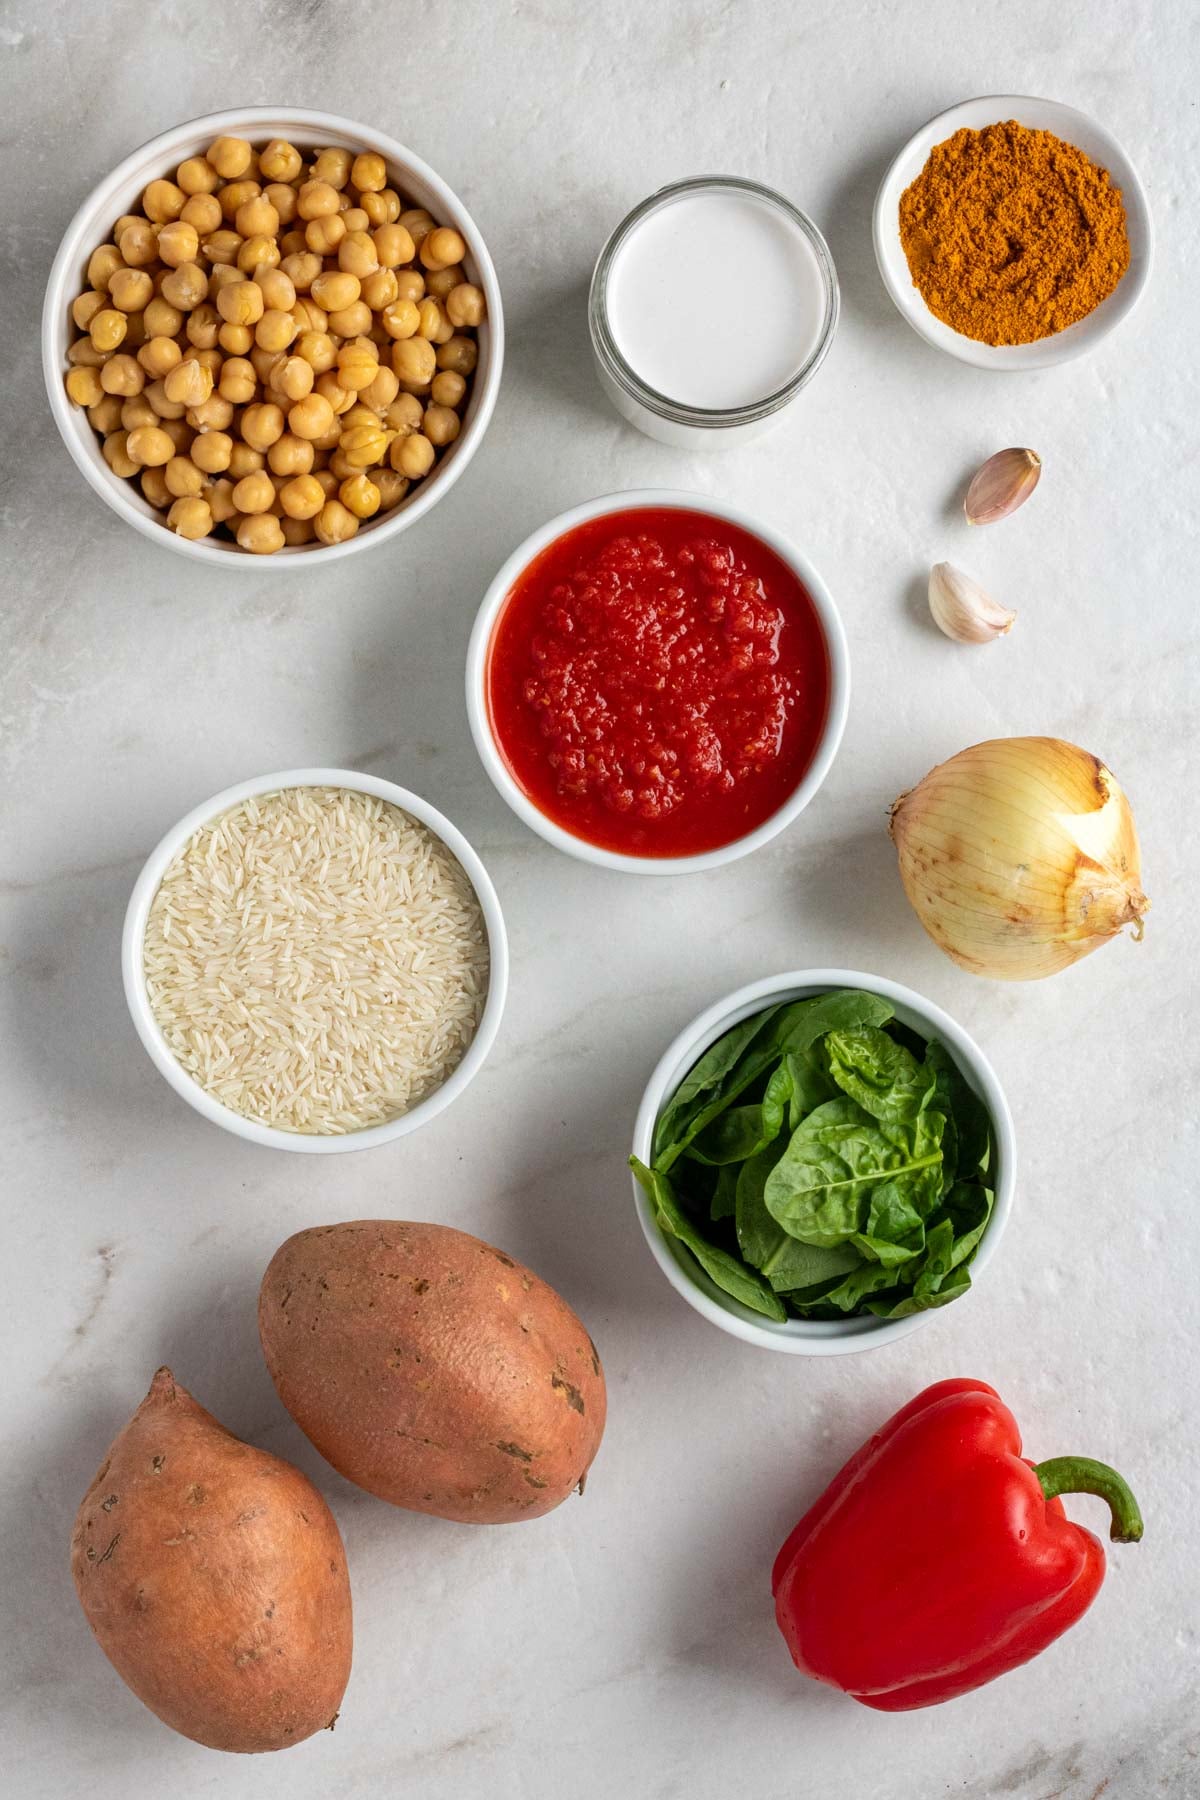
Eating more whole foods is one of the easiest ways to reduce sodium intake, as most of the sodium in the modern diet comes from processed foods (5). Fresh foods, such as fruits, vegetables, whole grains, legumes, nuts, seeds, eggs, dairy, poultry, seafood, and meat, are naturally low in sodium.
Reaching for more whole foods can also improve the overall quality of the diet by increasing vitamin and mineral intake and reducing the consumption of excess calories, added sugars, and saturated fat.
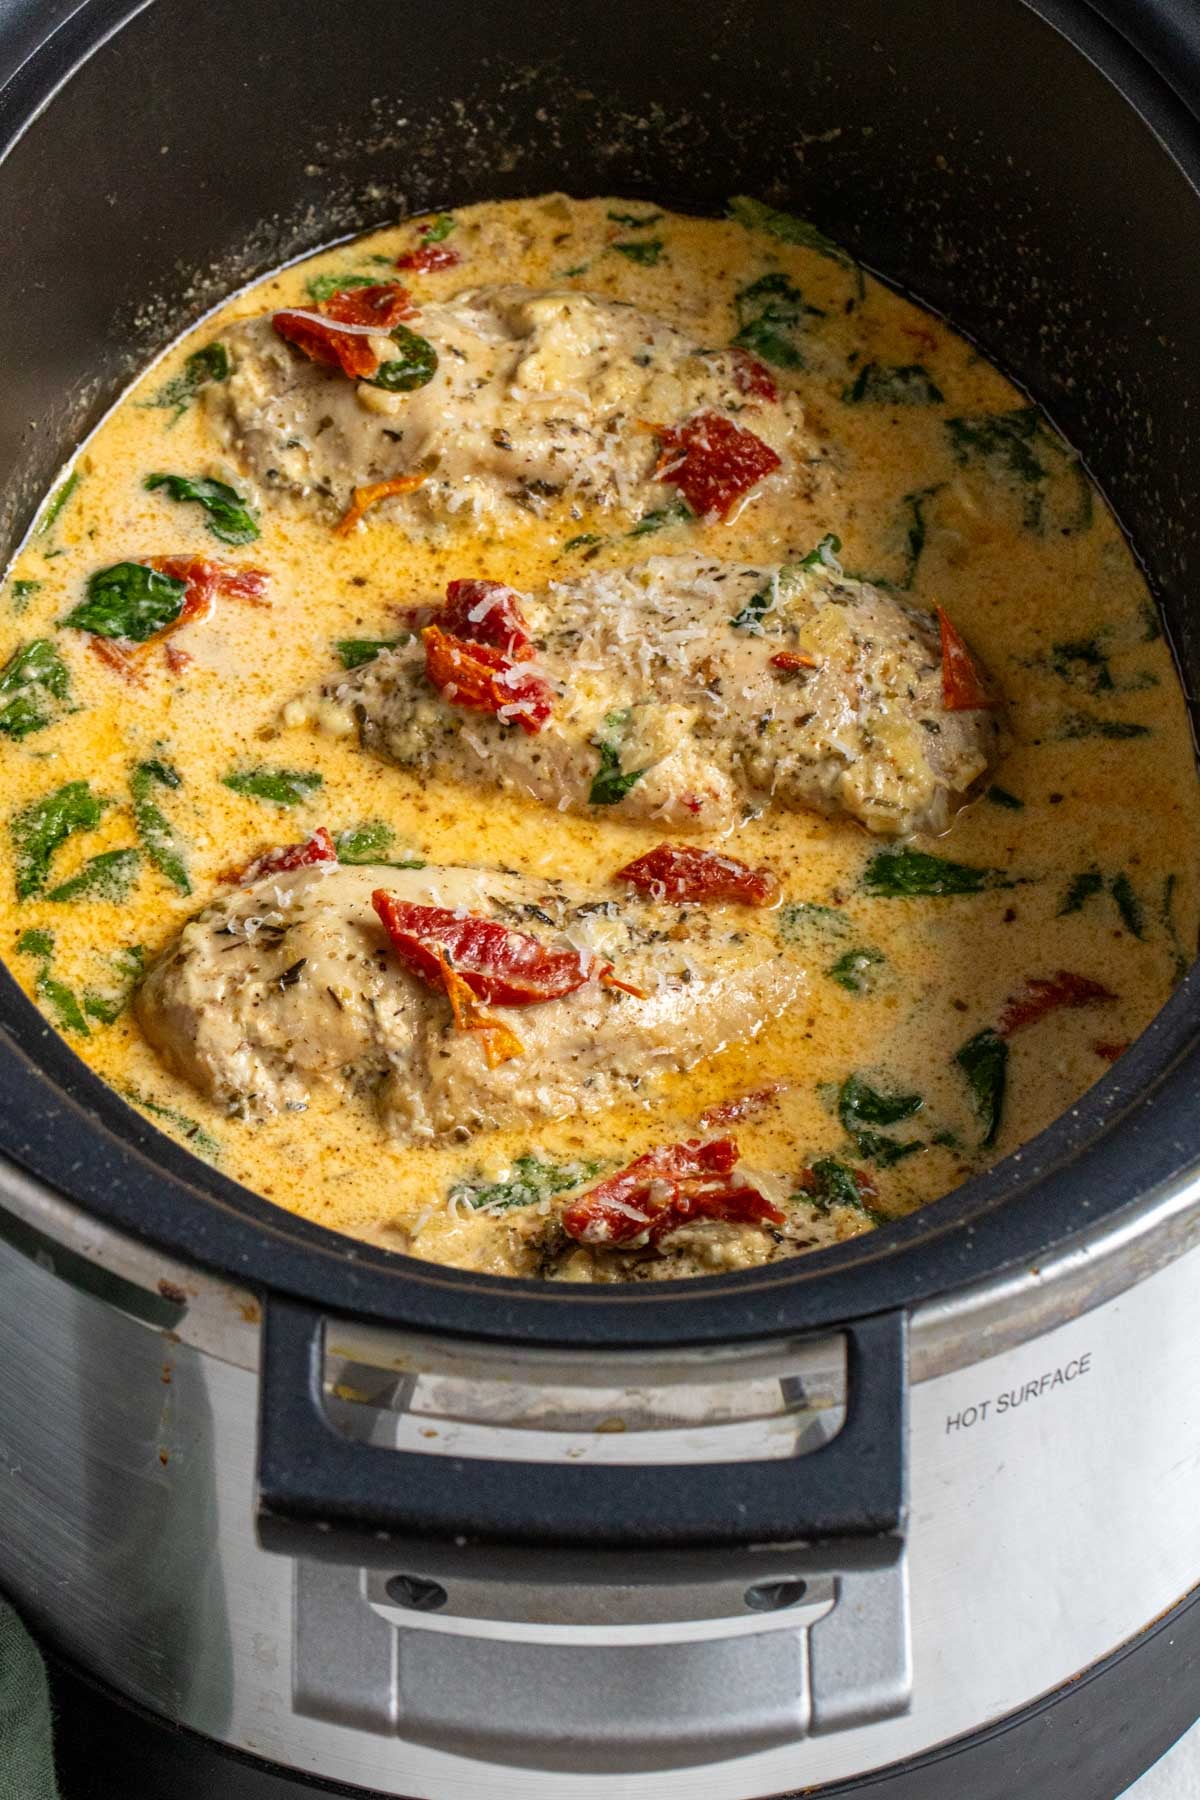
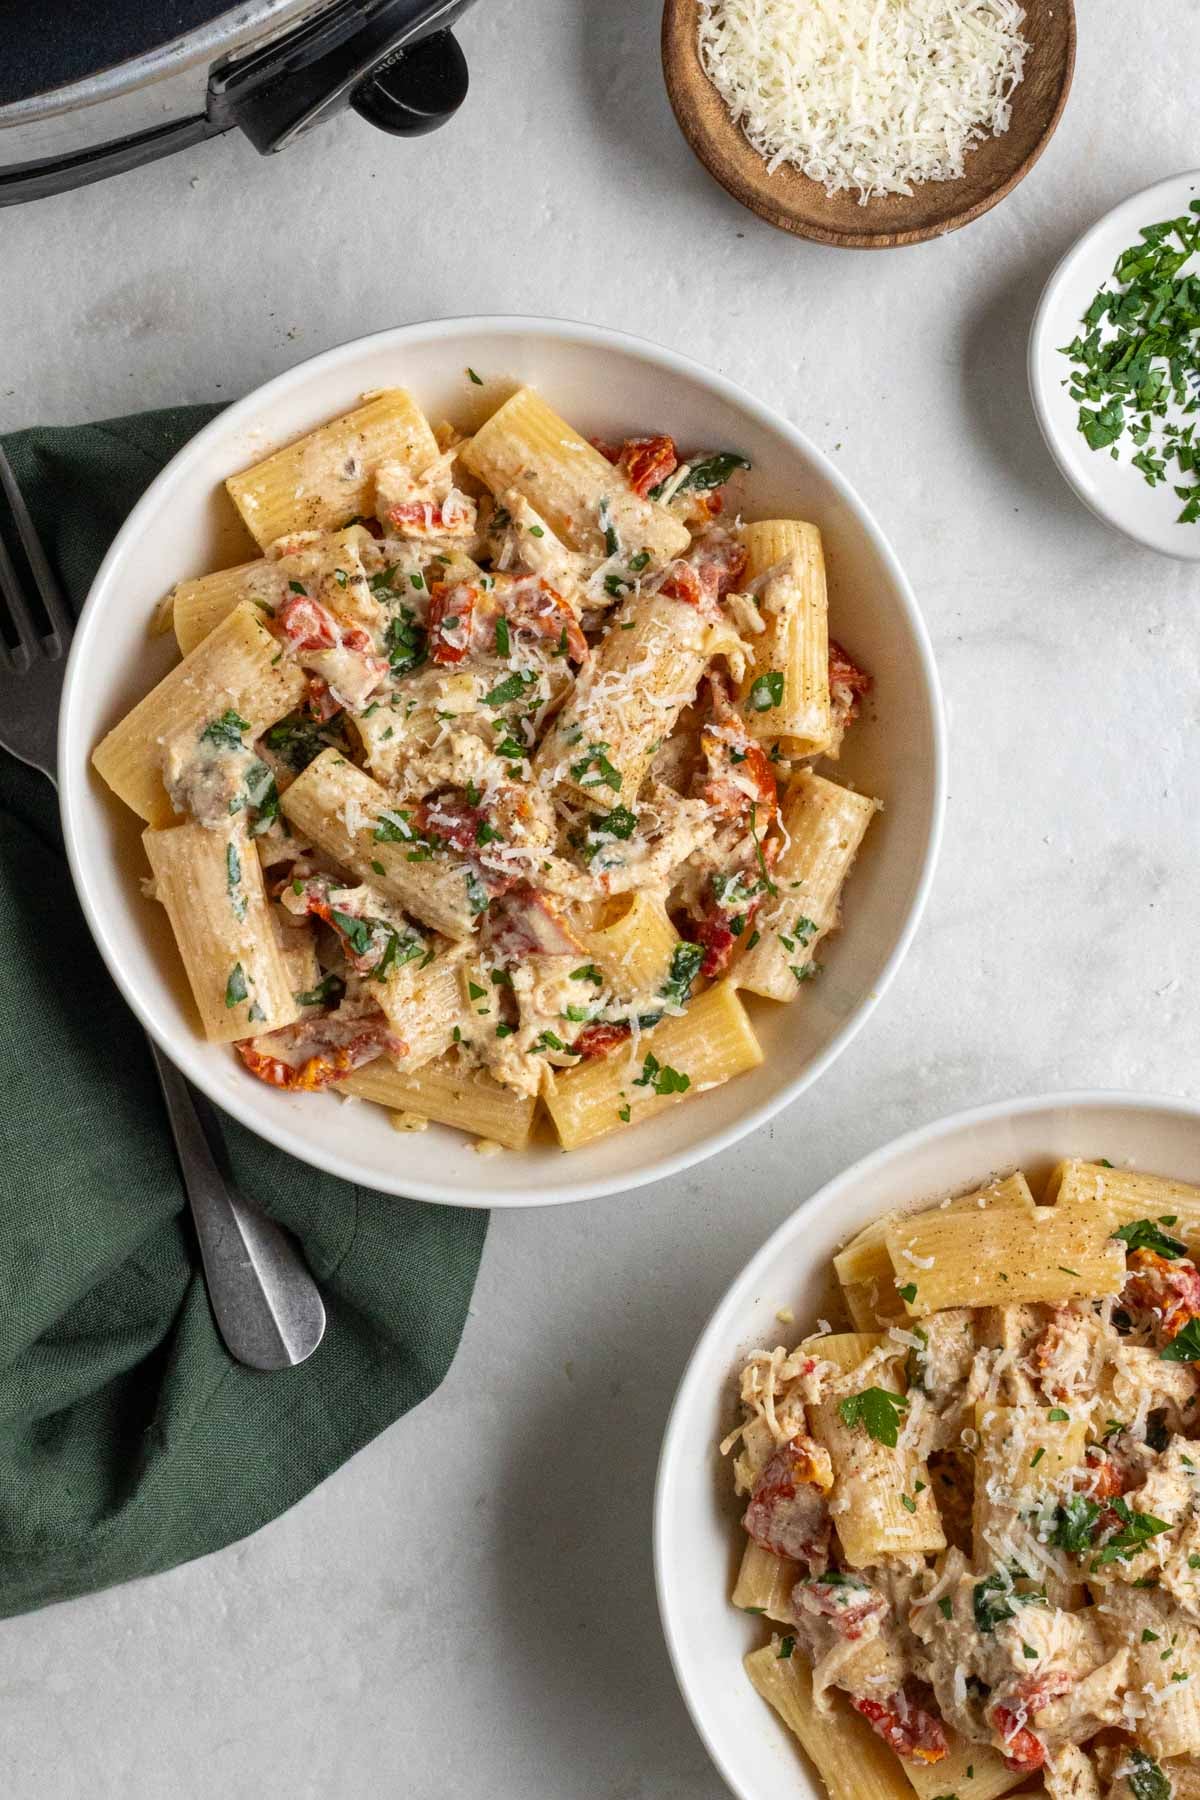
2. Cook your own meals.
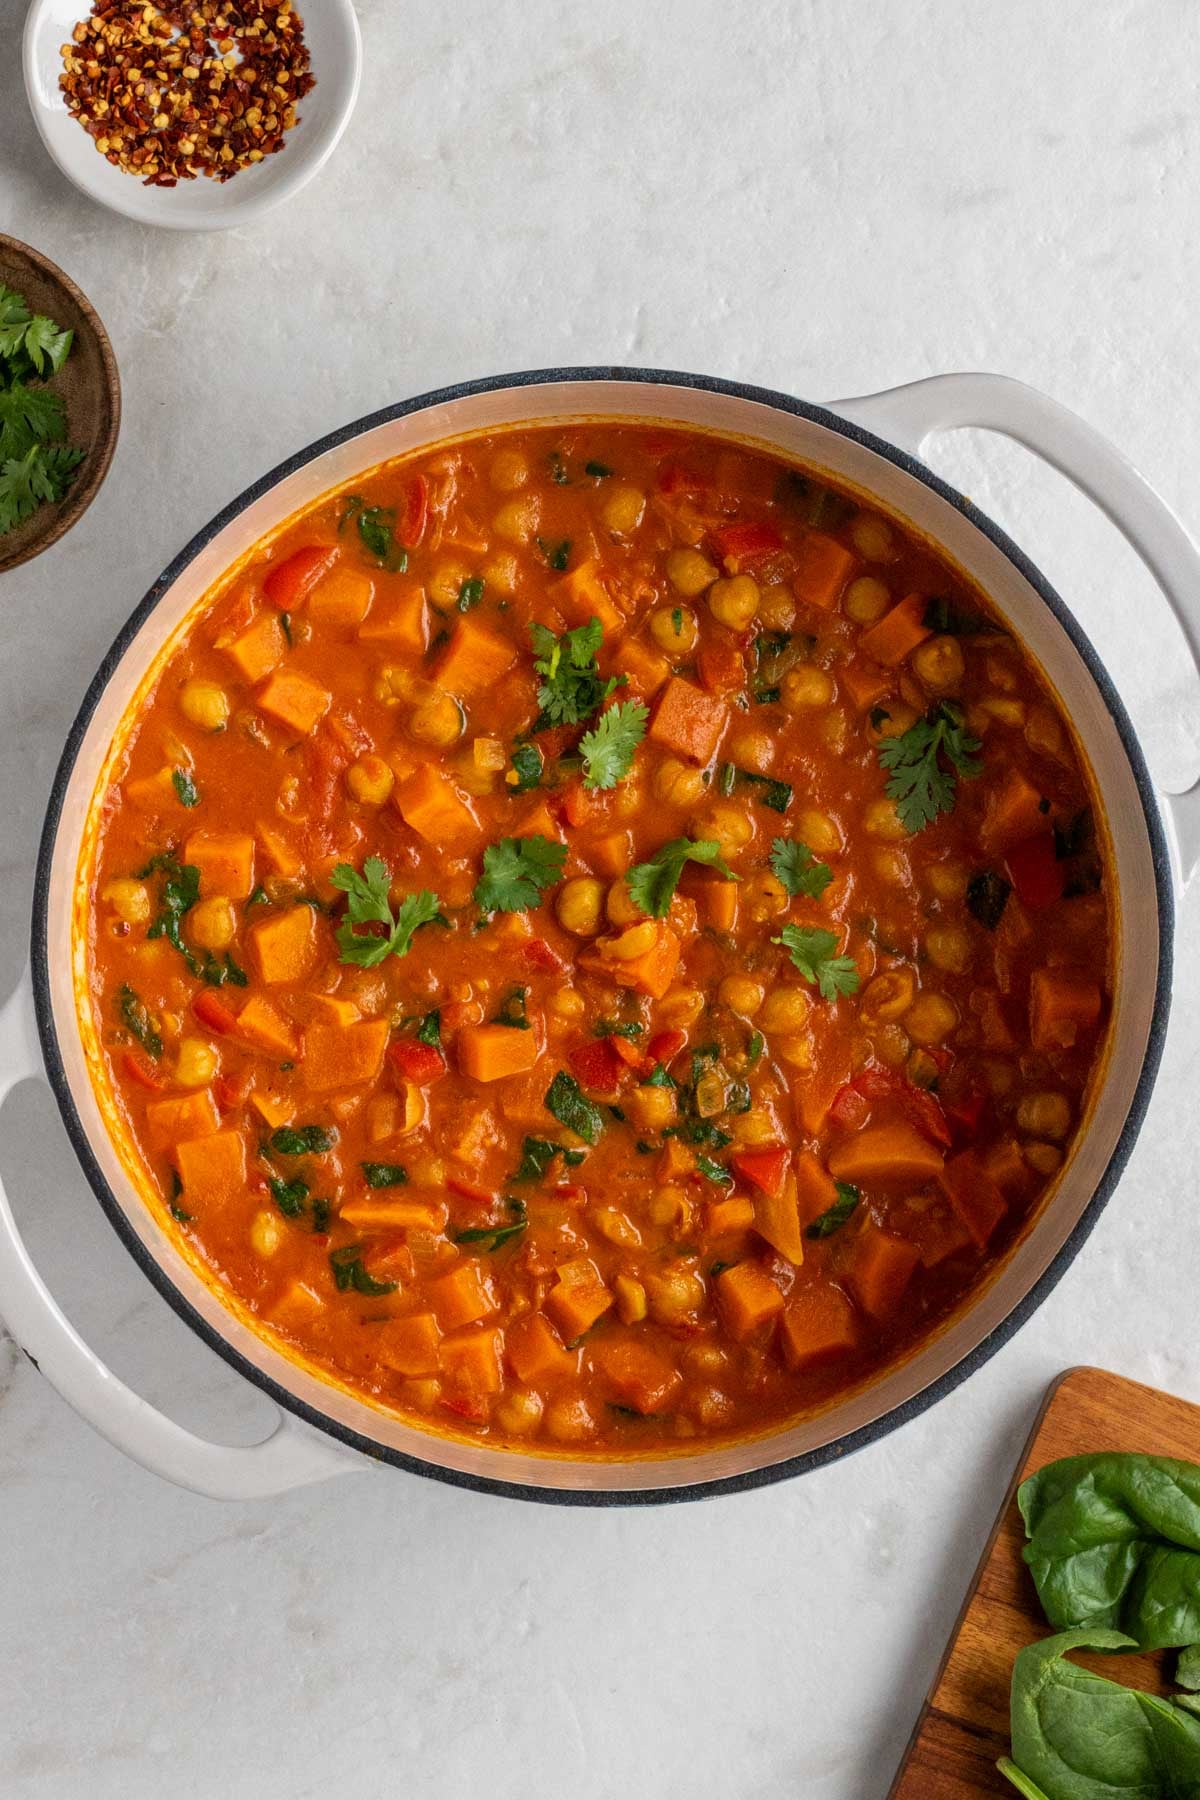
Cooking your own meals can help to significantly reduce sodium intake, as you can control all of the ingredients and seasonings. Commercially packaged and prepared foods, including those prepared at restaurants, account for over 70% of the sodium intake in the Standard American diet (5).
By cooking your own meals, you can decide exactly how much salt is added to the recipe, as well as opt for low-sodium foods and products and control portions as needed.
3. Read food labels.
Reading food labels when purchasing processed or prepared foods can further help to reduce sodium consumption. Reviewing the sodium content on the nutrition information panel can help you determine exactly how much sodium the item contains, and opt for a lower-sodium option if needed.
The nutrition facts label on a food product indicates the sodium content in milligrams (mg) per serving and as a percentage of the Daily Value (%DV). As a general dietary guideline, 5% DV or less of sodium per serving is considered low, and 20% DV or more of sodium per serving is considered high (5).
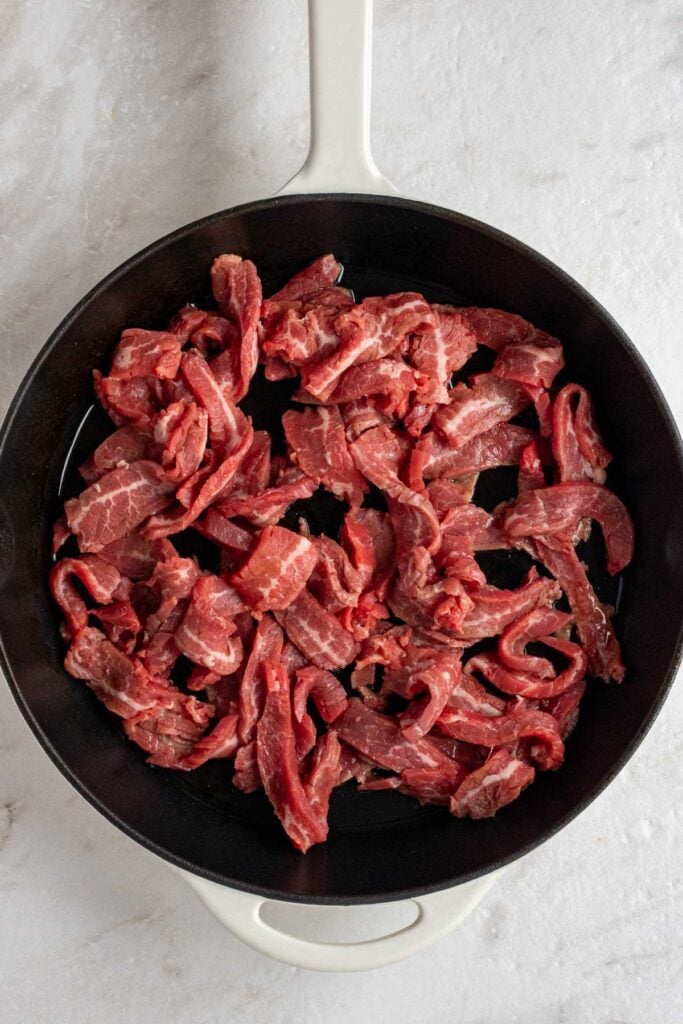
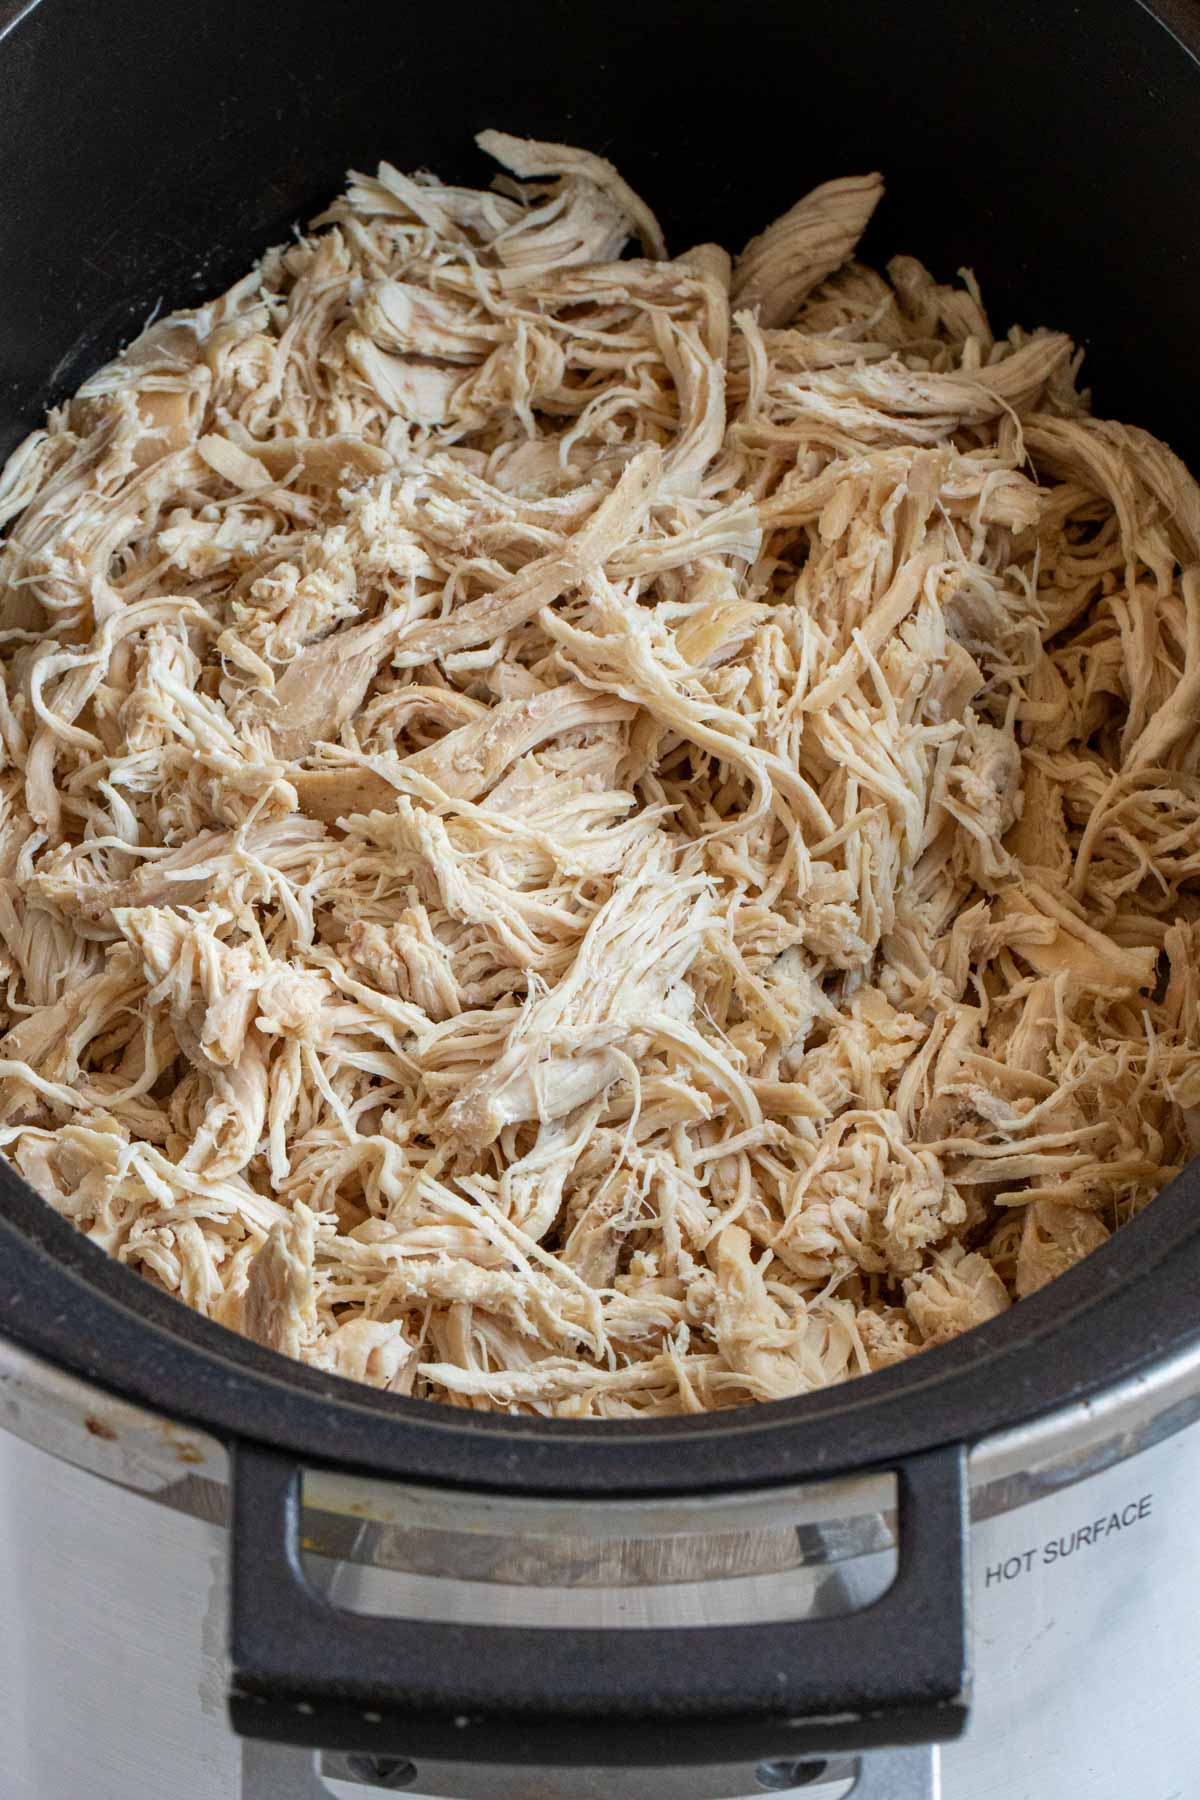
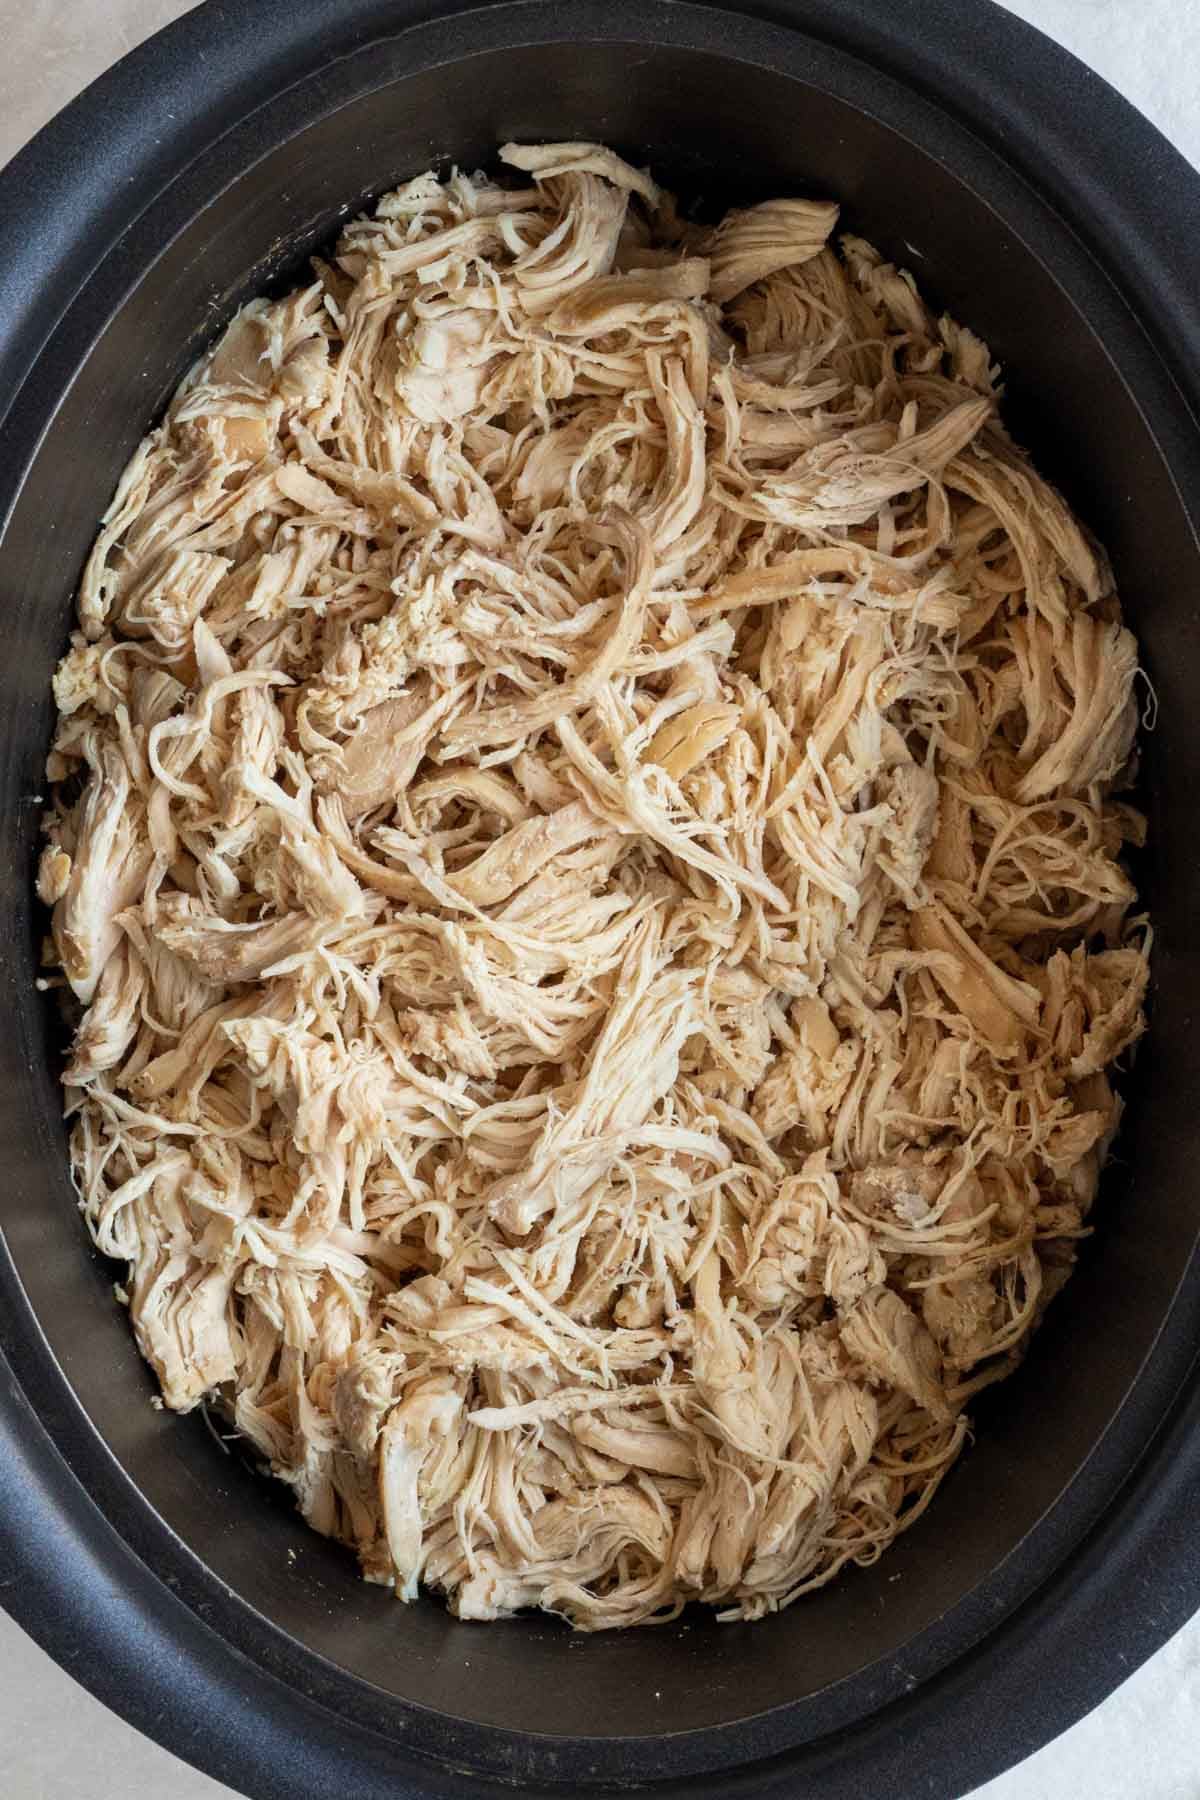
4. Use fresh or frozen meat.
Whenever possible, use fresh or frozen meat rather than cured, salted, smoked, and other processed meats. While there is nothing inherently unhealthy about cured, salted, or smoked meats for the average person, if you are trying to reduce your sodium intake or follow a low-sodium diet, these foods are best limited or avoided as they have a higher sodium content.
Instead, opt for fresh or frozen lean meats such as chicken, turkey, fish, and lean cuts of beef, pork, and lamb, such as sirloin steak or pork tenderloin.
5. Use low-sodium options.
Comparing the sodium content on different brands and products, and choosing packaged foods labeled “low sodium,” “reduced sodium,” or “no salt added” when available, can also help control your overall sodium intake.
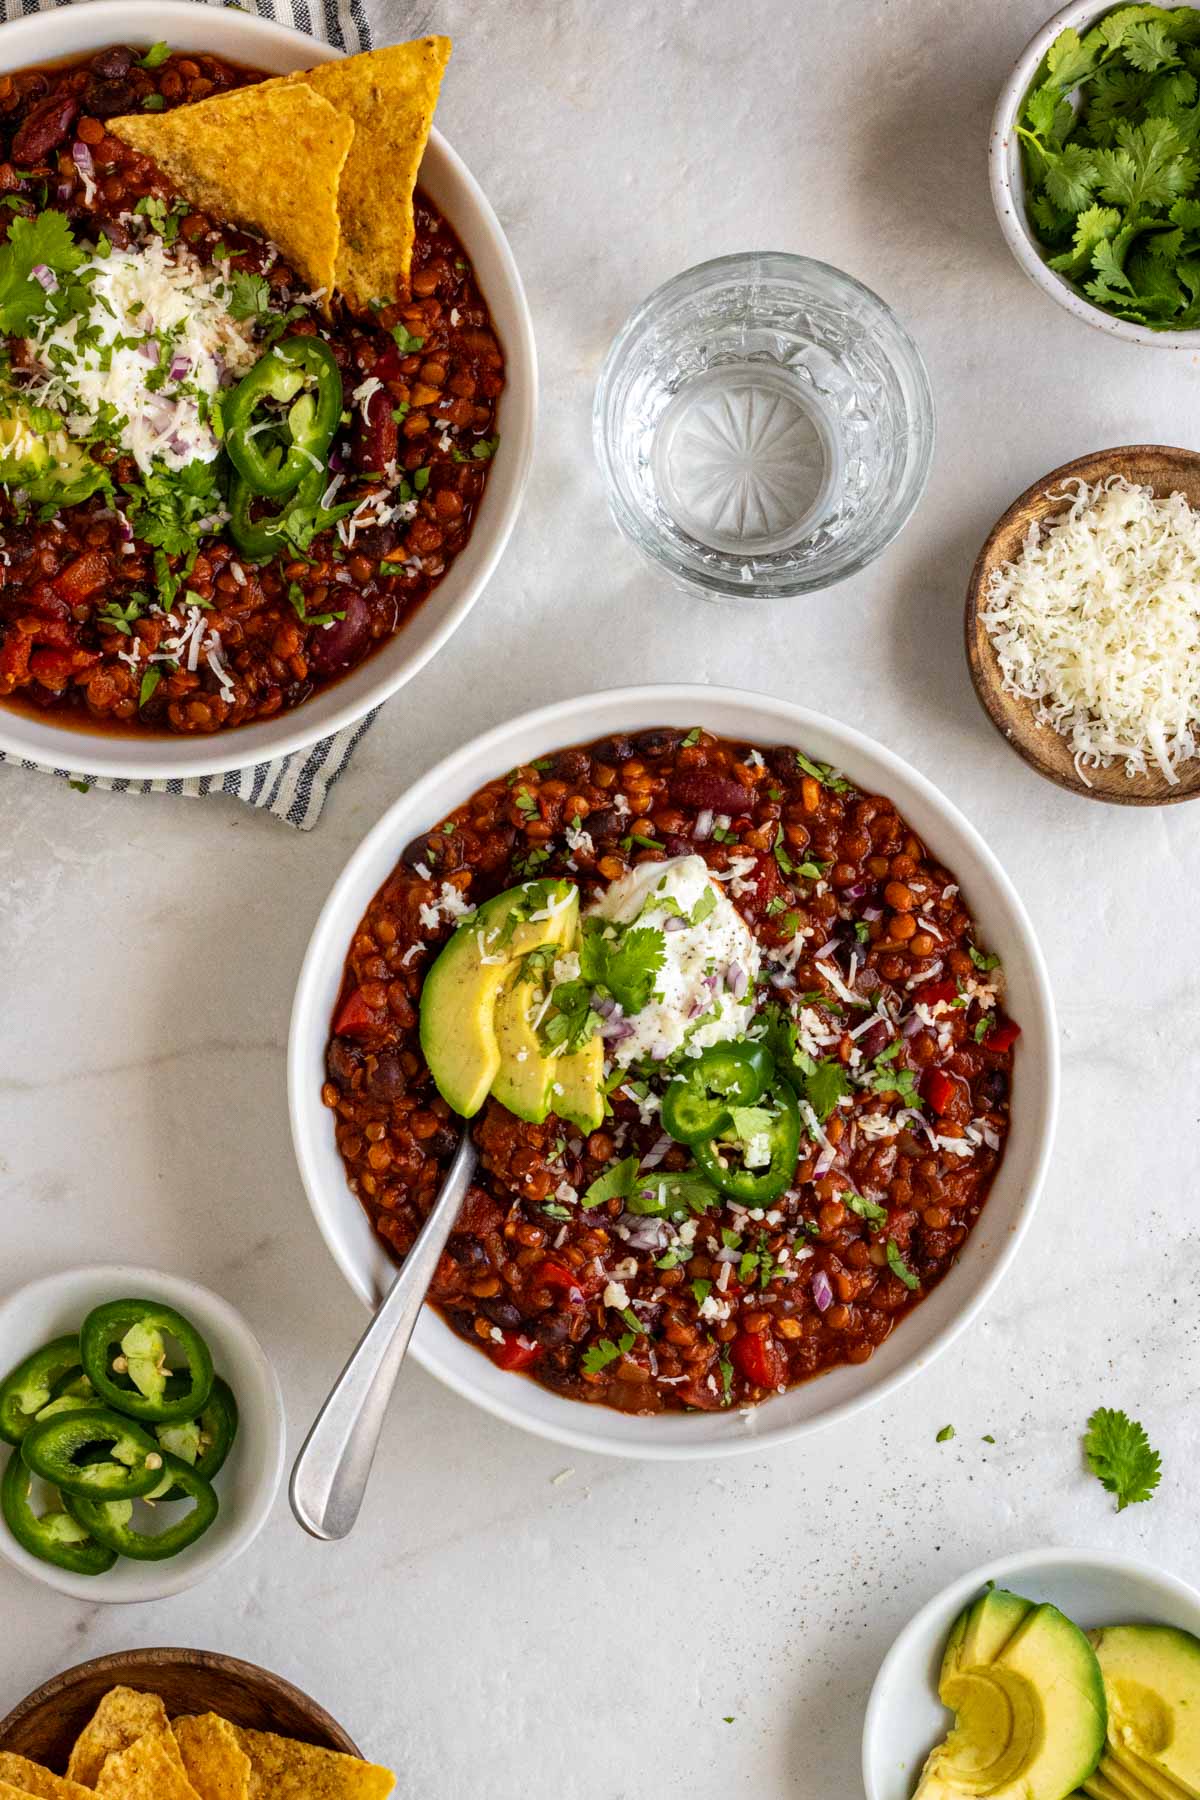
While processed foods with a high sodium content can be included in a healthy diet, when consumed in excess or collectively, they can add up over time. Opting for low-sodium versions of broth, canned vegetables, beans, and lentils can help mitigate total sodium intake.
6. Season with herbs and spices.
Seasoning foods with herbs and spices is a great way to add flavor to meals without adding sodium. The ingredients can provide depth, brightness, and aroma to dishes without the salt shaker.
Using fresh basil, mint, parsley, or dill; dried onion, garlic, ginger, oregano, paprika, or cumin; and salt-free seasoning blends can easily and inexpensively add flavor to fish, meat, soups, stews, sauces, and casseroles.
7. Select condiments with care.
Along with ultra-processed foods, condiments significantly contribute to sodium intake in the standard American diet and are often overlooked. Some of the most popular condiments with high sodium contents include salad dressings, ketchup, soy sauce, teriyaki sauce, pre-made sauces, and gravy.
Although these condiments can certainly be included in a healthy diet in moderate amounts, their cumulative or excess consumption can “push” sodium intake beyond recommended limits. Therefore, it’s best to be mindful of their frequency of use and portion size, and opt for low-sodium condiments, such as vinegar, mustard, pesto, tzatziki, and salsa, when possible.
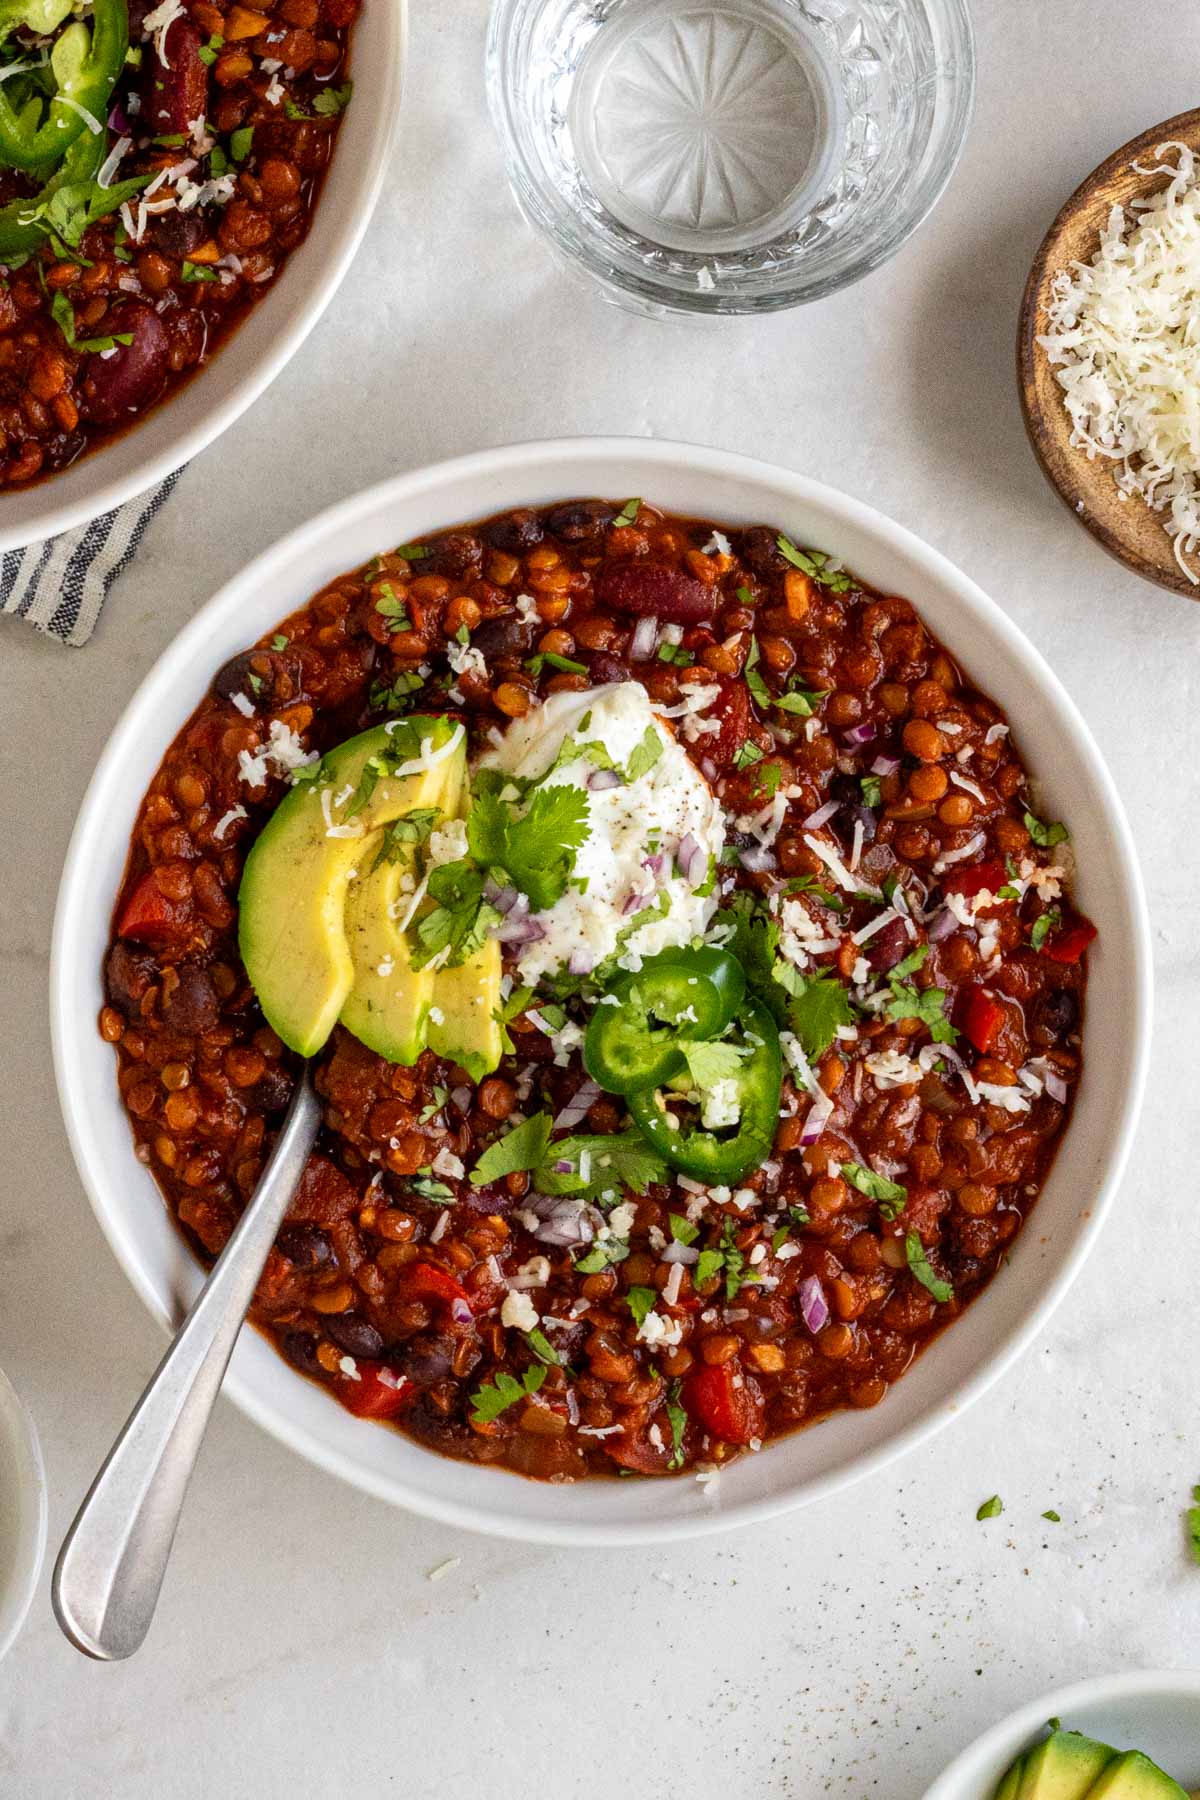
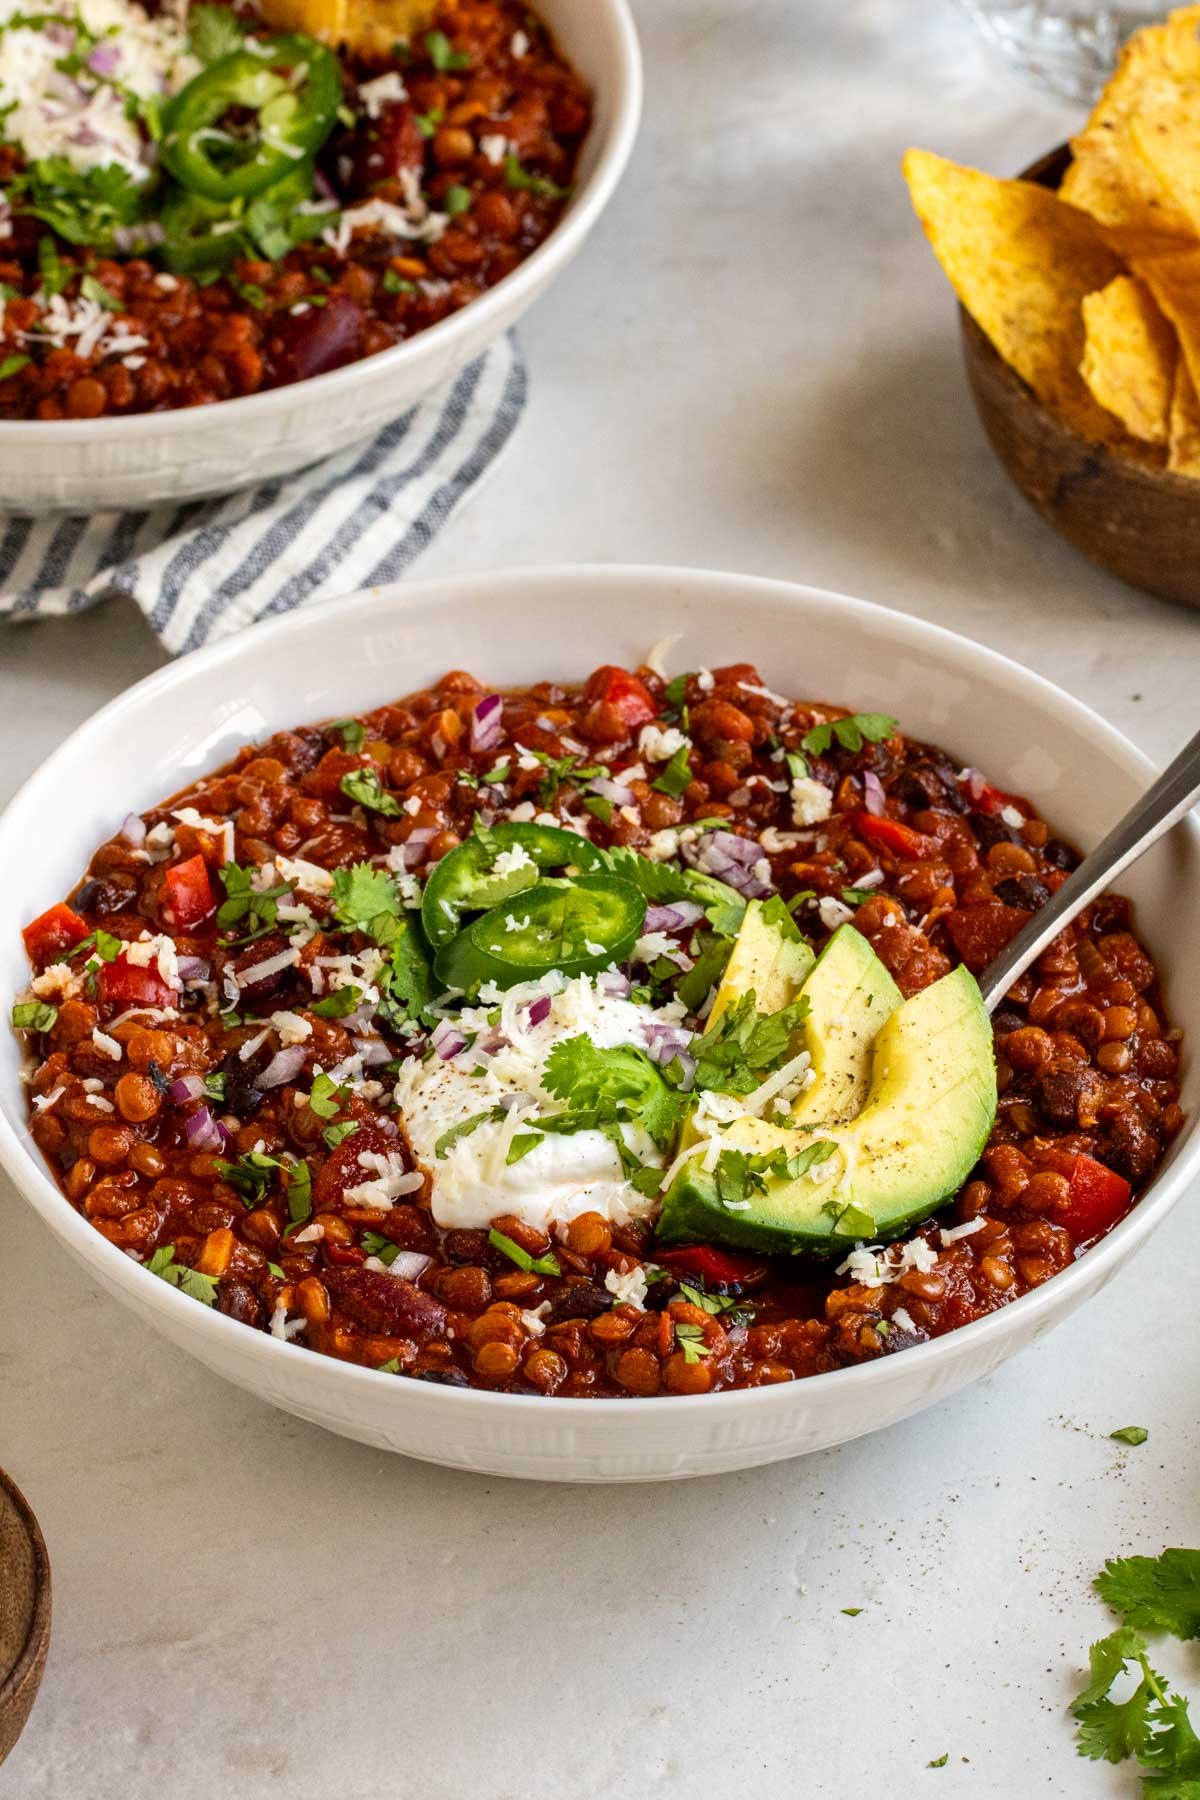
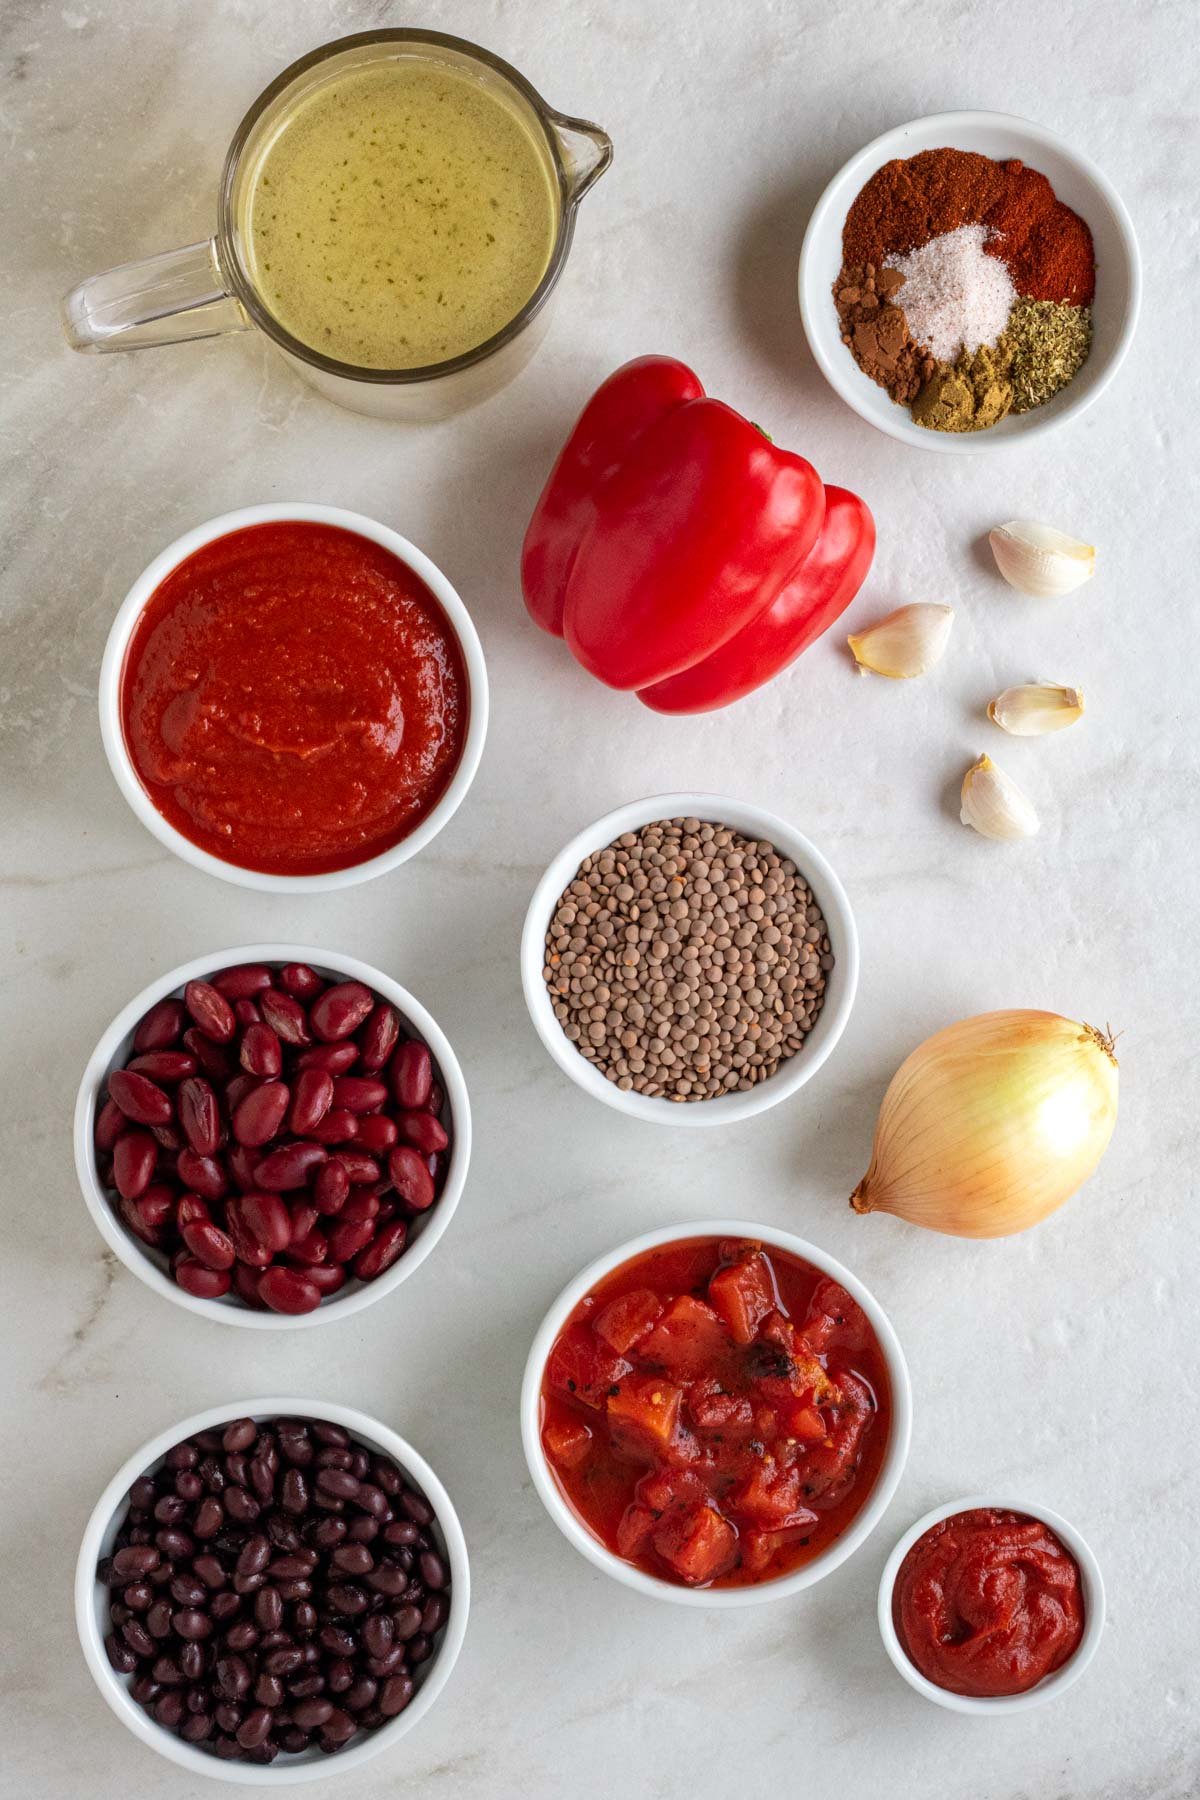
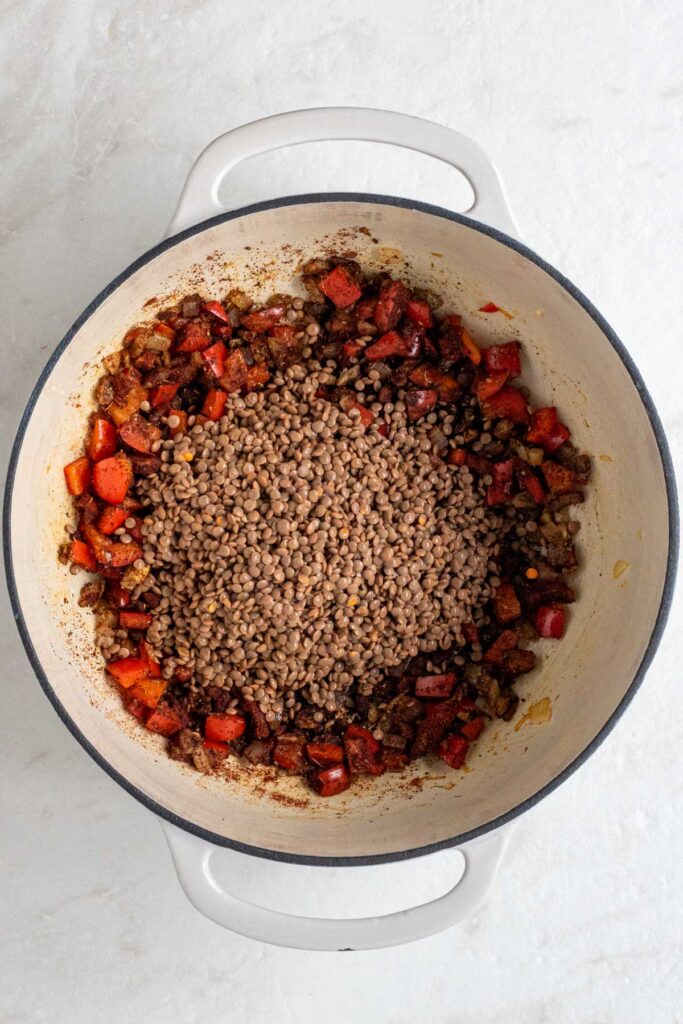
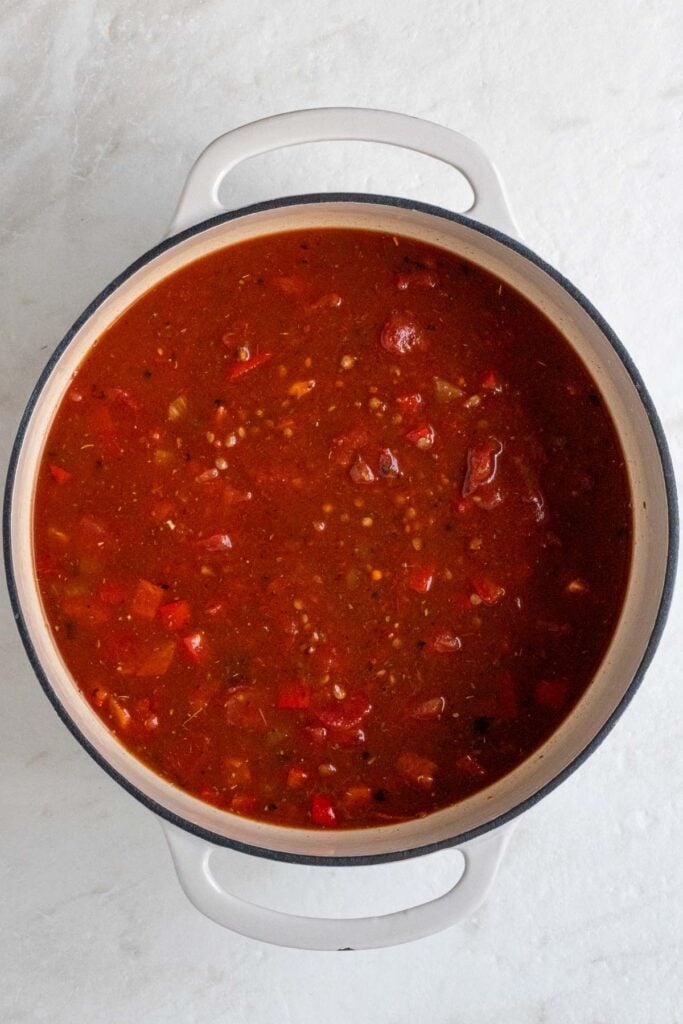
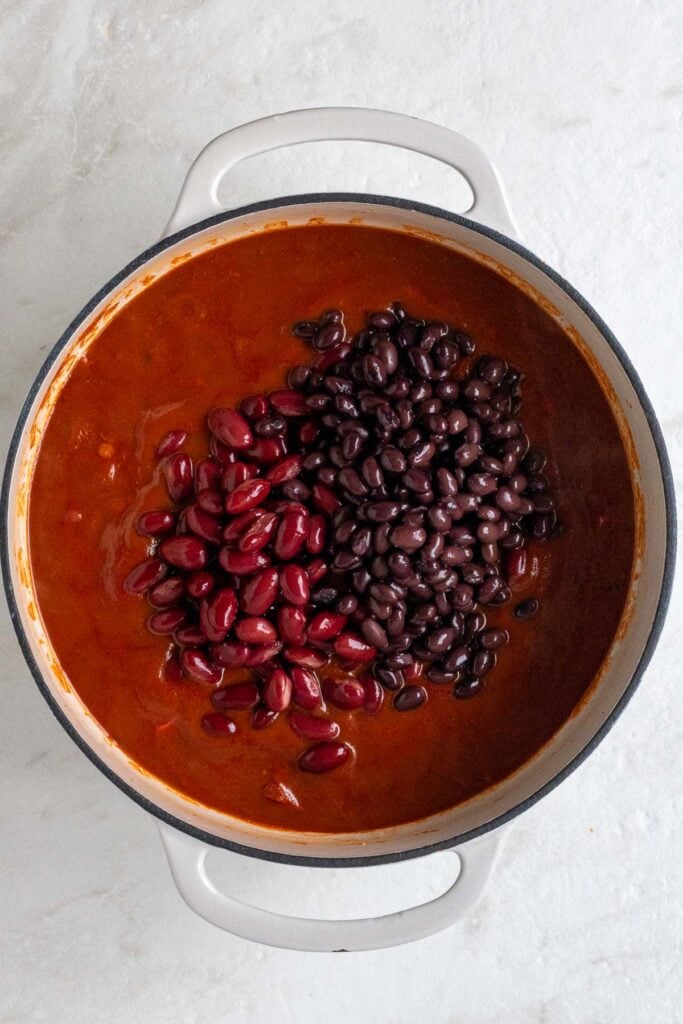
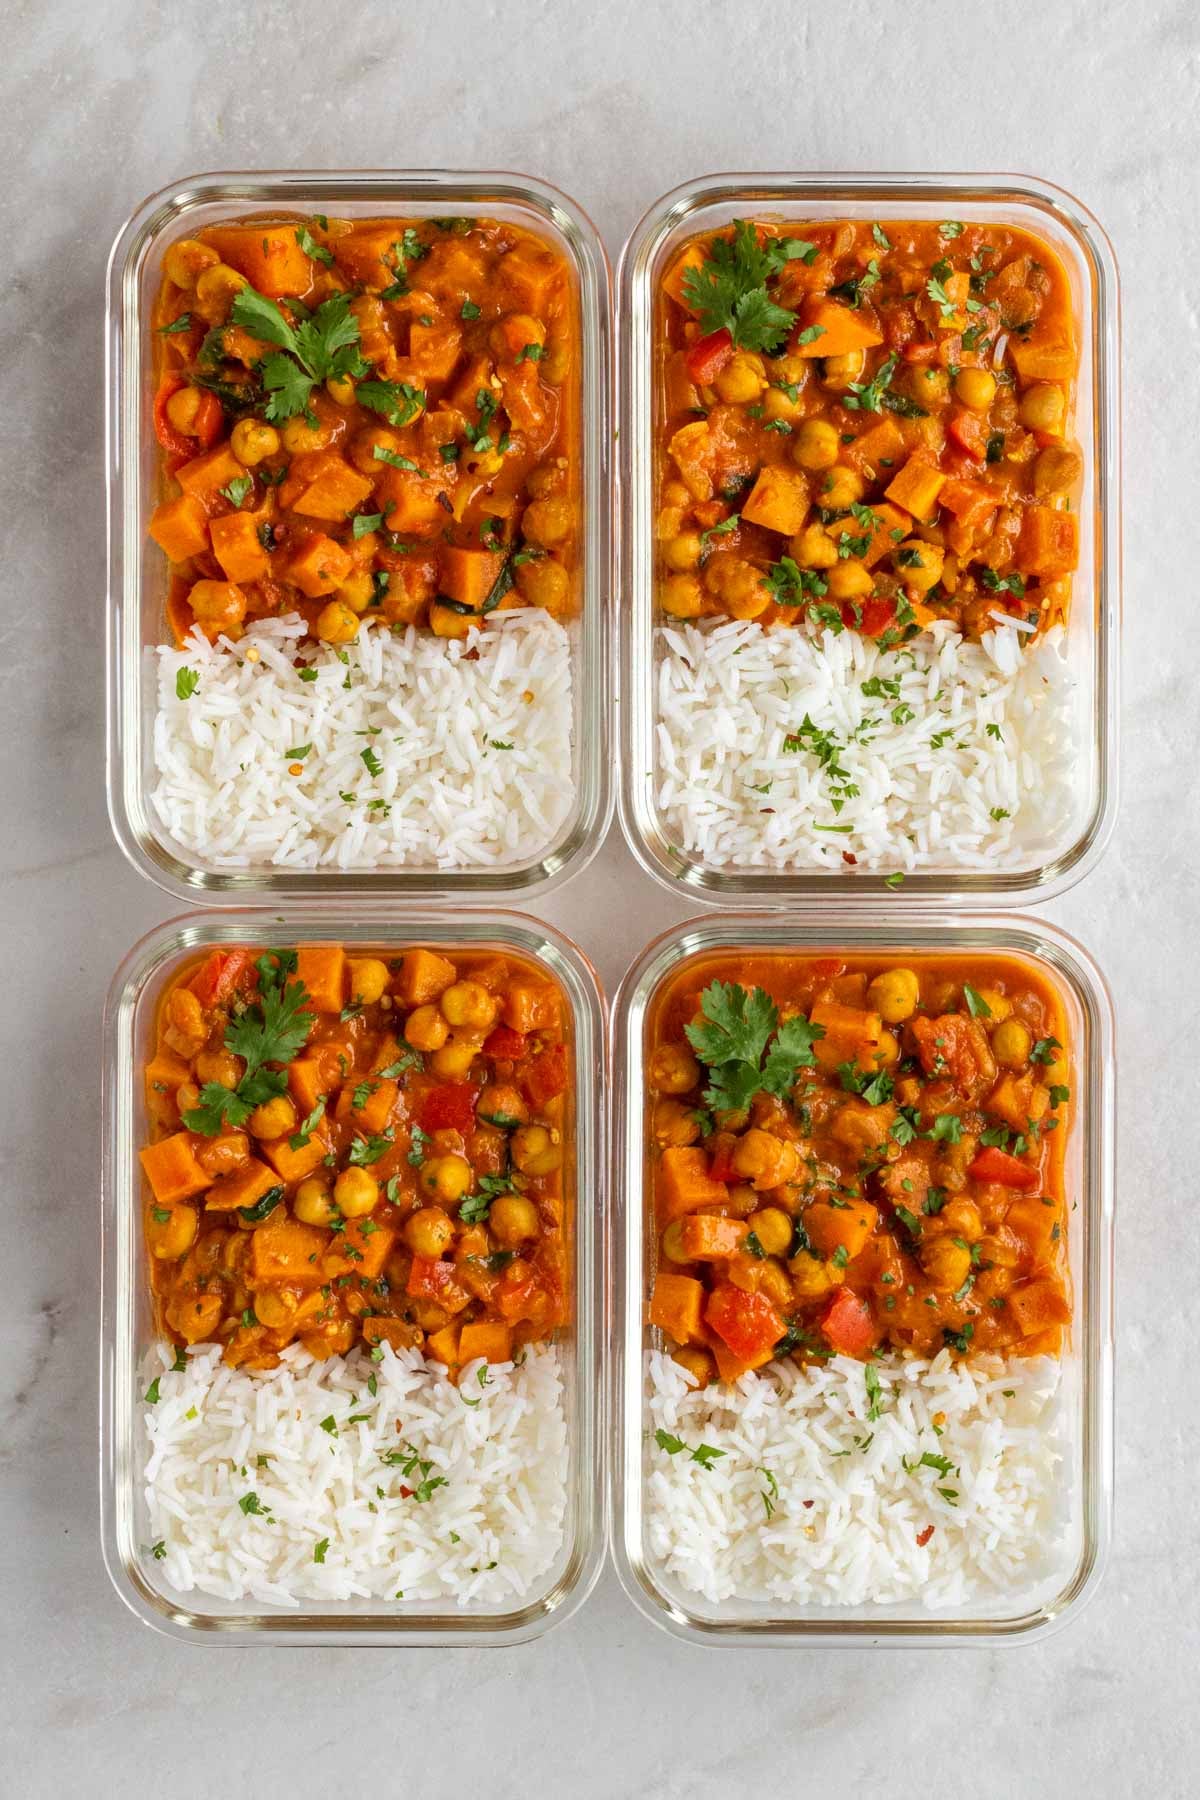
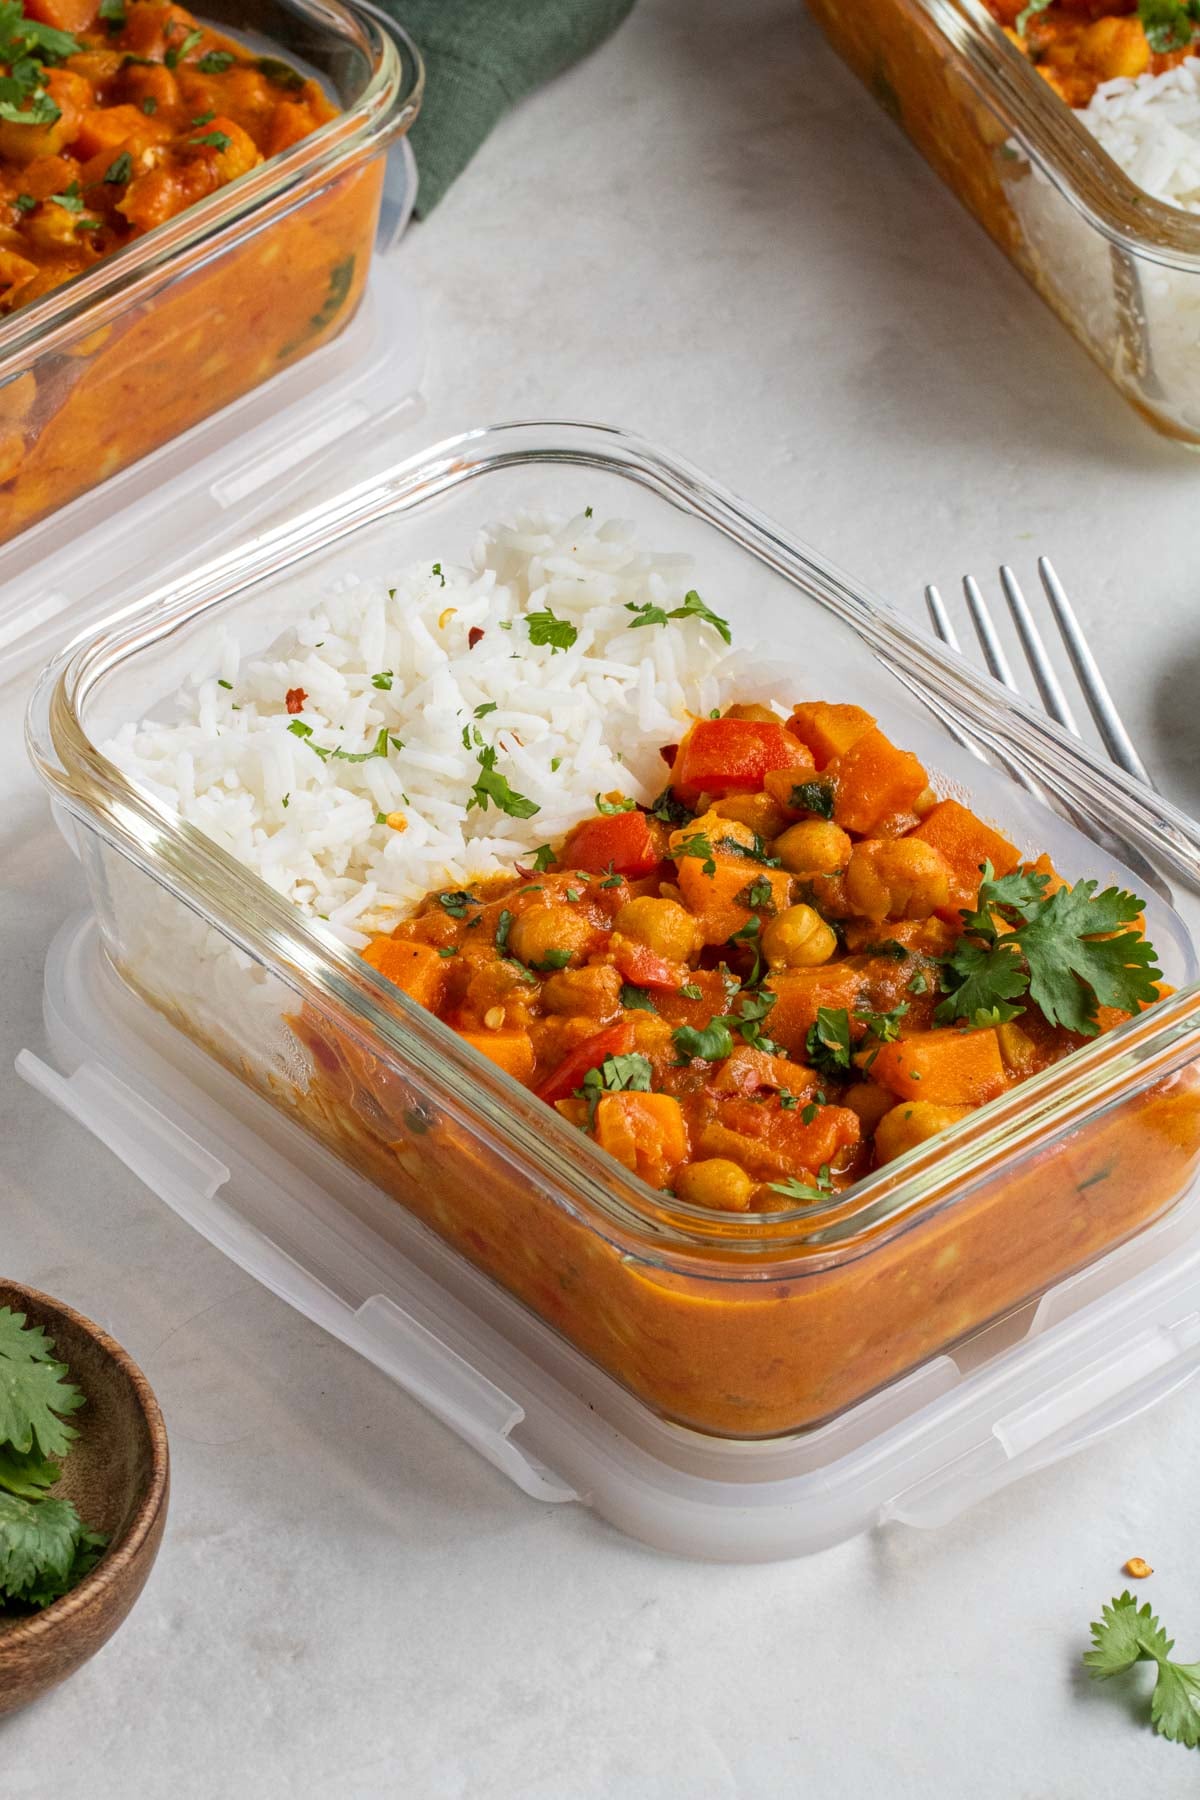
8. Drain and rinse canned beans and vegetables.
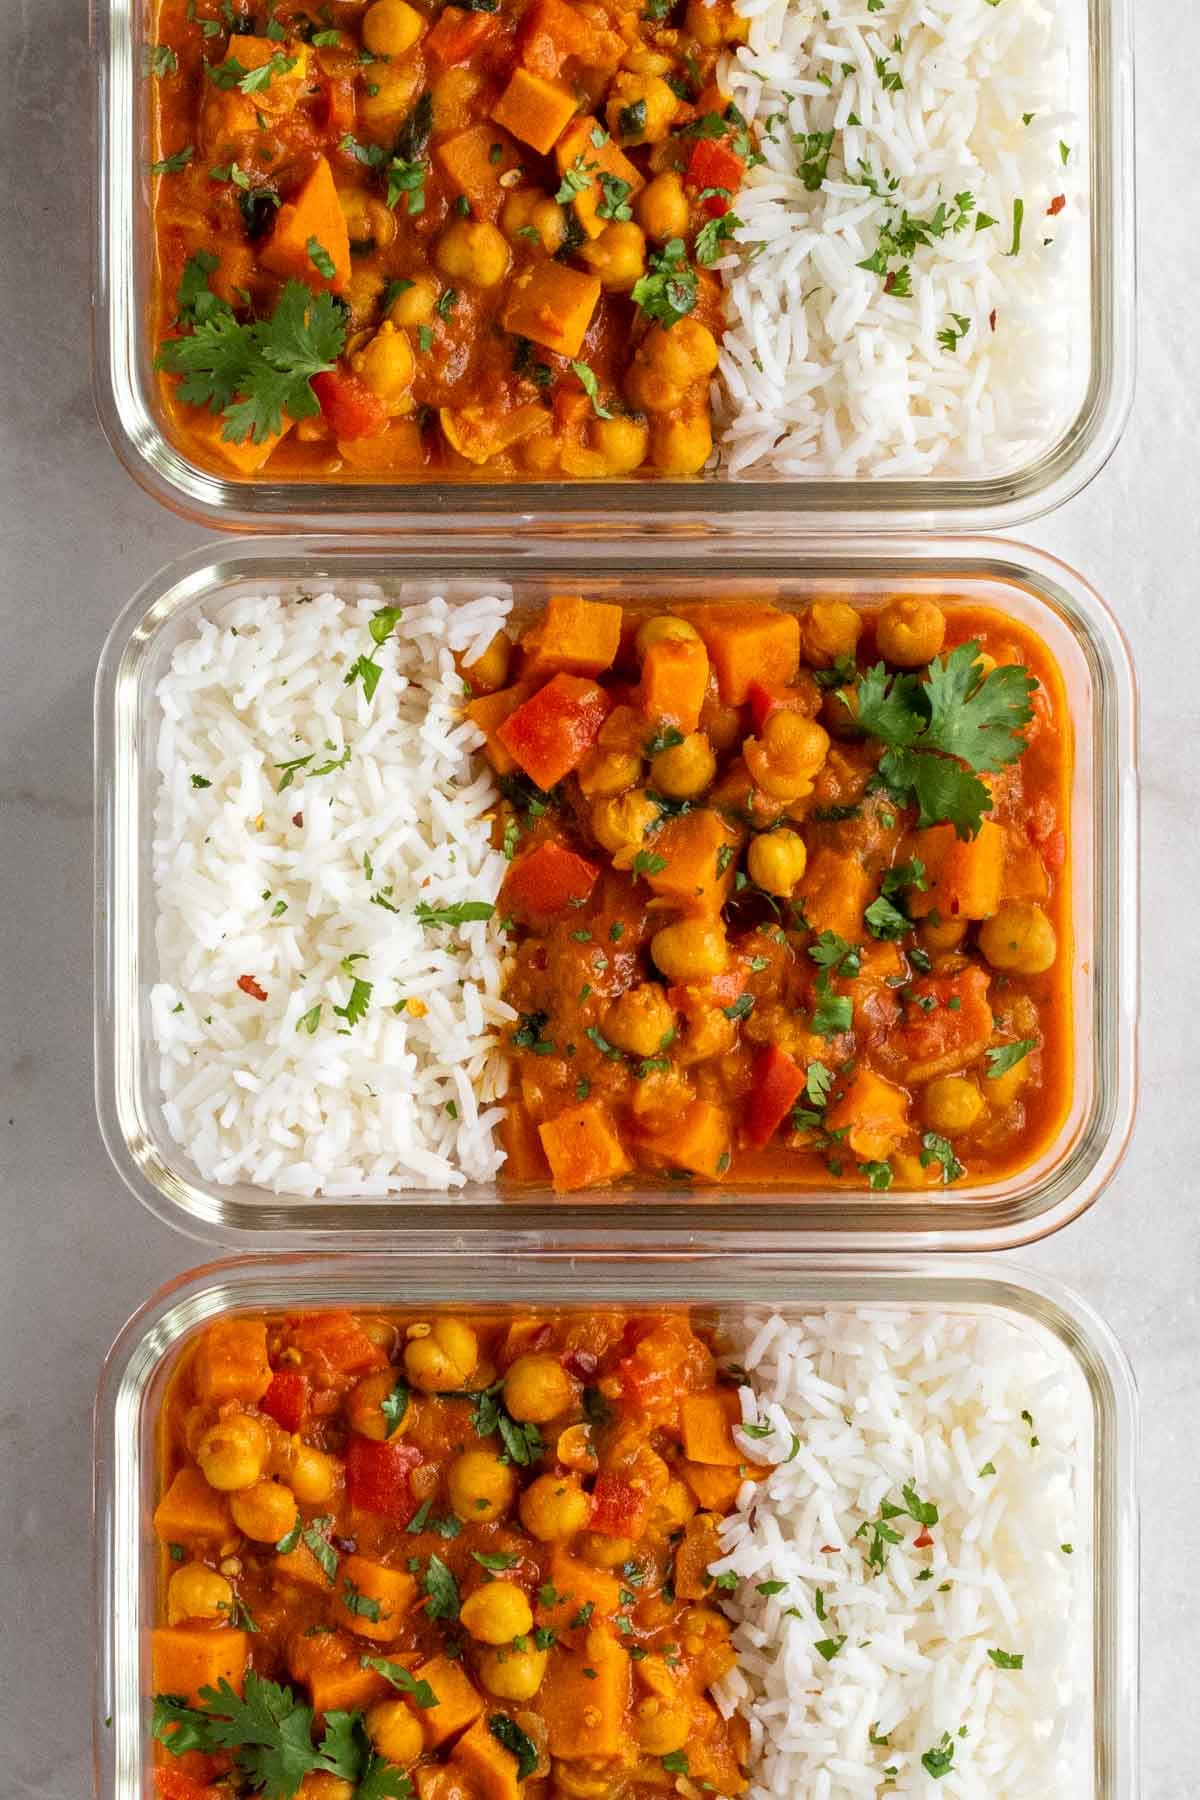
Using canned foods in recipes is a great way to cut down on prep and cooking time; however, many of these products contain high levels of added sodium. Fortunately, by draining and rinsing canned vegetables, beans, chickpeas, and lentils before using them, you can reduce their sodium content by up to 41% (6, 7).
9. Don’t overdo electrolyte supplements.
Electrolyte supplements have become increasingly popular, but not everyone needs them, and consuming them unnecessarily can quickly increase your sodium intake. While sodium is the primary and beneficial ingredient in commercial electrolyte products, many brands contain 300 mg to 1,000 mg of sodium per serving, which equates to 13% to 44% of the daily recommended intake (8).
If you want to avoid increasing your sodium intake, it’s best to limit or avoid electrolyte powders and tablets, or work with a registered dietitian to determine if supplementation is right for you.

The Bottom Line
While sodium is essential to health, too much sodium can lead to a number of serious health concerns. To consume less sodium, prioritize whole foods, cook your own meals, read food labels, use fresh meat, buy low-sodium foods, season with herbs and spices, select condiments with care, drain and rinse canned beans and vegetables, and don’t overdo electrolyte supplements.